
The 'Micro-Bead' Stabilization Method: Controlling Flow and Pigment Density in Gel Overlay
Master the art of controlling high-viscosity gel consistency through the micro-bead stabilization method, ensuring uniform pigment distribution and zero cuticle flooding.
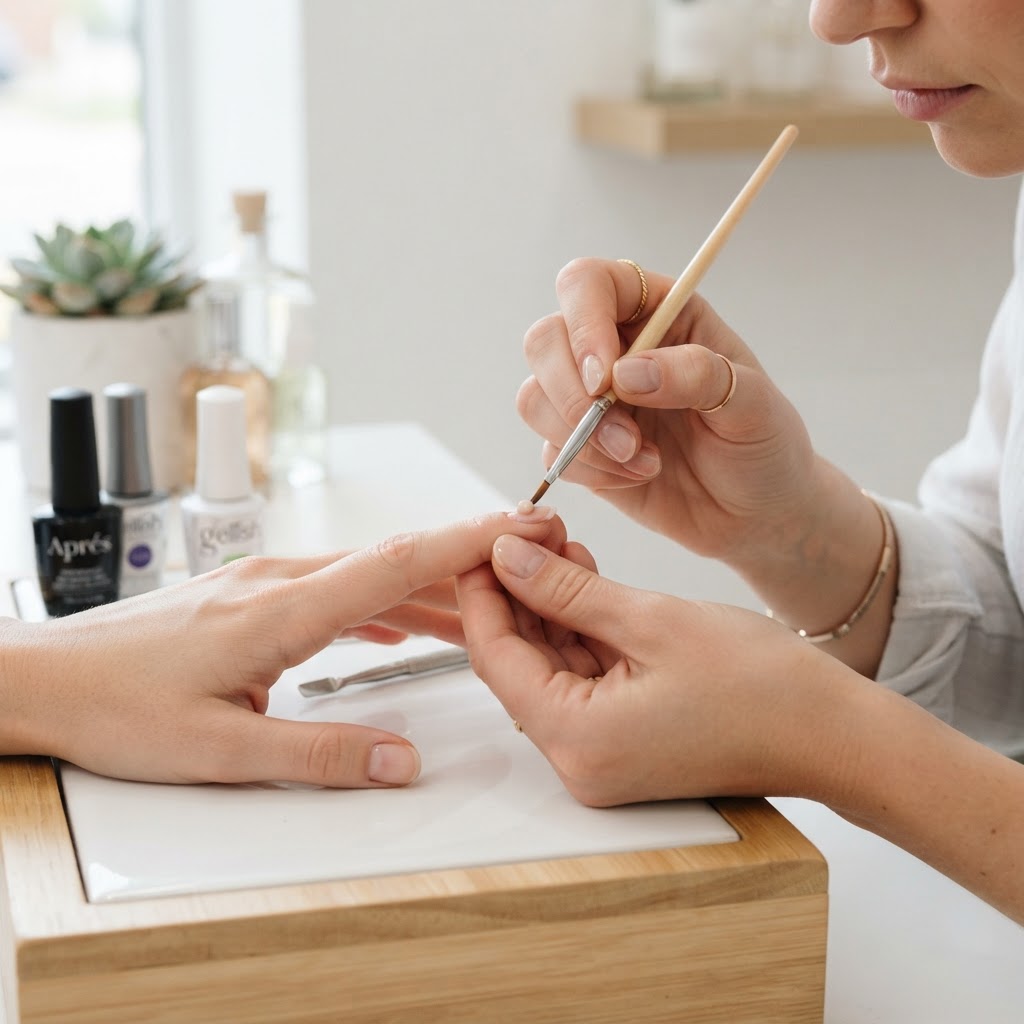
The Architecture of Gel Control
One of the most persistent hurdles in gel overlay application is the unintended migration of product toward the lateral walls and cuticle line. This not only compromises the aesthetic finish but creates a mechanical weak point that leads to premature lifting. The 'Micro-Bead' Stabilization Method is a precision technique designed to lock color in place by leveraging the surface tension of high-viscosity gels against the natural topography of the nail plate.
Phase 1: The Anchoring Bead
Instead of applying a large, centralized bead that requires extensive leveling, start with a 'Micro-Bead'—no larger than a small peppercorn—placed 2mm away from the cuticle line. The goal here is not full coverage, but structural anchoring. Using a fine-liner brush or a small oval gel brush, gently guide this bead to create a 'dam' or barrier along the perimeter. By establishing this perimeter first, you create a controlled boundary that prevents subsequent color applications from bleeding into the sensitive perionychium.
Phase 2: Volumetric Distribution
Join the newsletter
Get fresh nail tutorials, trends, and business tips straight to your inbox.
Once the perimeter anchor is cured for 10 seconds, move to the secondary application. Apply a larger, saturated bead at the center of the nail plate. Because the anchoring barrier is already set, you have the freedom to manipulate this secondary bead for depth and pigment density without fear of flooding. Use a vertical 'floating' motion, keeping the brush bristles at a 45-degree angle to the surface of the nail. This minimizes the risk of streaking in highly pigmented colors by allowing the product to level itself across the cured anchor.
Phase 3: Mitigating Pigment Separation
High-viscosity, high-pigment gels often suffer from 'shadowing' or thinning at the apex. To avoid this, apply a 'stippling' motion during the leveling phase. By lightly tapping the surface of the gel with the flat side of your brush, you force the pigment particles to redistribute uniformly. This is particularly effective for pastel tones or opaque whites, which are notorious for showing 'bald spots' during the leveling process.
Troubleshooting the Flow
* If the gel pulls away from the cuticle: Your anchor bead may be too thin. Increase the viscosity of your base layer or ensure the nail plate has been properly dehydrated to increase surface friction.
* If you see bubbles: Avoid over-working the product. If bubbles appear, stop and allow the gel to settle for 20 seconds. If they persist, it is likely the product has been agitated by too much air during the stir cycle. Store bottles upside down for 10 minutes prior to use to allow bubbles to rise and pop.
The Professional Outcome
By treating the gel application as a two-stage architectural process rather than a single-sweep event, you reduce the time spent on cuticle cleanup and manual filing. This precision-first workflow results in a cleaner, more professional look that mimics the durability of a structured overlay while maintaining the thin, natural-nail aesthetic that clients demand. Mastering the micro-bead flow will ultimately shorten your service time by eliminating the need for extensive correction at the end of the appointment.
Join the newsletter
Get fresh nail tutorials, trends, and business tips straight to your inbox.
