
News6 min readby NailRush Live Team3 views
The 'Micro-Bead' Encapsulation Method: Reducing Bulk in 3D Relief Nail Art
Learn how to master the 'Micro-Bead' technique to achieve high-definition 3D nail art without the structural weight or premature lifting common in traditional relief designs.
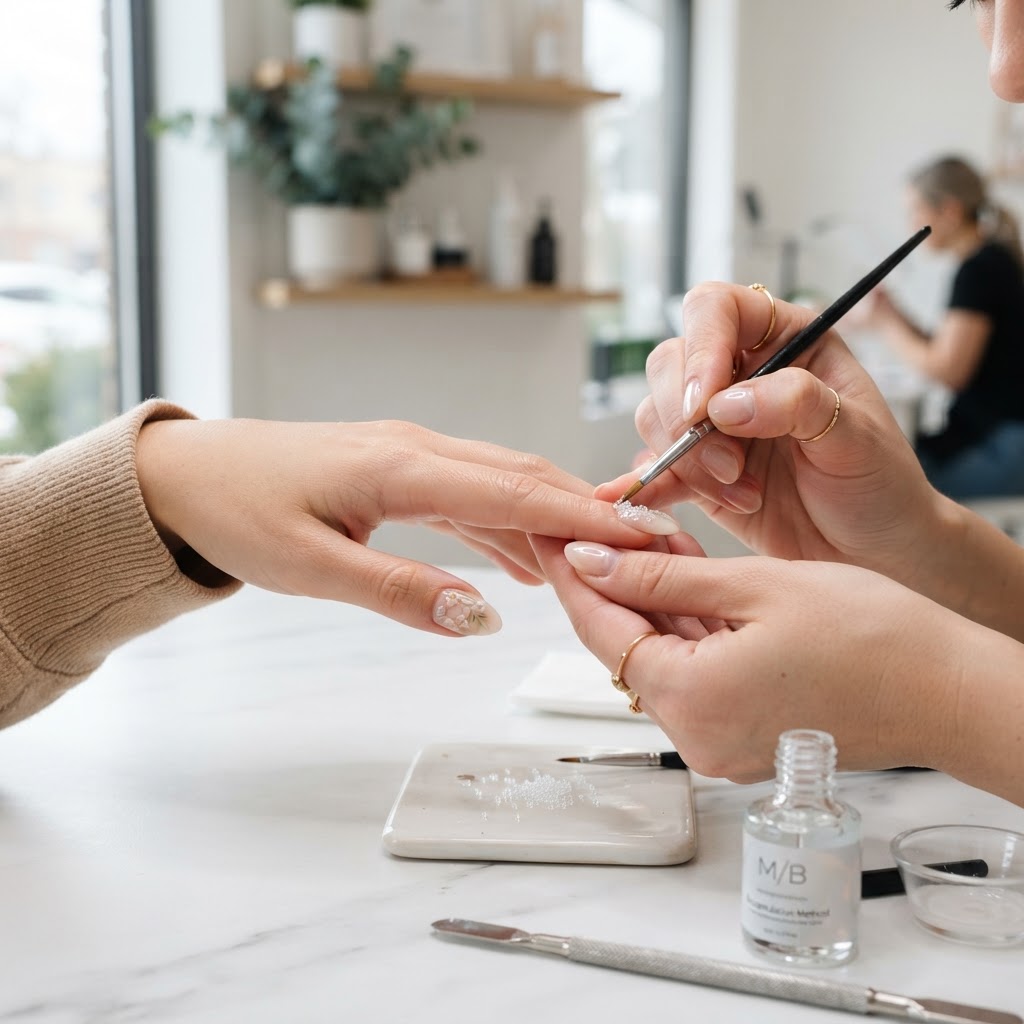
The Art of Weighted Elegance In the world of high-end nail artistry, 3D relief work—such as sculpted flowers, baroque swirls, or intricate filigree—remains a top-tier request. However, the most common frustration for nail technicians is the 'bulk-to-lifting' ratio. When relief art is too thick, the weight shifts the center of gravity of the nail, leading to stress fractures at the apex or lifting at the proximal fold. The 'Micro-Bead' Encapsulation Method solves this by shifting from heavy, monolithic sculpting to a layered, additive process that maintains structural integrity. ## Understanding Structural Load and Weight Distribution When we add 3D elements to a cured gel surface, we introduce a secondary weight load. If that load is applied as one large, heavy glob of acrylic or high-viscosity gel, it creates a 'pendulum effect.' During daily activities, this weight pulls away from the natural nail plate. The Micro-Bead method suggests breaking down large designs into multiple, interconnected, smaller units—micro-beads—that are cured incrementally. This allows you to build vertical height without increasing the footprint or the total mass of the design. ## Execution Protocol: The Micro-Bead Method To implement this effectively, follow these three technical steps: ### 1. Anchor Mapping Before starting the relief work, map the 'anchor points' on the cured base color. These should be the high-stress contact points where the relief design meets the nail bed. Apply a tiny amount of a high-viscosity, non-wipe builder gel to these points and cure for 10 seconds. This creates a textured 'grip' for your 3D work to adhere to, significantly reducing the chance of the entire design popping off. ### 2. The Incremental Build Instead of trying to sculpt a full petal or ornament in one go, start with a core micro-bead. Use a spherical, 3D-specific gel or a high-ratio acrylic powder mix. Apply the bead, pat it into shape, and do a 'flash-cure' for 5-8 seconds. Once the shape is semi-rigid, apply the next micro-bead directly adjacent to or overlapping the first. By building in small increments, you maintain control over the viscosity, ensuring the edges remain crisp without drooping or losing their architectural sharpness. ### 3. Perimeter Sealing Once your design is complete, the final step is not just a top coat, but a 'perimeter seal.' Take a thin, detail liner brush dipped in a clear, low-viscosity hard gel. Trace the absolute base of your 3D design where it meets the nail surface. This acts as a 'gasket,' sealing any microscopic gaps where water or debris could enter and cause lifting. Cure this perimeter for the full 60 seconds. ## Efficiency and Longevity Benefits By utilizing this granular approach, you reduce your product waste—since you are not over-applying material—and you significantly decrease the likelihood of the client returning with chipped relief work. This technique also allows for better 'curing penetration.' When you apply a thick lump of product, the center often stays under-cured, leading to contact dermatitis or adhesion failure. With the Micro-Bead method, the light can reach every part of the design, ensuring a complete, professional-grade cure every time. Incorporating this into your service menu doesn't just improve the aesthetic finish of your work; it transforms your 3D art into a durable, wearable service that holds up to the reality of the client’s lifestyle.
Join the newsletter
Get fresh nail tutorials, trends, and business tips straight to your inbox.
Join the newsletter
Get fresh nail tutorials, trends, and business tips straight to your inbox.
