
The 'Light-Refraction' Mapping Protocol: Mastering Chrome Mirror Finishes on Sculpted Gel
Discover the precise mechanics of base-layer leveling and powder application to achieve a flawless, streak-free mirror chrome finish every time.
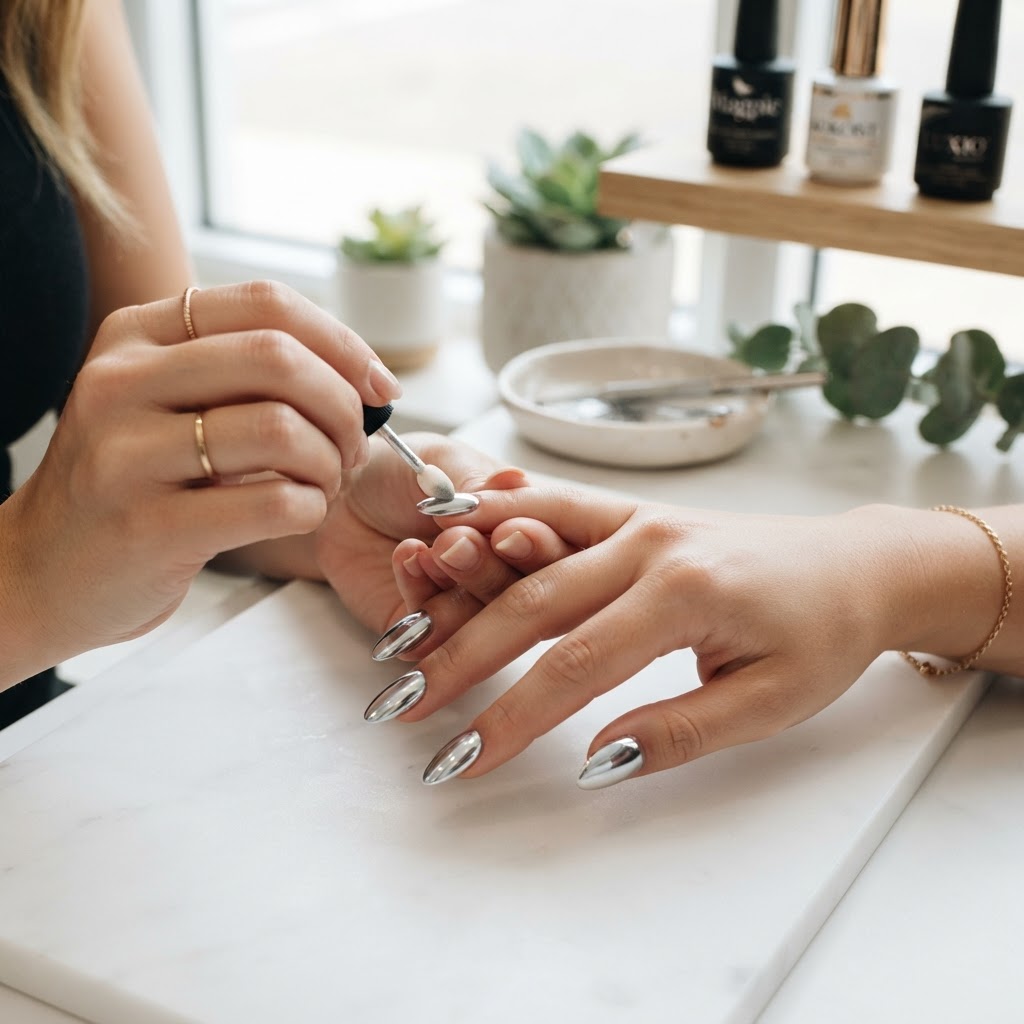
The Precision Behind the Mirror Finish
Achieving a true mirror-chrome finish is often the most frustrating hurdle for both novice and seasoned nail artists. The difference between a patchy, dull grey finish and a high-shine, liquid metal look isn't just the powder—it is the structural integrity of the surface beneath it. This guide details the 'Light-Refraction' mapping protocol to ensure your chrome application is consistently perfect.
Step 1: The 'Surface-Tension' Base Leveling
Chrome powder reveals every imperfection in your structure. If your gel surface has 'valleys' or 'peaks,' the powder will settle unevenly, creating cloudy patches. To counteract this, use a high-viscosity non-wipe top coat to perform a 'floating' layer after your color application.
* Apply a bead of top coat slightly larger than your normal finish coat.
* Level for 15 seconds in a flat position to allow gravity to pull the gel into a perfectly smooth meniscus.
* Flash cure for 10 seconds to lock the surface before a full cure. This prevents the gel from self-leveling away from the free edge.
Step 2: The Thermal Threshold for Application
Join the newsletter
Get fresh nail tutorials, trends, and business tips straight to your inbox.
Did you know the temperature of the gel matters? Applying chrome to a surface that is still warm from the lamp can cause the powder to 'drag' and clump.
* Cooling phase: Allow the nail to sit at room temperature for 60 seconds post-cure. This stabilizes the tack-free surface and prevents the powder from embedding too aggressively into the soft gel, which often results in a 'gritty' texture.
Step 3: The 'Micro-Buffing' Technique
Most technicians apply chrome with a heavy hand. This creates friction that disturbs the metallic pigment alignment. Instead, utilize the 'Micro-Buffing' approach:
Step 4: Encapsulation and Edge-Sealing
If your chrome chips at the free edge, it is likely due to the lack of adhesion between the top coat and the metal pigment. Because chrome powder essentially acts as a layer of 'dust,' your top coat is not bonding to the gel; it is bonding to the pigment.
* The 'Edge-Fillet' method: Before your final top coat, use a light-grit buffer (240-grit) to gently dust the very edge of the free edge to remove excess chrome powder. This exposes a sliver of the base color, allowing your top coat to anchor directly to the gel. This simple step prevents the 'peeling' phenomenon common in chrome sets.
Conclusion
By treating the nail surface as a reflective substrate rather than just a canvas for color, you eliminate the guesswork that leads to uneven finishes. When you map your light-refraction by ensuring a perfectly leveled base, the mirror finish becomes a predictable, repeatable result rather than a lucky outcome.
Join the newsletter
Get fresh nail tutorials, trends, and business tips straight to your inbox.
