
The 'Laminar-Flow' Levelling Protocol: Engineering Zero-Buff Finishing in High-Viscosity Gels
Learn the precise micro-leveling technique that eliminates the need for aggressive surface buffing, ensuring structural integrity and a mirror-like finish for your builder gel sets.
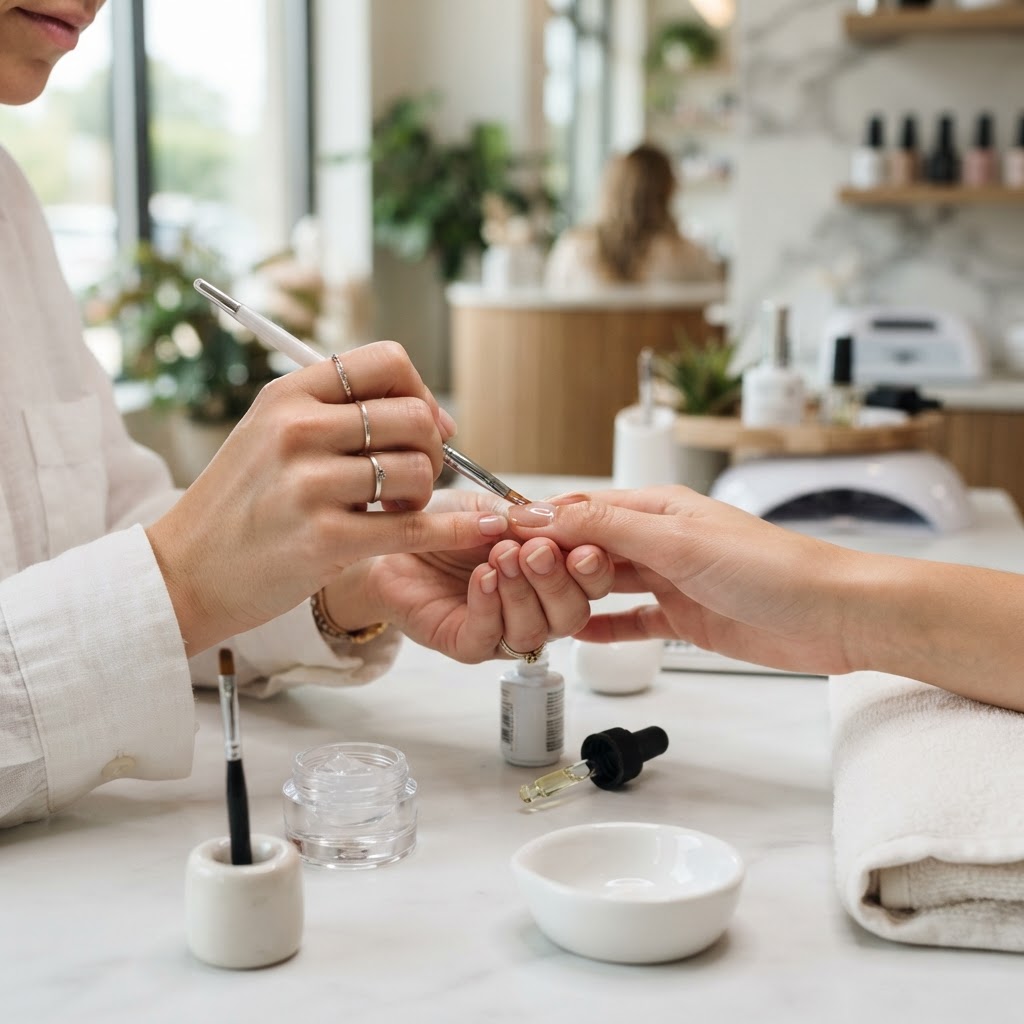
The Core of the Problem: Over-Buffing and Structural Compromise
Many nail technicians fall into the trap of over-relying on the e-file to 'fix' surface imperfections after applying builder gel. While surface refinement is necessary, excessive filing creates three distinct problems: it thins the apex, creates micro-scratches that harbor dust, and breaks the chemical surface tension that provides the product's maximum strength. The 'Laminar-Flow' Levelling Protocol shifts the burden of perfection from the drill bit to the physics of the product.
The Physics of Laminar-Flow Levelling
Laminar flow in fluid dynamics describes smooth, constant motion. In application, this refers to using the product’s self-levelling properties to create a continuous, uninterrupted surface. By understanding the 'contact-angle' of your brush and the specific thermal mass of your gel, you can manipulate the product into a perfect arch before the lamp even touches the nail.
Step 1: The 'Slip-Layer' Foundation
Do not jump straight to your structure bead. Apply a thin, slick layer of uncured gel over the entire surface of the nail. This layer acts as a lubricant, reducing the internal friction of the larger structure bead and allowing it to travel across the nail plate without 'stuttering' or creating ridges.
Join the newsletter
Get fresh nail tutorials, trends, and business tips straight to your inbox.
Step 2: The 'Floating' Bead Technique
Place your structure bead at the apex. Instead of 'painting' the product, use the tip of your brush to float the gel. Hold the brush at a 45-degree angle, barely touching the surface—think of it as guiding a drop of water. By using the 'gravity-assist' method (turning the client's hand palm-up for 5-10 seconds), you allow the gel to settle naturally into the nail's curvature without manual manipulation.
Step 3: The Peripheral-Tension Release
As the gel settles, it often pulls away from the sidewalls. Use a fine-liner brush to redistribute this tension. By gently pulling the product from the center-line toward the lateral folds, you eliminate the 'cliff' effect where the product meets the skin, ensuring a seamless transition that requires zero filing at the cuticle zone.
Why This Matters for Business
Pro-Tip: The 'Light-Refraction' Check
Before curing, hold your client's finger under a bright light source. Watch the reflection of the light on the surface of the uncured gel. If the reflection is warped or broken, the gel is not level. Use your brush to gently nudge the product until the reflection is a perfectly straight, crisp line. If the line is straight, the surface is level. Cure only when the light-reflection is perfect.
Join the newsletter
Get fresh nail tutorials, trends, and business tips straight to your inbox.
