
The 'Isotropic-Stress' Distribution: Engineering Longevity for High-Curvature Nail Beds
Learn the mechanical principles behind correcting lateral wall stress in highly convex nail plates to prevent premature lifting and product fatigue.
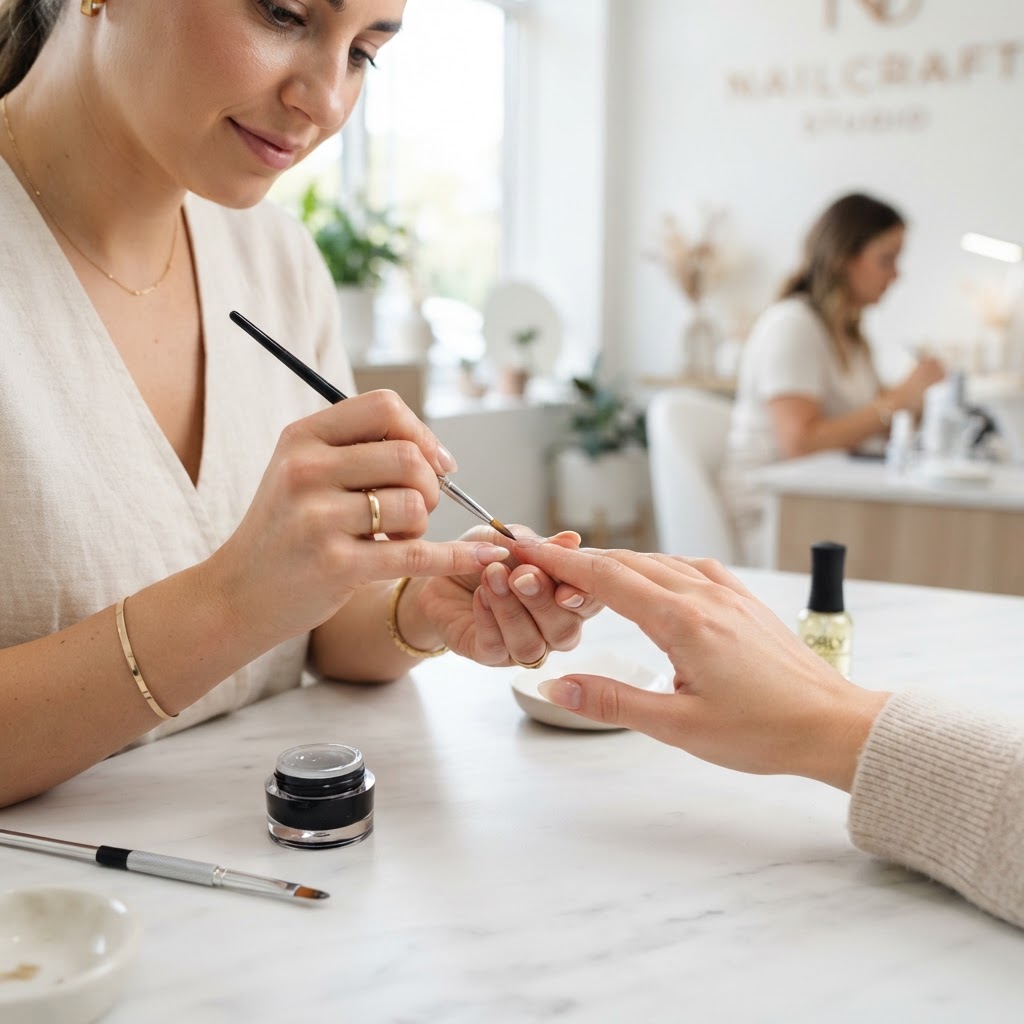
The Mechanical Challenge of High-Curvature Beds
Nail technicians frequently struggle with lateral lifting on clients with high-curvature (hyper-convex) nail beds. Traditional flat-application techniques fail here because they treat the nail as a two-dimensional plane rather than a three-dimensional arch. When a rigid builder gel is applied to a convex surface, the product naturally seeks to return to a flatter orientation as it cures, creating a 'spring-back' effect that pulls the product away from the lateral folds. This is the Isotropic-Stress phenomenon: the unequal distribution of tension across the hardened polymer shell.
The Isotropic-Stress Distribution Protocol
To neutralize these forces, you must transition from a 'layering' mindset to an 'arch-stabilization' mindset. Follow this four-step engineering process to ensure structural integrity on even the most rounded nails.
1. The Periphery-Relief Etch
Before base application, use a 180-grit diamond bit to gently etch the extreme lateral zones. On hyper-convex nails, the lateral skin often 'tucks' under the nail plate. Use a small flame bit at low RPM (5,000-7,000) to clear the hidden cuticle shadow, ensuring zero skin contact. Any contact here will act as a fulcrum, lifting your product during the curing process.
Join the newsletter
Get fresh nail tutorials, trends, and business tips straight to your inbox.
2. The Anchor-Base Application
Apply your base gel with a focus on 'tension-free' saturation. For convex beds, do not use a self-leveling base that pools. Use a high-viscosity, non-self-leveling rubber base. Paint it with thin, vertical strokes from the cuticle to the free edge, ensuring you stop 0.5mm before the lateral walls. We will seal this gap later.
3. The 'Tension-Mitigation' Build
When applying your builder gel, you must compensate for the natural curvature by reinforcing the stress zone (the apex) while keeping the lateral walls thin. If the lateral walls are too thick, they create a heavy lever that pulls the product toward the center.
4. Lateral Wall Geometry Check
Before curing, perform a 'geometry check.' Look at the nail from the front (down the barrel). If the gel forms a perfect 'C' curve without thinning at the sides, proceed. If the gel looks flat, your product viscosity is too high for this curvature—swap to a thixotropic gel that holds its shape until it hits the light.
Long-Term Maintenance: The Structural Audit
To ensure your work lasts for three weeks or more on these challenging clients, you must audit the stress points during every fill. If you notice a 'hairline' fracture running vertically along the sidewall, you have 'Isotropic-Stress' overload. This usually indicates the apex was placed too far forward or too far back, causing the nail to flex in the middle.
Move the apex exactly at the intersection of the nail’s growth zone and the free edge. By shifting the center of gravity, you redirect the mechanical load away from the vulnerable lateral anchors, ensuring the manicure remains stable as the nail grows out.
Join the newsletter
Get fresh nail tutorials, trends, and business tips straight to your inbox.