
The 'Hydraulic-Seal' Cuticle Prep: Eliminating Proximal Folds Lifting in Gel Polish
Learn a precise, non-invasive prep technique that creates a superior structural seal at the proximal nail fold, effectively ending mid-cycle gel lifting.
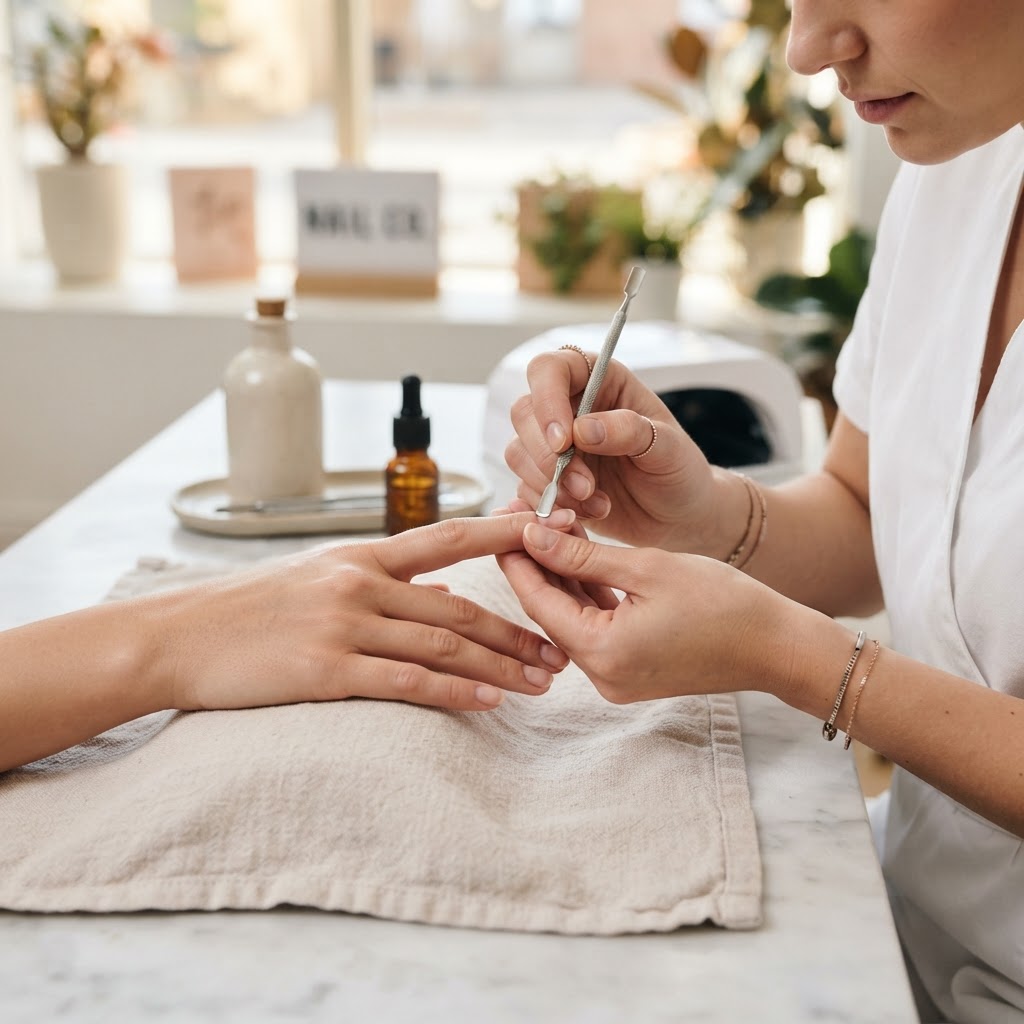
The Core Problem: Why Most Gel Lifts at the Cuticle
Many nail technicians blame product quality or client 'oiliness' for premature lifting at the proximal nail fold. In reality, 90% of lifting occurs because of a failure to establish a 'hydraulic seal'—a point of contact where the gel sits perfectly flush against the nail plate without touching the soft tissue. When gel overlaps the proximal fold, it creates a microscopic bridge. As the natural nail grows and moves, that bridge acts as a lever, popping the seal open and inviting bacteria and moisture underneath.
Step 1: The 'Dry-Clearing' Phase
Before you reach for a drill, you must clear the non-living tissue from the nail plate. Use a diamond bit with a rounded cylinder shape (fine grit) at 8,000–10,000 RPM.
* Technique: Gently push back the cuticle to reveal the 'invisible cuticle'—that thin, white, flaky layer attached to the nail plate.
* The Goal: Do not dig into the living skin. Focus solely on the transition zone where the plate meets the skin. If you skip this, you are painting on dead skin, which is the leading cause of lifting.
Step 2: The 'Radial Etching' Method
Join the newsletter
Get fresh nail tutorials, trends, and business tips straight to your inbox.
Standard buffing often misses the 'pockets' at the corners of the proximal fold. Use a 240-grit buffer to perform radial etching. Instead of buffing side-to-side, sweep your buffer in a small arc following the curvature of the cuticle line. This increases the surface area for the base coat to 'grip' in the most high-stress area of the manicure.
Step 3: Dehydration and the 'Micro-Gap' Technique
After cleansing with 99% Isopropyl Alcohol, use a lint-free wipe to get into the lateral grooves.
* The Application: When applying your base coat, stop exactly 0.5mm away from the skin. Do not try to get 'as close as possible' by pushing the brush into the cuticle.
* The Trick: Use a fine liner brush to 'float' the base coat into that 0.5mm gap. The viscosity of the base coat will self-level toward the cuticle, creating a flush seal without touching the skin. This ensures the product is anchored to the nail plate, not the cuticle fold.
Step 4: The 'Flash-Lock' Cure
If you have a client with hyper-curved nail beds, gravity will cause the base coat to pool in the lateral folds before you reach the lamp. Combat this by doing a 5-second flash cure with a small, handheld UV light. This 'locks' the product in place, preventing it from migrating into the cuticle fold while you move on to the next finger. Once all fingers are flashed, perform the full-cure cycle as recommended by the manufacturer.
Troubleshooting Checklist
* Product Flooding: If you touch the skin, remove it IMMEDIATELY with an orangewood stick dipped in alcohol before curing. A 'cured' bridge on skin is a guaranteed lift.
* Humidity: If you work in a high-humidity environment, your dehydration step needs to be doubled. Use a dehydrator, wait 30 seconds for the 'chalky' look, then apply your primer.
* Retention Review: Ask your clients to avoid hot water or heavy oils for 2 hours post-service, as the nail plate is porous and expands/contracts, which can disrupt the setting of the hydraulic seal.
By mastering the transition from 'paint-to-the-edge' to 'micro-gap sealing,' you will significantly increase the durability of your sets and reduce the time spent on corrective repairs.
Join the newsletter
Get fresh nail tutorials, trends, and business tips straight to your inbox.
