
The 'Hydration-Sync' Prep: Calibrating E-File Speed and Bit-Grit to Plate Porosity
Learn to master the transition between cuticle refinement and surface prep by matching your e-file mechanics to the specific moisture content of the client's nail plate.
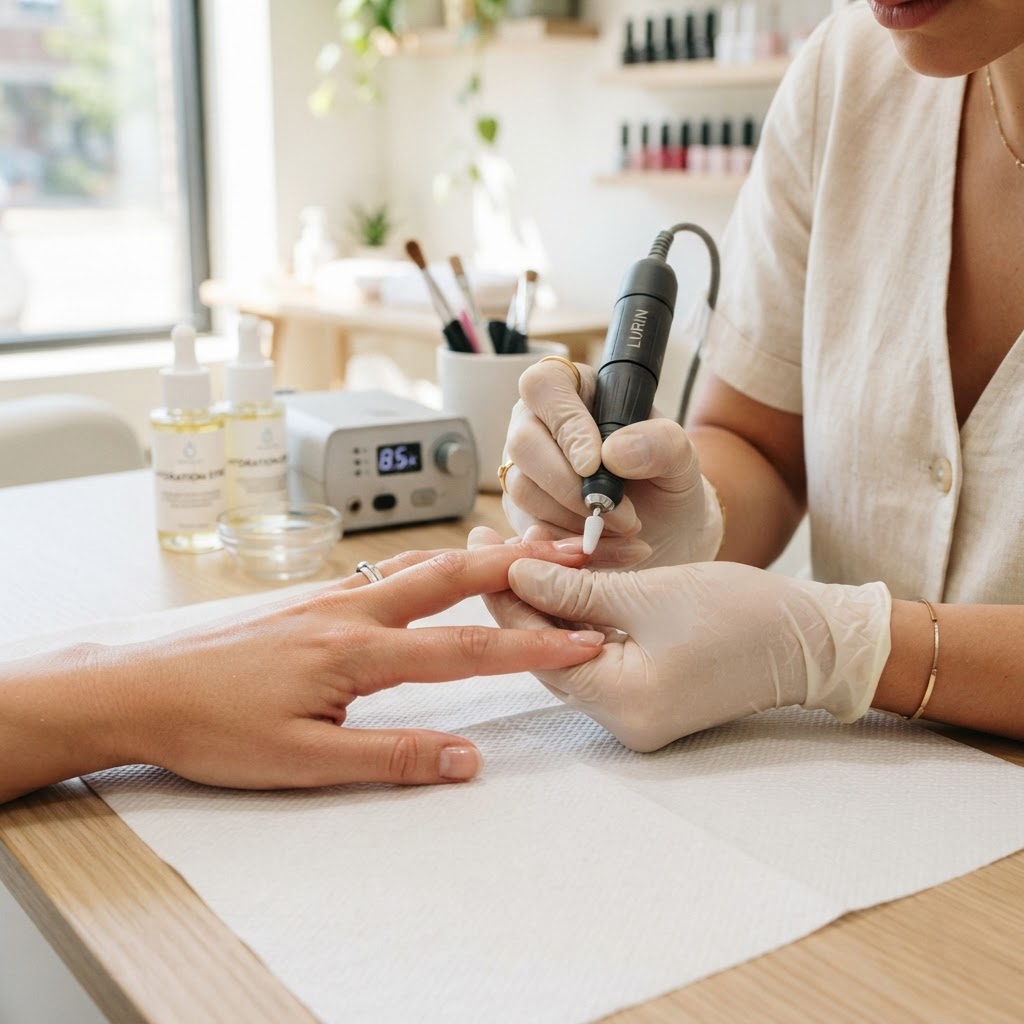
Understanding the Plate-Moisture Relationship
Most lifting issues are not caused by product quality, but by a mismatch between the substrate’s porosity and the prep technique. Clients with 'oily' or hyper-hydrated nail plates require a distinct mechanical approach compared to those with dry, brittle keratin. The 'Hydration-Sync' prep is about calibrating your e-file pressure and bit-selection to match the real-time needs of the nail surface.
1. Assessing the Hydration Profile
Before you touch the e-file, conduct a 'Visual Texture Test.' A high-moisture nail will appear slightly translucent and flexible, while a dry nail often shows microscopic longitudinal ridges and a chalky appearance.
2. E-File Mechanics and RPM Calibration
Speed is not just a comfort variable; it is a thermal and abrasive driver.
Join the newsletter
Get fresh nail tutorials, trends, and business tips straight to your inbox.
* For High-Moisture Plates: Use an RPM of 8,000–12,000. Higher speeds at lower pressure encourage the friction necessary to evaporate surface lipids. Use a tapered flame bit to gently lift the proximal fold, ensuring no moisture-trapping debris remains.
* For Dry Plates: Drop your RPM to 5,000–7,000. Your goal is precision removal of cuticle, not surface scouring. An aggressive bit at high speeds on dry plates will cause micro-fractures, leading to 'shattering' of the gel base at the stress points.
3. The 'Micro-Etch' Sequencing
Once the cuticle work is finished, the surface prep must be surgical.
4. Integrating the Chemical-Mechanical Bridge
After the mechanical prep, the 'Hydration-Sync' relies on the bridge:
Summary Checklist for Prep Success
Join the newsletter
Get fresh nail tutorials, trends, and business tips straight to your inbox.