
The 'Hydration-Retention' Protocol: Stabilizing the Nail Plate for Superior Gel Adhesion
Discover the scientific approach to balancing moisture levels in the natural nail plate to prevent premature lifting and ensure long-term gel longevity.
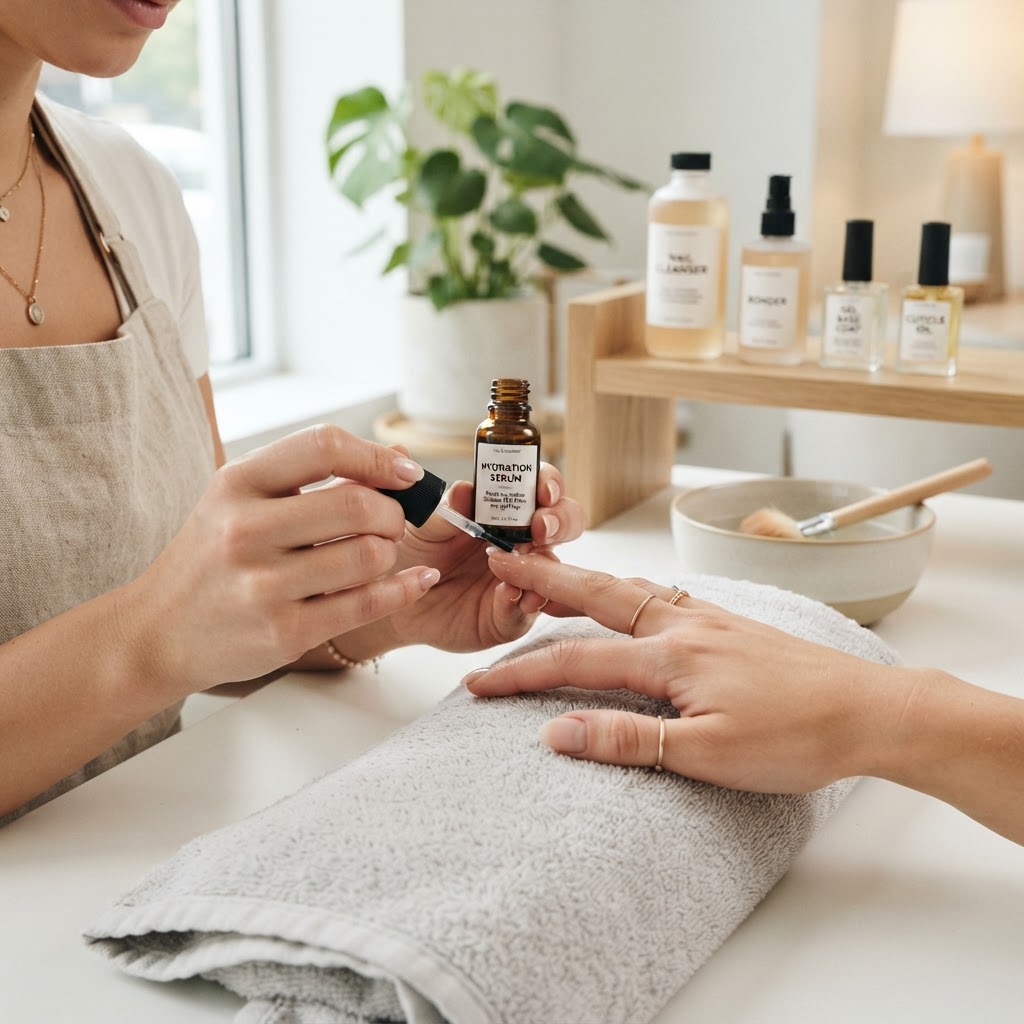
The Core Problem: Why Dehydration Isn't Always the Answer
Many nail technicians fall into the trap of over-dehydrating the natural nail plate in an attempt to combat lifting. However, the nail plate is a semi-permeable membrane. When we strip the nail of its natural moisture through excessive scrubbing or harsh chemical usage, the body responds by pushing more moisture to the surface. This creates a cycle where the nail plate becomes too flexible, causing the rigid gel layer to lose its seal. To achieve a 3-4 week wear time, we must shift our focus from complete dehydration to 'hydration-retention'.
Step 1: The Porosity Audit
Before you pick up your e-file, you must assess the client's nail porosity. A nail that feels soft or peels easily indicates high porosity. For these clients, aggressive etching is counterproductive because it opens the nail plate further, allowing excess moisture to migrate upward. Instead of a 150-grit band, move to a 240-grit buffer to gently remove the shine without compromising the structural integrity of the keratin layers.
Step 2: The 'Zero-Force' Prep Technique
Pressure is the enemy of adhesion. When using an e-file for cuticle work, the goal is to exfoliate dead tissue, not to thin the nail plate. If you notice white 'dust' that looks like dry skin, you are likely in the right zone. If you see the nail plate turning translucent or thinning, you are removing the healthy cells that provide the anchor for your base coat.
Join the newsletter
Get fresh nail tutorials, trends, and business tips straight to your inbox.
The Checklist for Optimal Prep:
Step 3: pH Balancing vs. Dehydration
Understand the chemistry: A dehydrator is designed to temporarily remove surface moisture, while a primer changes the pH of the nail plate. For clients with high-moisture or oily nail beds, you need to re-establish an acidic environment to encourage ionic bonding.
Apply your dehydrator only to the nail plate, avoiding the surrounding skin. Follow this immediately with a non-acid primer, ensuring it covers the entire surface but is not 'flooded' into the lateral walls. The goal is a thin, uniform layer that acts as a bridge between the keratin and the gel polymer.
Step 4: The 'Edge-Sealing' Geometry
Even with perfect prep, moisture can infiltrate through the lateral walls and the free edge. This is often caused by 'bead pooling.' When applying your base coat, ensure you have a 'gap' of 0.5mm between the product and the proximal fold. During the curing process, the gel will naturally move toward the heat, and if it is too close to the skin, it will flood the cuticle and create a gap where moisture can enter, leading to 'pocket lifting.'
Why This Matters for Client Retention
When a client experiences lifting within the first 10 days, it is rarely due to the quality of the gel product. It is almost always a result of a breach in the bond at the molecular level. By focusing on the 'Hydration-Retention' protocol, you are not just painting nails—you are managing the environmental conditions of the nail plate. Your clients will notice the difference in durability, and your reputation as a technician who understands the 'science of the nail' will solidify your place as a professional expert in your community.
Join the newsletter
Get fresh nail tutorials, trends, and business tips straight to your inbox.