
The 'Hydration-Retention' Protocol: Stabilizing Natural Nails Before Gel Application
Learn the precise chemical-free conditioning steps to optimize nail plate porosity and ensure long-term adhesion for structured gel overlays.
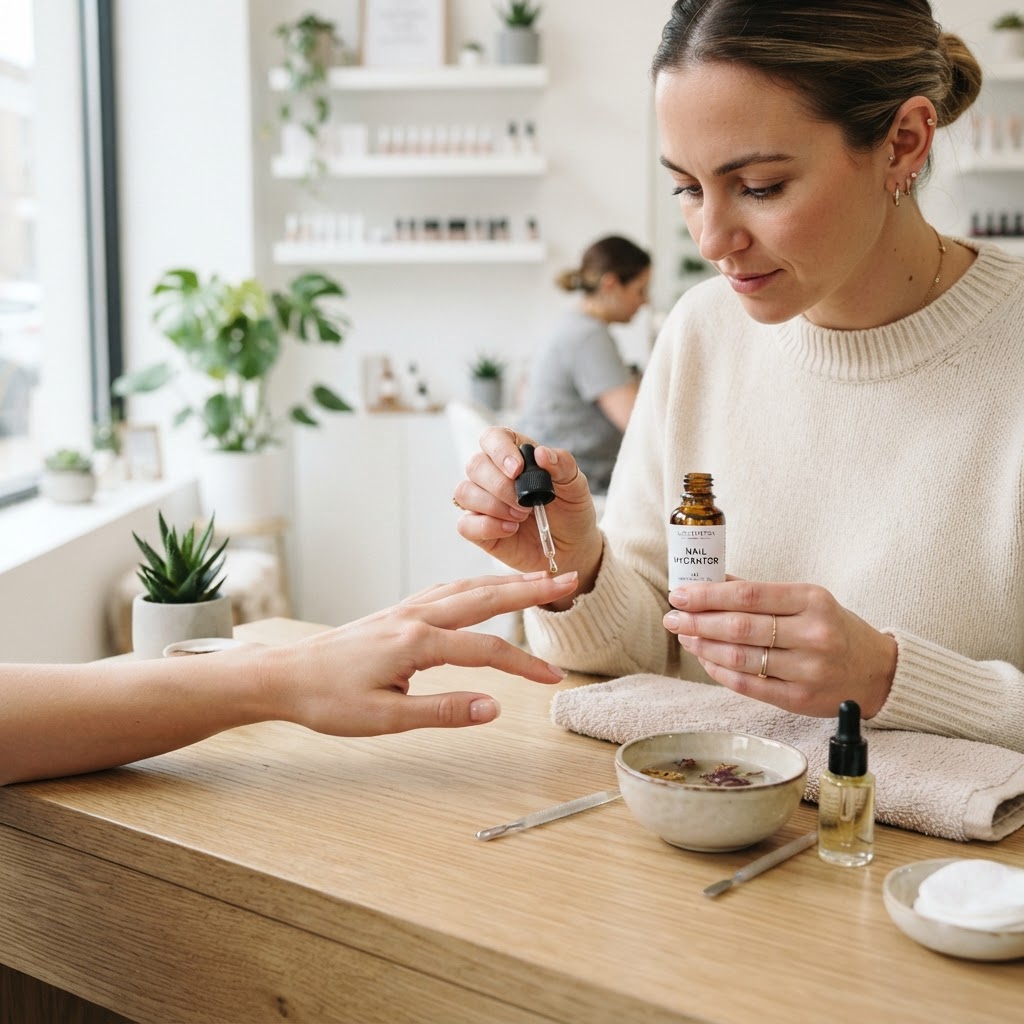
The Anatomy of Adhesion
For many nail technicians, the struggle with lifting isn't a lack of technique, but a fundamental misunderstanding of the nail plate's hydration state. When the nail plate is too dry, it becomes brittle and prone to shattering; when it is oversaturated, the internal structure expands, leading to micro-gaps between the natural nail and the gel product. The 'Hydration-Retention' Protocol is designed to normalize the nail plate's pH and moisture balance, creating the ideal canvas for a long-lasting structured overlay.
Step 1: The Dehydration Diagnostic
Before you even reach for your prep tools, you must perform a 'texture-touch.' If the nail plate appears chalky or shows signs of vertical white ridges, the nail is likely dehydrated. Applying a strong dehydrator to an already dry nail will trigger a compensatory oil-production cycle from the nail bed, which eventually compromises your base bond. Instead, assess the free edge flexibility. If it bends like paper, focus on conditioning rather than aggressive cleansing.
Step 2: The Aqueous Cleansing Method
Join the newsletter
Get fresh nail tutorials, trends, and business tips straight to your inbox.
Many professionals rely heavily on acetone-based dehydrators. However, these strip the natural lipids that are essential for nail flexibility. Adopt this three-stage cleaning process:
Step 3: The Lipid-Barrier Restoration
If you are working on a client with historically weak, peeling nails, consider a pre-service rehydration step. Apply a small amount of jojoba-based cuticle oil to the *surrounding skin only*, avoiding the nail plate itself. This signals the eponychium to calm its oil production, preventing the influx of sebum onto the nail plate during the application process.
Troubleshooting Common Issues
* Mid-Nail 'Pitting': This is often caused by trapped air pockets during the base coat application. If your client has high nail plate porosity, use a 'scrub-in' technique with your base gel, working the product into the crevices of the nail fibers with a firm, dry brush before curing.
* The 10-Day Lift: If your client experiences lifting around the 10-day mark, your prep is likely perfect, but your product's flexibility is the issue. Consider switching to a 'flexible' rubber-base for clients with highly curved, thin nail plates, as these products can accommodate the natural micro-movements of the nail without breaking the adhesion bond.
Maintaining the Integrity
Educating the client is the final step of the protocol. Emphasize that hydration is not just about oil; it is about protecting the nail from environmental moisture fluctuations. Suggesting the use of nitrile gloves during dishwashing or cleaning will do more for their manicure longevity than any top-coat can achieve. By mastering the state of the nail plate before the product hits the surface, you minimize rework and establish yourself as a technician who prioritizes the long-term health of the client's natural nails.
Join the newsletter
Get fresh nail tutorials, trends, and business tips straight to your inbox.
