
The 'Gradient-Transition' Workflow: Mastering Seamless Pigment Blending in Gel Artistry
Learn the precise mechanics of achieving flawless, airbrushed-effect gradients using high-viscosity gels and specialized brush geometry. This guide focuses on technical control to eliminate streaking and achieve professional-grade transitions.
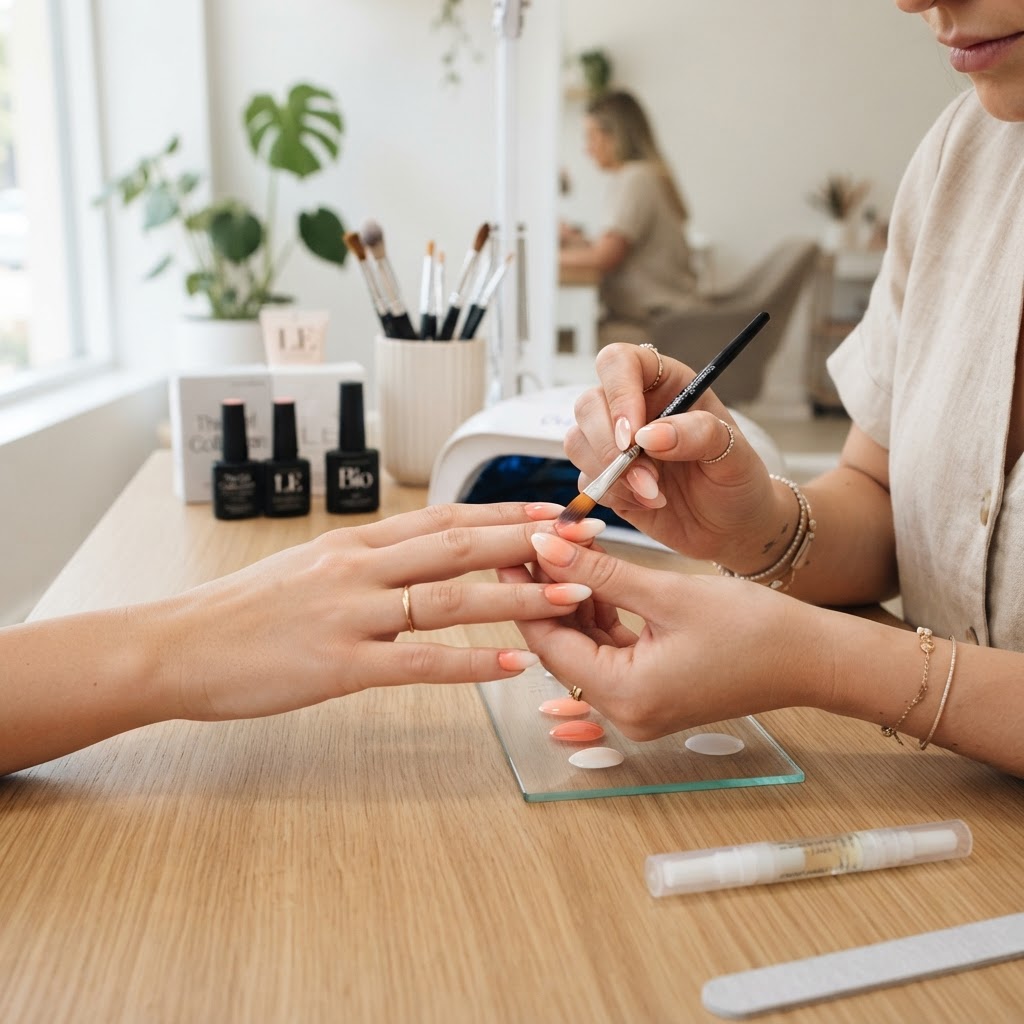
The Science of the Gradient
Creating a flawless gradient in gel artistry relies less on artistic instinct and more on the physics of viscosity and surface tension. To achieve a seamless transition, you must master the 'Gradient-Transition' workflow, which mitigates the visible lines often caused by uneven pigment distribution. This protocol ensures that your transitions are smooth, professional, and free from the dreaded streaking that ruins high-end sets.
Required Toolset and Calibration
To begin, you must calibrate your tools to the product's chemistry. For gradient work, a dedicated ombre brush is essential; look for one with thin, staggered synthetic bristles, which act as a comb to disperse pigment rather than dragging it. Avoid using standard flat gel brushes for the blending phase, as their uniform bristle density will create streaks rather than gradients.
The 'Micro-Stipple' Technique
Instead of horizontal sweeping motions, which drag product too aggressively and create visible ridges, move to a 'micro-stipple' motion.
Join the newsletter
Get fresh nail tutorials, trends, and business tips straight to your inbox.
Managing Viscosity and Pigment Load
Often, artists fail at gradients because they use too much product. A high-viscosity gel carries more pigment, meaning you need a thinner application layer to prevent pooling. If you are struggling with a 'heavy' look, consider thinning your pigmented gels slightly with a clear top coat or a dedicated gel thinner. This adjustment reduces the intensity of the pigment, allowing you to build the gradient in layers rather than forcing a blend in a single pass.
Troubleshooting Common Failures
Structural Integrity Considerations
Remember that pigment acts as an obstruction to light penetration. If you are creating a very dense, opaque gradient, you must increase your cure time by 15-20% to ensure that the UV/LED light reaches the base of the product. Failing to do so will result in uncured product sitting against the nail plate, which is a major contributor to contact dermatitis and product breakdown.
Join the newsletter
Get fresh nail tutorials, trends, and business tips straight to your inbox.