
The Gradient Transition Technique: Mastering Micro-Blending for Seamless Ombré Effects
Learn the professional 'stippling and swipe' method to achieve flawless, airbrush-quality gel polish gradients without texture or visible streaks.
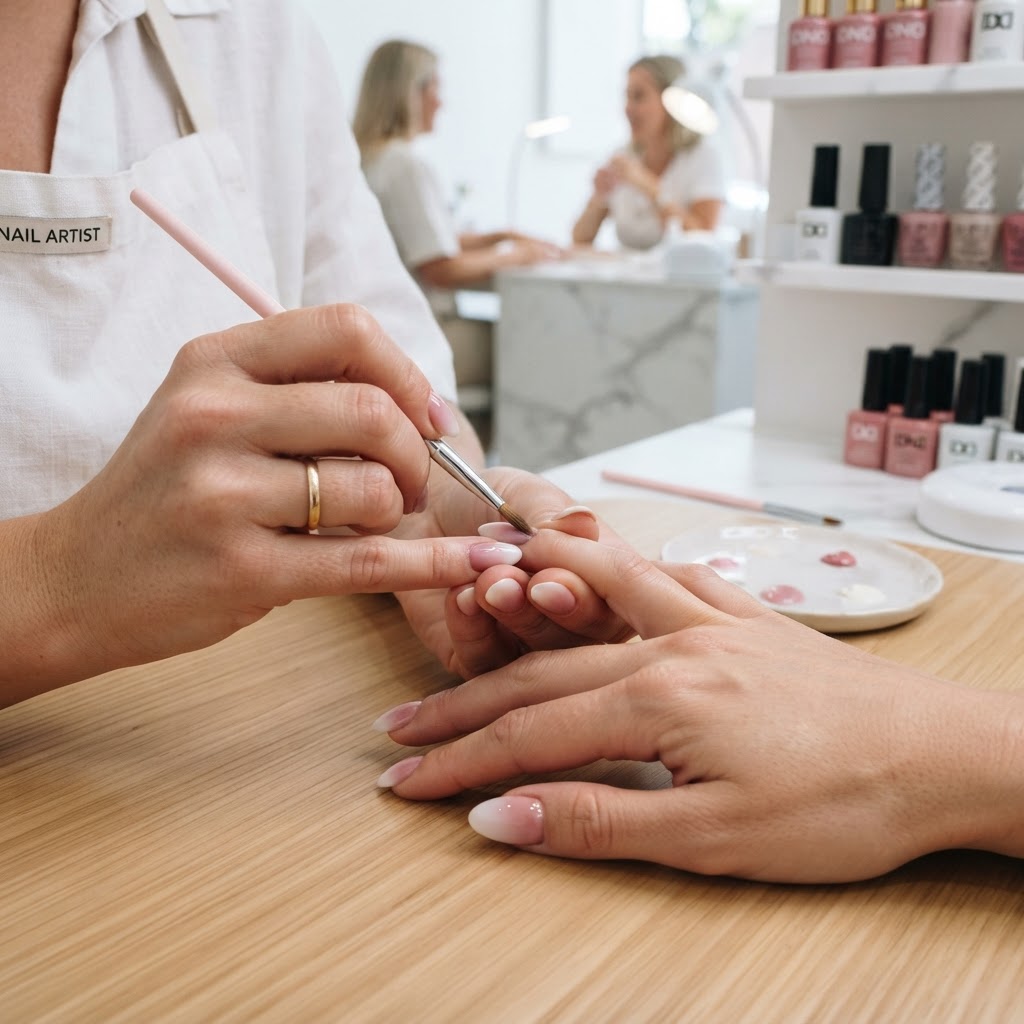
The Physics of the Perfect Blend
Many nail artists struggle with gradients because they treat them like a flat painting rather than a layered physical structure. To achieve a seamless transition between two colors—especially those with different pigment densities—you must manage the volume of product on the brush and the pressure applied to the nail plate. The goal is to create an optical illusion of depth where the colors meet, rather than a muddy overlap.
The 'Stippling and Swipe' Protocol
To begin, ensure your base coat or builder gel is fully cured and wiped with alcohol to create a tacky-free surface. If your base is too sticky, the pigments will 'bleed' into each other, creating a messy finish. Follow these steps for precision:
Join the newsletter
Get fresh nail tutorials, trends, and business tips straight to your inbox.
Troubleshooting Common Failures
* Muddy Transitions: This happens when you use too much product. Always blot your brush on a lint-free wipe after every two taps. A dry brush is your best tool for blending.
* Visible Ridge: If you see a ridge where the colors meet, your base layer wasn't smooth enough. Ensure your apex is perfectly leveled before beginning your color work.
* Texture/Bubbles: If you notice air bubbles, your curing lamp is likely too intense for the initial blend, or you are moving the brush too rapidly. Slow down your hand speed.
Elevating with Glazes and Pigments
Once the primary gradient is cured, you can elevate the effect by layering a sheer, tinted jelly polish over the top. This acts as a 'filter' that unifies the transition, making the gradient look like it exists inside the nail rather than just on the surface. For a high-end editorial look, apply a subtle aurora chrome powder over the cured gradient before your top coat. This adds a refractive element that obscures any minor imperfections in the blend, creating a professional-grade finish that looks like high-end airbrushing. By mastering this technical layering, you move beyond basic nail art and into the realm of structural color design.
Join the newsletter
Get fresh nail tutorials, trends, and business tips straight to your inbox.
