
The 'Gradient-Transition' Protocol: Achieving Seamless Ombré Blending in High-Viscosity Gel Systems
Stop relying on messy sponges and inconsistent layering. Master the 'Gradient-Transition' protocol to achieve professional-grade ombré effects using high-viscosity gels without compromising structural integrity.
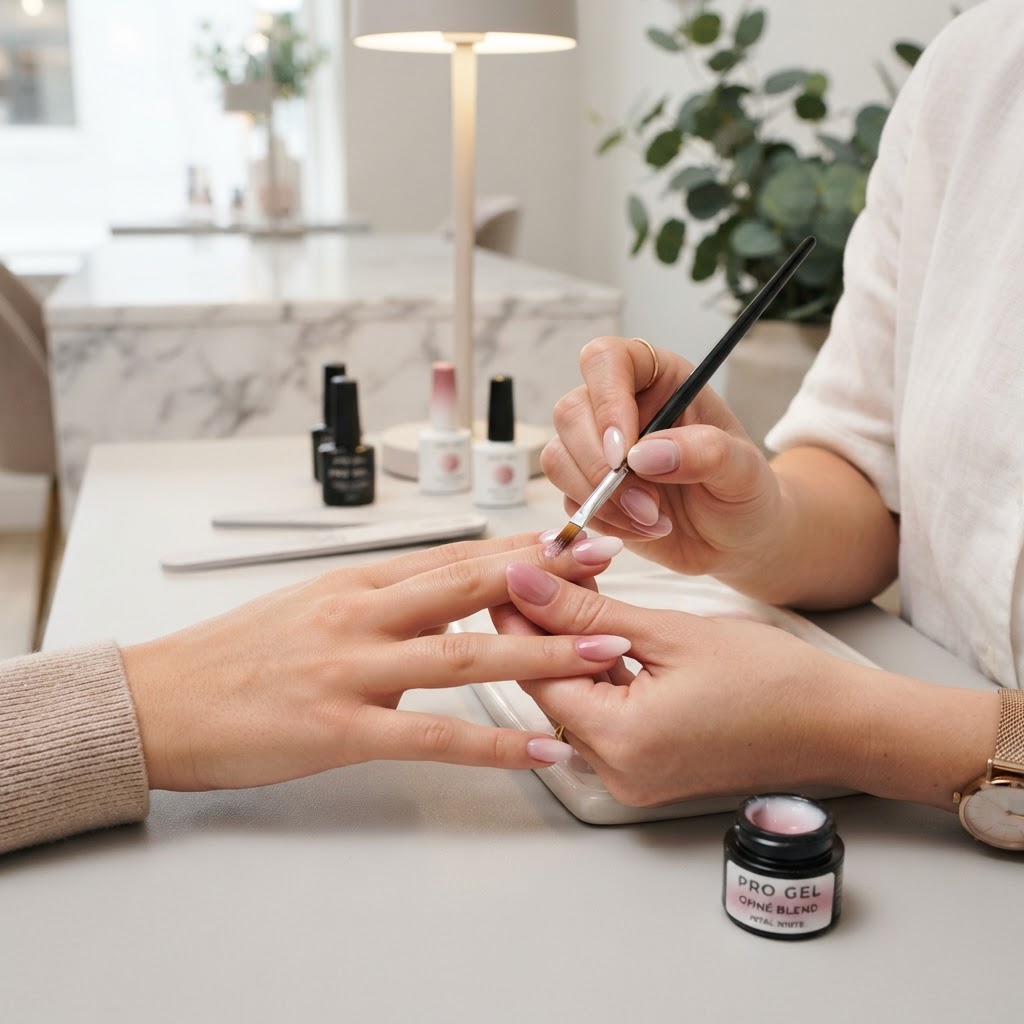
The Precision Ombré Challenge
The traditional sponge-dab technique for ombré nails is often the culprit behind textured, bubbly, or thick-looking enhancements. When working with high-viscosity builder gels or heavily pigmented color gels, the 'dabbing' method disrupts the product's self-leveling properties, leading to an uneven surface that requires excessive buffing. The 'Gradient-Transition' protocol shifts the focus from vertical dabbing to horizontal blending, allowing you to maintain a thin, structural apex while achieving a seamless color fade.
Required Tools and Preparation
To execute this technique, you will need:
Join the newsletter
Get fresh nail tutorials, trends, and business tips straight to your inbox.
Step 1: The 'Bridge-Mix' Zone
Instead of applying two distinct bands of color, create a 'Bridge-Mix' on your palette. Take a small amount of Color A and Color B and blend them together in the center to create an intermediate transition shade (Color C). This middle shade is the key to preventing a harsh line of demarcation. Apply Color A to the cuticle area and Color B to the free edge, leaving a deliberate gap in the center of the nail plate.
Step 2: The Lateral Feathering Technique
Using your brush, pull Color A toward the center and Color B toward the center, meeting in the 'Bridge-Mix' gap. Rather than using vertical strokes, use horizontal, side-to-side feathered strokes. This 'side-loading' technique ensures that you are moving the pigment without lifting the product from the nail bed. If the brush becomes saturated with both colors, wipe it immediately on your alcohol-dampened pad. A clean brush is essential for every lateral pass.
Step 3: Controlling Product Bulk
Because high-viscosity gels are prone to pooling during the blending process, you must 'flash-cure' after achieving the desired gradient. Do not attempt to achieve full opacity in one layer. Apply two thin, blended layers rather than one thick, opaque coat. This maintains the structural integrity of the nail and prevents the 'lumpy' look often associated with amateur ombré designs.
Troubleshooting Common Failures
* The Muddy Blend: If your colors look muddy, you are over-mixing. Use a 'light-touch' flicking motion at the interface of the two colors rather than heavy pressure.
* Visible Texture: If the surface is uneven, you have likely overworked the gel. Allow the nail to self-level for 30 seconds upside down before placing it in the lamp.
* Loss of Fade: If you lose the gradient, re-introduce a micro-bead of the 'Bridge-Mix' (Color C) directly into the center zone and pull it horizontally toward the cuticle and free edge.
By adopting the Gradient-Transition protocol, you reduce the time spent on manual filing and finishing, while delivering a high-end, smooth aesthetic that clients cannot replicate with DIY methods. Efficiency in the salon is defined by how much work you can do in the application phase, leaving the refinement stage for simple, minimal touch-ups.
Join the newsletter
Get fresh nail tutorials, trends, and business tips straight to your inbox.
