
The 'Gradient-Transition' Architecture: Mastering Seamless Ombré Aesthetics with Pigment Buffing
Move beyond basic airbrushing and sponge-dabbling by adopting a professional-grade pigment buffing technique that eliminates texture and ensures professional, editorial-quality color fades.
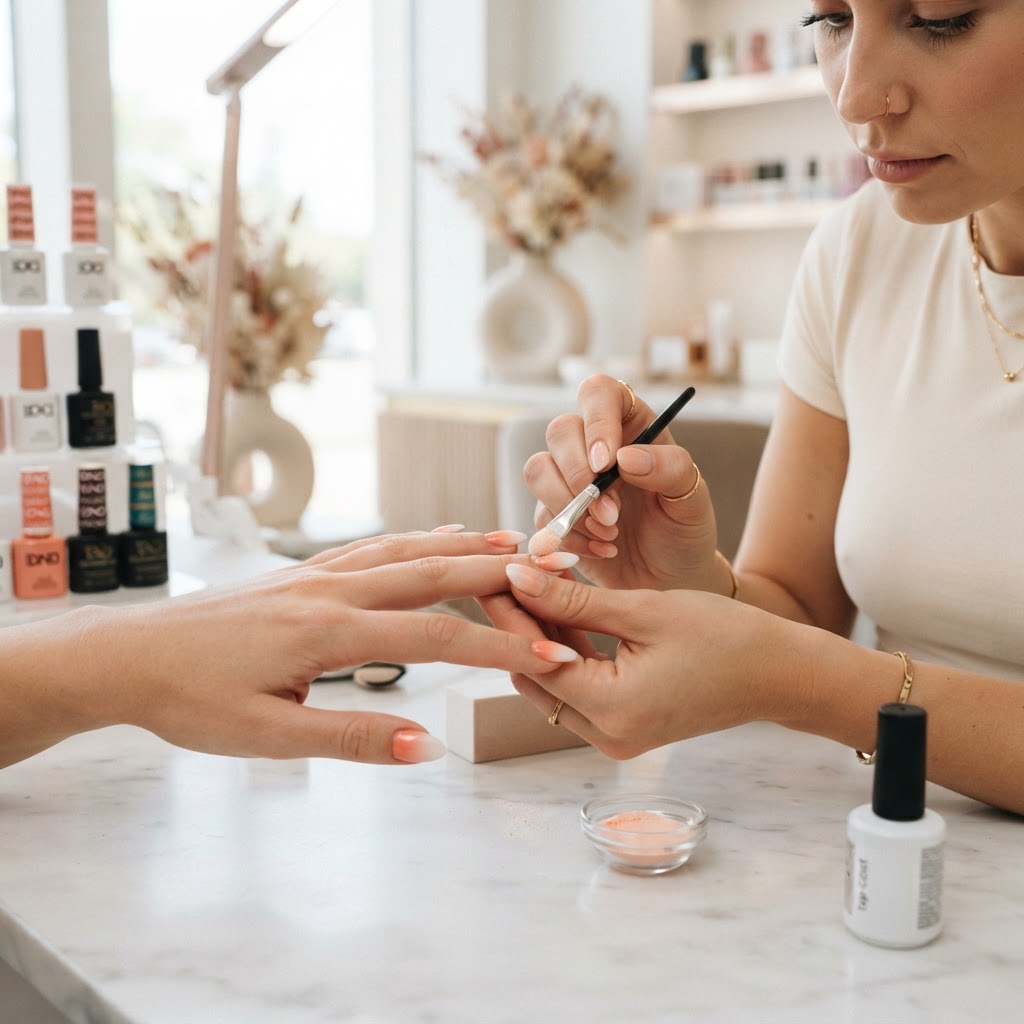
The Flawless Fade: Beyond Conventional Ombré
Many nail artists struggle with the 'stutter' effect in ombré sets—those visible horizontal lines that occur when color density doesn't transition smoothly. While many resort to extensive blending or multiple layers of sheer gel, the secret to a high-end, editorial-ready finish lies in the 'Gradient-Transition' architecture using loose pigment powders.
The Material Selection Matrix
To achieve a seamless transition, you must use high-density, ultra-fine nail pigments. Avoid eyeshadows or craft pigments, which contain fillers that create gritty textures. Your base coat should be a cured, tack-free or high-tack layer depending on your chosen medium.
The 'Gradient-Transition' Protocol
Join the newsletter
Get fresh nail tutorials, trends, and business tips straight to your inbox.
Troubleshooting Common Failures
* The 'Muddy' Zone: If your colors look brownish at the intersection, you are overlapping the primary colors too heavily. Increase the 'bridge' zone size. If using blue and yellow, you must incorporate a neutral green pigment in the center to create a professional transition.
* Particle Clumping: If you see tiny bumps, your base layer was likely too tacky or the environment had high humidity. Always dehydrate the nail surface lightly before applying the pigment buffer.
* Lateral Lifting: Ensure you leave a 1mm margin at the side-walls free of pigment. If the pigment extends to the skin, the topcoat will fail to create a seal, leading to premature peeling.
Scaling the Technique
This protocol allows you to reduce service time significantly compared to liquid-gel blending. Once you master the dry-pigment buffing method, you can complete a complex multi-color ombré in under 8 minutes per hand. By positioning this as a 'High-Definition Color Blend' service on your menu, you can justify a price premium over standard solid-color gel applications.
Join the newsletter
Get fresh nail tutorials, trends, and business tips straight to your inbox.