
The 'Gradient-Saturation' Protocol: Mastering Monochrome Sculpting with Precision Pigment Zoning
Move beyond basic color application by mastering the physics of pigment density to create high-end, editorial-quality monochrome gradients that resist lifting and yellowing.
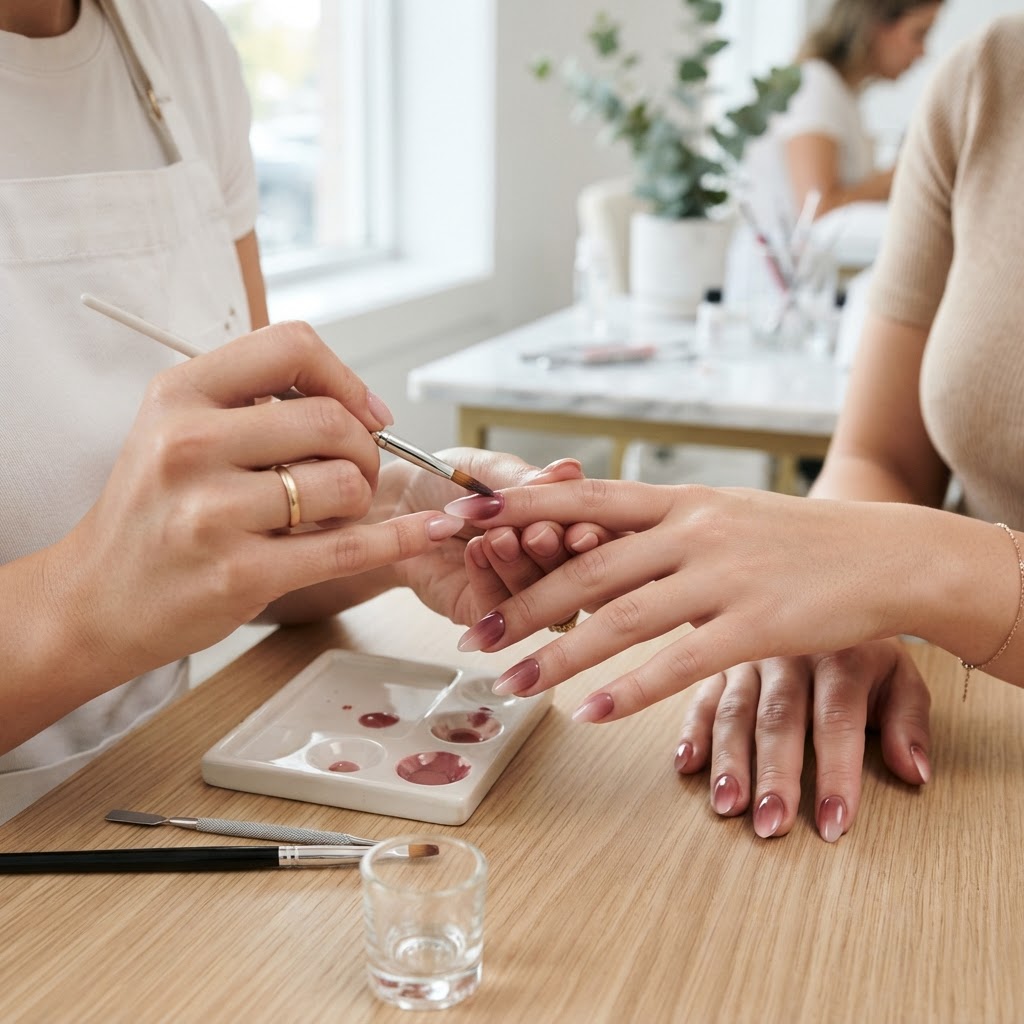
The Architecture of Monochrome Gradient Sculpting
Many nail artists view gradients as a simple blending exercise, but at the professional level, it is a matter of structural chemistry and pigment zoning. Achieving a seamless monochrome transition—where a single color moves from deep saturation to sheer transparency—requires moving beyond simple sponge-patting.
Step 1: The 'Base-Depth' Calibration
Before applying your primary color, you must establish a neutral foundation that matches the undertone of your chosen pigment. For dark, high-saturation gradients, use a medium-opaque nude base cured at 80% power. This ensures that the pigment bonds to a semi-cured surface rather than a slick, fully-polymerized one, which prevents the common 'beading' effect where pigments repel each other.
Step 2: Pigment Zoning via Viscosity Control
Join the newsletter
Get fresh nail tutorials, trends, and business tips straight to your inbox.
To achieve a perfect fade, you must manipulate the viscosity of your gel base.
Step 3: The 'Micro-Buff' Technique
After applying your zones, do not use a sponge. Sponges trap air bubbles that lead to micro-fractures in the gel structure. Instead, use a soft, rounded synthetic shader brush. Working from the darkest area to the lightest, use a light, 'flicking' motion. The goal is to push the pigment particles slightly into the transition zone without blurring the line of definition.
Troubleshooting Common Failures
Why This Matters for Your Business
Mastering this protocol elevates your service menu from 'standard gel polish' to 'custom editorial design.' By utilizing this zoning technique, you reduce material waste—since you aren't globbing on excessive pigment—and increase your ticket average by positioning the service as a specialty 'sculpted gradient' rather than a basic color application. This level of technical precision is exactly what separates a high-end boutique from a general salon, justifying premium pricing and fostering long-term client retention.
Join the newsletter
Get fresh nail tutorials, trends, and business tips straight to your inbox.