
The 'Flash-Cure' Sequence: Preventing Gel Migration on Complex 3D Embellishments
Master the art of high-volume 3D nail art by utilizing a staged flash-curing workflow to eliminate product slumping and ensure crisp, sculptural geometry.
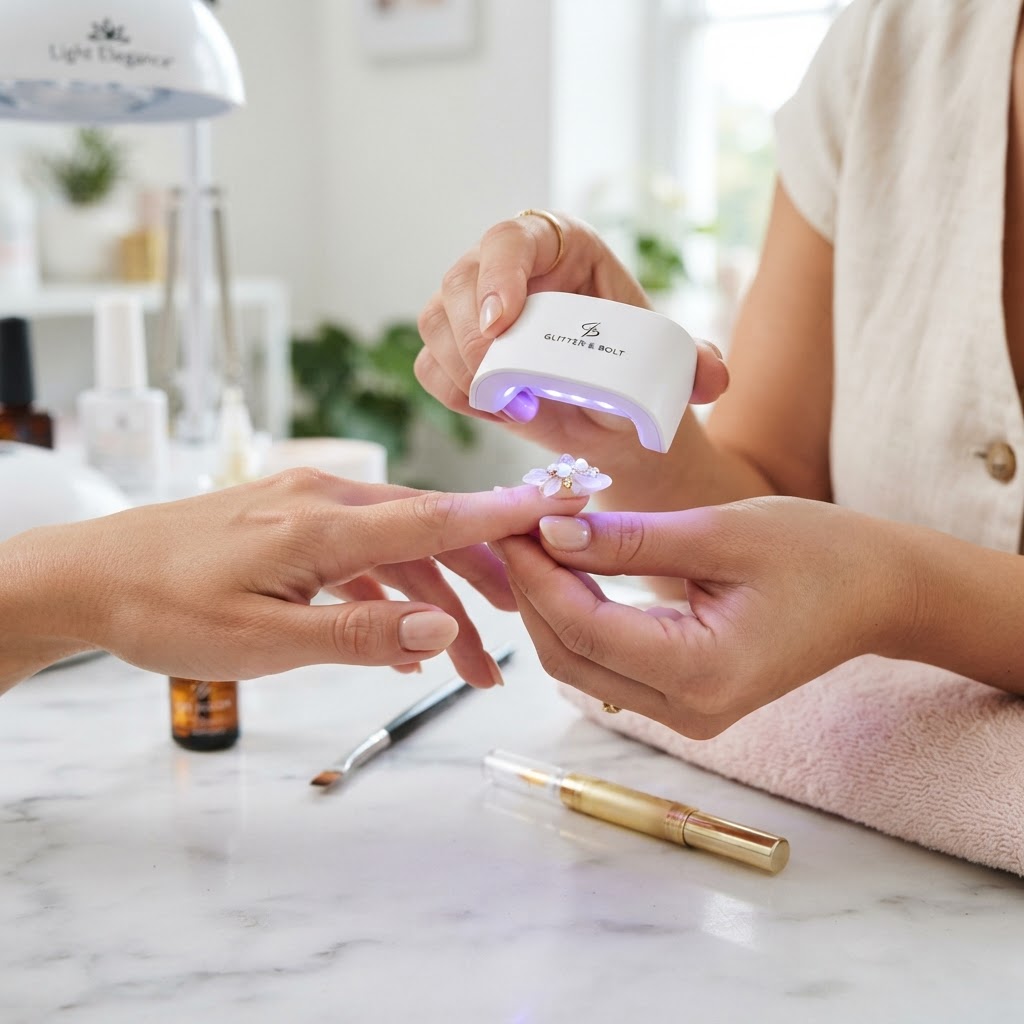
Mastering the Flash-Cure Workflow
For nail artists working with high-viscosity sculpting gels, building intricate 3D designs often feels like a race against gravity. As you build volume, non-leveled pigments or builder gels often begin to migrate, softening your crisp edges and ruining the architectural intent of the set. The 'Flash-Cure' Sequence is a standardized method for locking in structural geometry before the final deep-cure, ensuring that your intricate designs remain exactly where you placed them.
The Physics of Product Migration
Gel migration occurs due to the interplay of heat, gravity, and the monomer chain length of your product. When a bead is applied at a significant thickness—common in 3D flower petals, bows, or sculpted relief—the product remains 'active' until full polymerization. By applying a 'Flash-Cure' sequence, you create a microscopic surface skin that acts as a structural anchor, preventing the bead from flattening or drifting while you work on adjacent areas.
The Protocol: A Four-Step Approach
Join the newsletter
Get fresh nail tutorials, trends, and business tips straight to your inbox.
To implement this in your daily salon service, follow this precision workflow:
Strategic Benefits for Nail Techs
* Efficiency: By curing in 10-second intervals rather than pausing to fix sagging designs, you reduce total service time by approximately 15%.
* Consistency: Your portfolio will look more professional when every sculpted element maintains sharp, intentional edges rather than rounded, 'melted' textures.
* Durability: By ensuring the base of your 3D work is anchored early, you significantly reduce the risk of lifting or accidental snagging during the client's daily activities.
Troubleshooting Common Issues
If you find your gels are still moving during this process, consider these two variables: First, check your lamp output. If your flash-cure lamp is older, it may lack the intensity to create a quick surface film. Second, re-evaluate your product viscosity. If you are using a self-leveling gel for high-relief 3D art, you are working against the chemistry of the product. Switch to a non-leveling sculpting paste or a thick-viscosity 'jelly' gel for better control.
Join the newsletter
Get fresh nail tutorials, trends, and business tips straight to your inbox.
