
The 'Eponychium-Gap' Protocol: Precision Micro-Sealing for Gel Extension Longevity
Master the microscopic integration between the gel base and the proximal nail fold to prevent lifting and ensure a seamless, grown-out aesthetic.
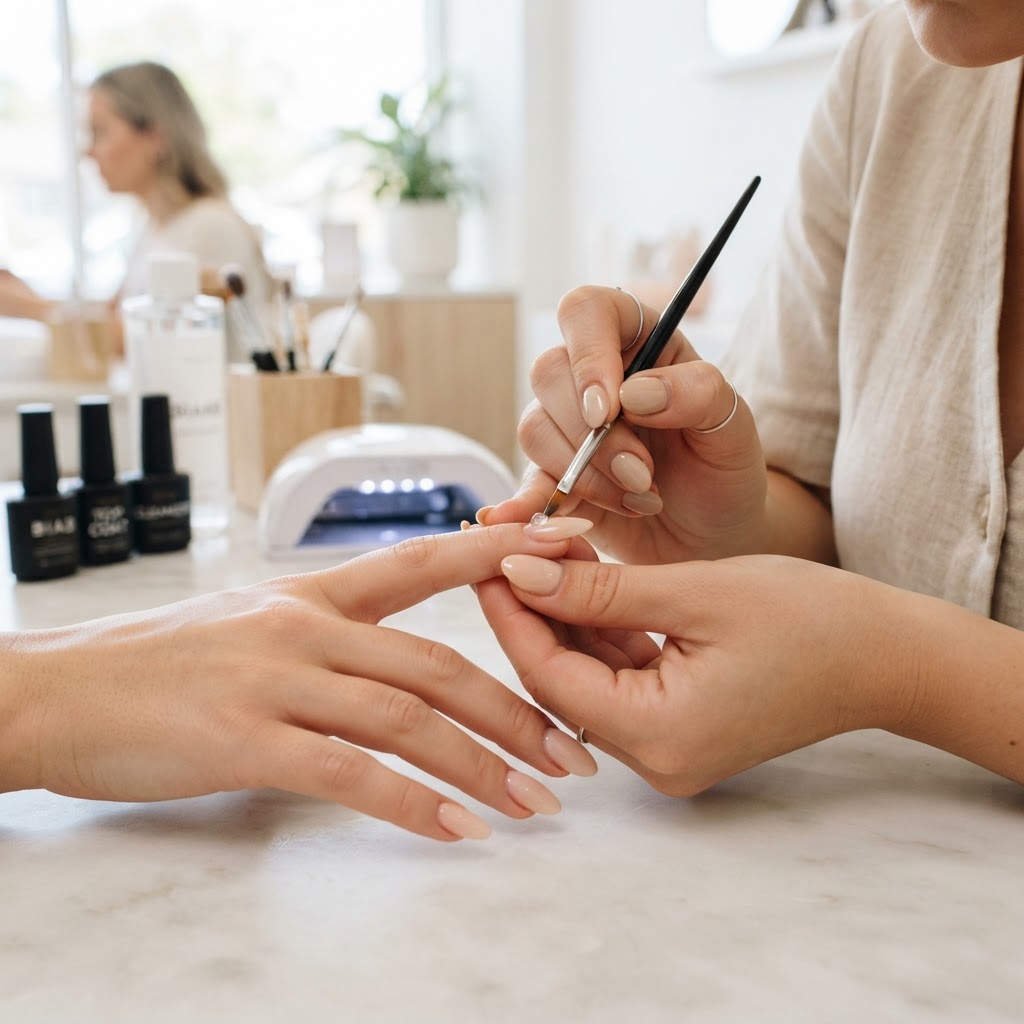
The Anatomy of Lifting
Most premature lifting in gel enhancements occurs not because of poor product quality, but because of a failure to respect the biological barrier of the proximal nail fold. The eponychium serves as a natural seal, but as clients grow out their nails, the space between the cuticle and the product often becomes a collection point for oils, debris, and moisture. The 'Eponychium-Gap' Protocol is designed to bridge this distance through precision application and structural beveling.
Phase 1: Micro-Exfoliation and Surface Prep
Before any product touches the nail plate, you must identify the 'dead-skin threshold.' Using an e-file bit at a low RPM (max 7,000), carefully remove the non-living tissue from the nail plate surface. If you leave even a microscopic layer of cuticle on the nail bed, your gel base will adhere to the skin rather than the keratin, leading to inevitable lifting within 72 hours. Use a diamond flame bit to gently push back and lift the proximal fold, creating a clear 'canyon' that allows you to deposit product closer to the root without touching the soft tissue.
Phase 2: The 'Thin-Margin' Base Application
Join the newsletter
Get fresh nail tutorials, trends, and business tips straight to your inbox.
Rather than applying a thick bead of base gel, utilize a two-step application process:
Phase 3: The Beveling Technique
Once your color or structure gel is cured, the transition from the gel to the natural nail must be seamless. If there is a 'step' or a ridge where the gel meets the nail plate, it acts as a lever that will catch on hair, clothes, and skin, causing the gel to pull away.
Tools for Success:
* 180/240 Grit Buffer: Gently bevel the proximal edge of the cured product. You want the gel to be so thin at the cuticle that it essentially disappears into the natural nail surface.
* Precision Brushwork: Always keep a clean, dry brush nearby to wipe away any microscopic pigment beads that may have touched the skin before curing.
Maintenance and Client Education
Longevity is a partnership. Instruct your clients that the 'Eponychium-Gap' remains sealed only if the area is kept hydrated. Daily cuticle oil application keeps the skin supple, preventing the separation of the eponychium from the nail plate. When the skin remains tight to the nail, it prevents dirt and water from migrating under the gel. By combining this mechanical sealing protocol with consistent home-care routines, you can extend the integrity of a manicure from two weeks to four, significantly reducing the maintenance burden on the client and increasing your reputation for high-quality, durable work.
Join the newsletter
Get fresh nail tutorials, trends, and business tips straight to your inbox.