
News6 min readby NailRush Live Team2 views
The 'Eponychium-Alignment' Protocol: Refining Cuticle Integrity for Hyper-Realistic Gel Application
Master the precise anatomical alignment required to create the illusion of a floating cuticle, ensuring both aesthetic perfection and extended wear-time for gel enhancements.
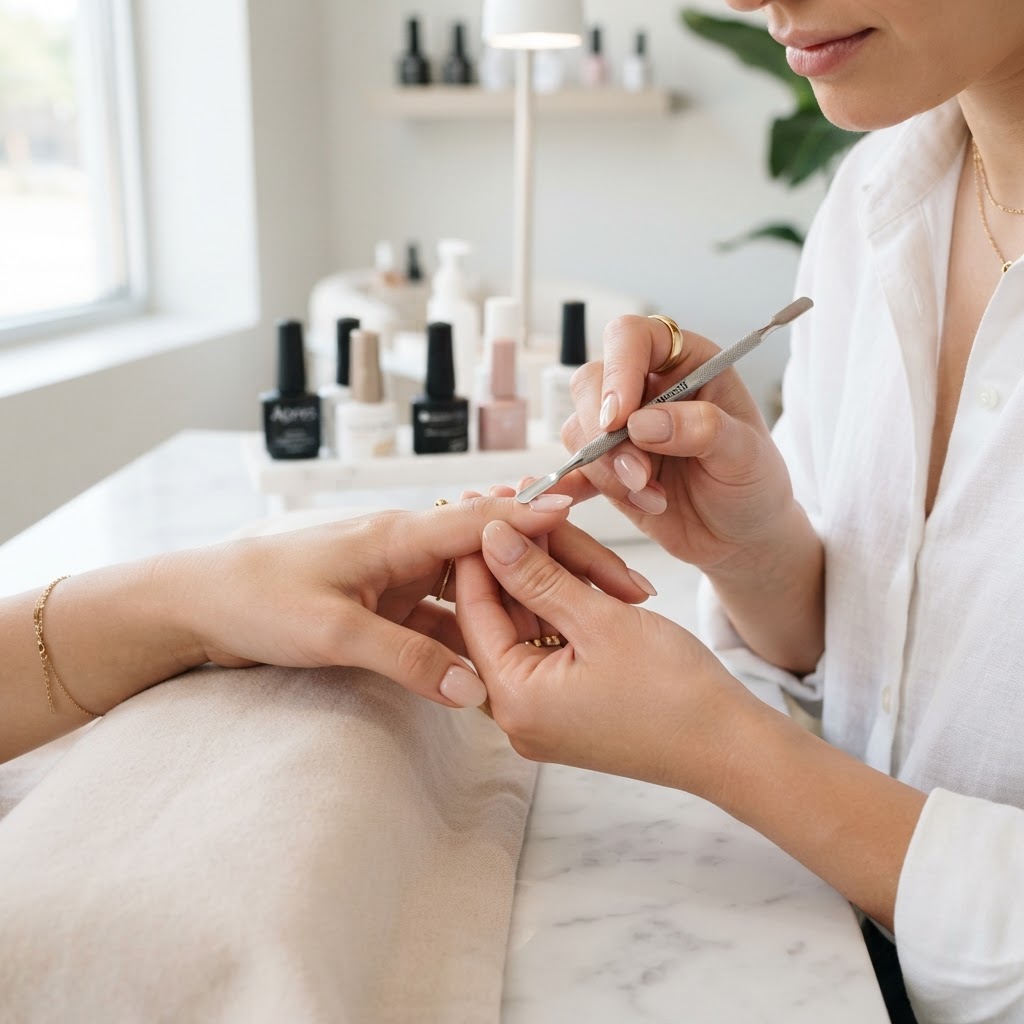
The Anatomy of the 'Floating Cuticle' The quest for the 'floating cuticle' aesthetic is the current benchmark for professional gel application. Achieving a seamless transition from the natural nail plate to the gel overlay is not just about aesthetic beauty; it is a fundamental indicator of structural integrity. When the product is placed with surgical precision near the eponychium without touching the soft tissue, you effectively eliminate the primary cause of early-stage lifting: improper sealing and cuticle contact. ### Step 1: The 'Non-Contact' Preparation Phase The most common failure in cuticle-adjacent application occurs during the prep phase. Using a high-grit diamond bit or a dull e-file bit can cause 'micro-fraying' of the eponychium. Instead, utilize a medium-grit flame bit at a low RPM (8,000-10,000). The goal is to lift the proximal fold just enough to reveal the true 'depth' of the nail plate. If you over-prep, you create a microscopic trench that will trap product, leading to inevitable peeling. ### Step 2: The 'Floating' Bead Placement Technique When applying your base or builder gel, the 'floating' technique relies on gravity rather than brush pressure. 1. Load your brush with a small amount of product, ensuring the belly of the brush is fully saturated. 2. Place the product approximately 1.5mm away from the eponychium. 3. Use the tip of your brush to gently guide the product toward the cuticle line. 4. As the product approaches the proximal fold, stop 0.5mm short. The self-leveling properties of the gel will naturally pull the material toward the edge without flooding the tissue. ### Step 3: The 'Tension-Lock' Curvature If your client has a deep proximal fold, the gel may appear to 'dent' at the cuticle line. To correct this, perform a 'tension-lock' motion: once the product is placed, tilt the client's hand downward. This causes the gel to pool toward the cuticle, creating a smooth, high-tension transition that mimics the natural growth of the nail plate. ### Identifying Common Failure Points - Flooding the Lateral Folds: Often occurs when the brush is held at a 90-degree angle. Keep your brush at a 45-degree angle to maintain control over the bead flow. - Excessive Base Layer: If the base layer is too thick near the cuticle, the builder gel will 'skate' away from the edge, creating a visible ridge. Apply a thin, scrubbed-in layer of base first to create a uniform surface tension. - Polymerization Shrinkage: If your gel brand is prone to shrinkage, cure for 10 seconds before moving to the next nail to 'lock' the cuticle alignment in place. By mastering this protocol, you transition from 'painting nails' to 'engineering longevity.' The result is a crisp, professional look that lasts well into the client’s third week, requiring minimal maintenance and establishing your reputation as a technician who prioritizes both health and precision.
Join the newsletter
Get fresh nail tutorials, trends, and business tips straight to your inbox.
Join the newsletter
Get fresh nail tutorials, trends, and business tips straight to your inbox.
