
The 'Density-Mapping' Framework: Optimizing Gel Flow for Uniform Pigment Distribution
Learn how to master the distribution of high-pigmentation gel colors to eliminate streaks, bubbling, and uneven saturation in your salon services.
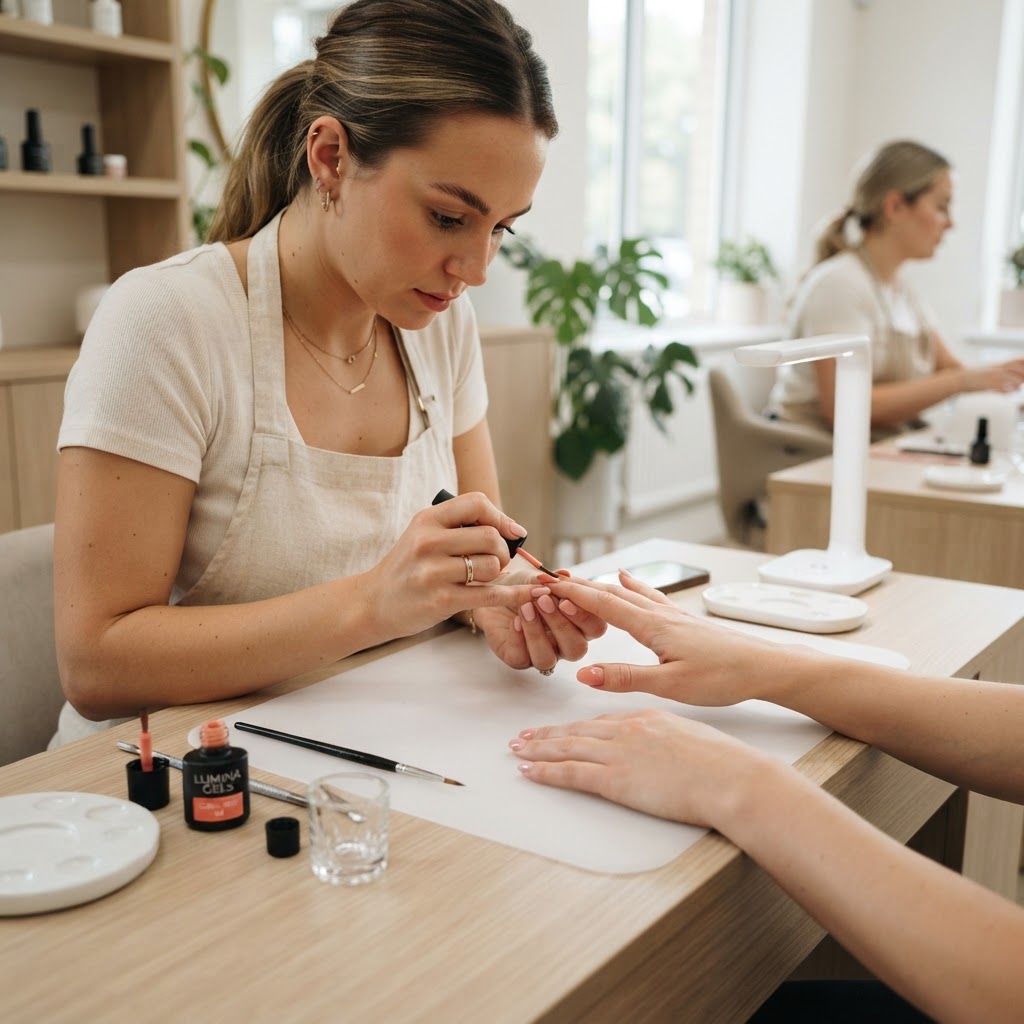
Mastering the Density-Mapping Framework
For nail technicians, one of the most persistent hurdles in achieving a professional finish is the inconsistent application of highly pigmented gel polish. Whether you are dealing with a pastel creme or a deep, saturated pigment, the 'Density-Mapping' approach moves away from the traditional 'three-stroke' application method toward a more calculated, structural distribution of product. By treating your brush as a distribution tool rather than a paint-delivery system, you can ensure uniform opacity without the risk of pooling at the cuticle.
The Anatomy of Pigment Dispersion
Most streaking occurs when the brush pressure is inconsistent across the surface of the nail plate. When you press too hard, you displace the pigment particles, pushing them toward the lateral sidewalls and leaving the center of the nail thin. The Density-Mapping framework relies on three distinct zones of pressure:
Join the newsletter
Get fresh nail tutorials, trends, and business tips straight to your inbox.
Actionable Steps for Uniform Application
To implement this in your salon, adopt this sequence to minimize 'shadowing' or bald spots:
* De-saturation check: Always wipe your brush on a lint-free wipe before the final leveling pass to ensure you aren't carrying excess bulk.
* Vertical orientation: When working with darker pigments, keep the brush at a 15-degree angle. This keeps the bristle tips from dragging through the curing layers and causing micro-craters.
* The 'Cap and Float' method: After your initial application, perform a 'floating' pass over the entire nail without touching the bristles to the surface. This uses surface tension to pull the pigment into any uneven 'valleys' left by the brush.
Troubleshooting Common Density Issues
* Streaking: Usually caused by a brush that is too soft or 'watery.' Switch to a firm, synthetic flat-brush to gain more control over the pigment density.
* Pooling: You are using too much product in the 'Reservoir Zone.' Shift the bead slightly closer to the center, letting the gel settle toward the cuticle on its own through gravity.
* Bubbling: Often caused by over-working the product. If you brush back and forth more than three times, you introduce air into the medium. Stick to the mapping sequence: Center-Left-Right-Level.
By systematizing your application, you reduce the need for excessive layering—which in turn reduces heat spikes during curing and minimizes bulk at the free edge. When you treat the nail as a topographical map of flow, you eliminate the guesswork, resulting in a flawless, glass-like finish that clients will notice immediately.
Join the newsletter
Get fresh nail tutorials, trends, and business tips straight to your inbox.
