
The 'Cuticle-Depth' Calibration: Precision Analysis for Optimal Product Sealing
Move beyond standard cuticle prep by learning to categorize dermal depth, ensuring a perfect flush-fit that prevents lifting and protects the nail matrix.
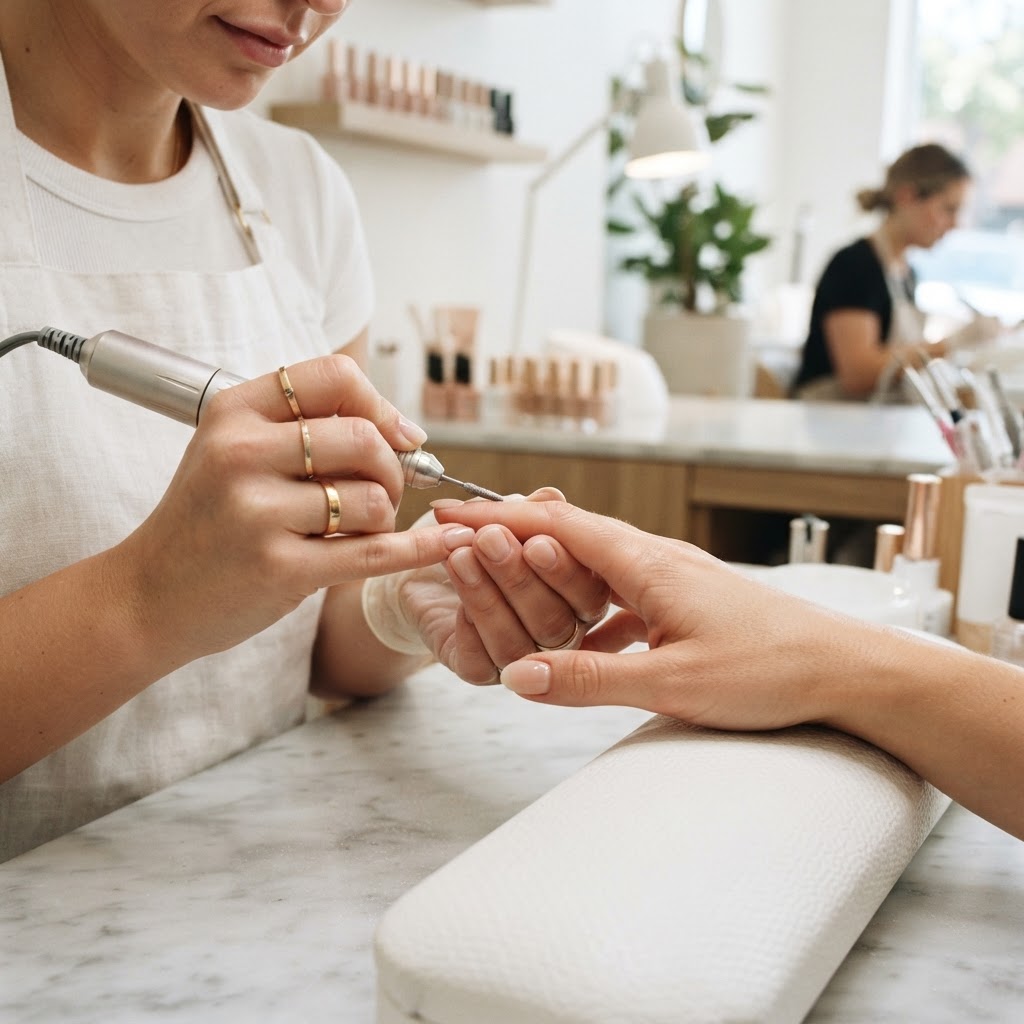
Understanding the Dermal-Cuticle Interface
Many nail technicians treat the cuticle area as a monolithic zone, applying the same pressure and technique to every client. However, successful long-term retention relies on recognizing the morphological differences in a client's proximal nail fold. The 'Cuticle-Depth' Calibration is a systematic approach to identifying whether a client presents with high-volume, deep-pocket, or atrophic cuticles, and adjusting your mechanical and chemical prep accordingly.
Category 1: The Deep-Pocket Morphology
Clients with deep proximal nail folds are prone to 'product flooding,' where base gel or color inadvertently seeps into the pocket. Because this area is often moist, product cured inside the pocket will inevitably lift as the nail grows out, creating a site for moisture accumulation.
* The Adjustment: Use a medium-grit diamond ball bit at a low RPM (5,000–8,000) to gently retract the fold.
* The Sealing Protocol: Apply a thin layer of primer only to the natural nail plate, intentionally leaving a 0.5mm gap from the skin. Use a liner brush to 'float' your base coat to the edge rather than pushing it with the bottle brush.
Join the newsletter
Get fresh nail tutorials, trends, and business tips straight to your inbox.
Category 2: The Atrophic or Fragile Cuticle
These clients have minimal cuticle presence but are highly susceptible to mechanical damage. Over-etching here can lead to inflammation or permanent nail matrix disruption.
* The Adjustment: Avoid harsh metal pushers. Utilize a chemical exfoliant or a very soft, silicone-tip tool to move the dead tissue without abrading the living skin.
* The Sealing Protocol: Focus on high-adhesion base gels that are flexible. Since these clients lack the natural 'cushion' of a robust fold, the product must move with the nail plate to avoid cracking at the proximal line.
The Precision Prep Workflow
To standardize your service, follow these three steps for every client, regardless of their cuticle type:
Troubleshooting Common Lift Points
If you notice consistent lifting at the cuticle after 7-10 days, perform a 'micro-check' on your next client. Are you using a lamp that requires the hand to be angled? Often, lifting is not a product failure, but a geometry failure. By calibrating your brush angle to be parallel to the nail plate at the cuticle line, you create a seamless transition that mimics natural growth, significantly reducing the 'ledge' that catches on hair and fabric.
Join the newsletter
Get fresh nail tutorials, trends, and business tips straight to your inbox.
