
NailRush Live
Style6 min readby NailRush Live Team2 views

The 'Contour-Sync' Protocol: Precision Sculpting for Hyponychium-Sensitive Nail Beds

Learn the exact structural filing and application techniques to safely lengthen enhancements on clients with recessed hyponychiums without compromising long-term nail health.
The 'Contour-Sync' Protocol: Precision Sculpting for Hyponychium-Sensitive Nail Beds

The Structural Challenge of Sensitive Hyponychiums

Many high-end clients present with a 'recessed' or highly sensitive hyponychium—the seal between the nail plate and the skin of the fingertip. When working with long enhancements, standard form placement and deep cleaning can trigger discomfort, inflammation, or worse, promote onycholysis. The 'Contour-Sync' protocol is designed to achieve structural integrity while respecting the biological limits of the sensitive nail bed.

Phase 1: The Zero-Pressure Prep

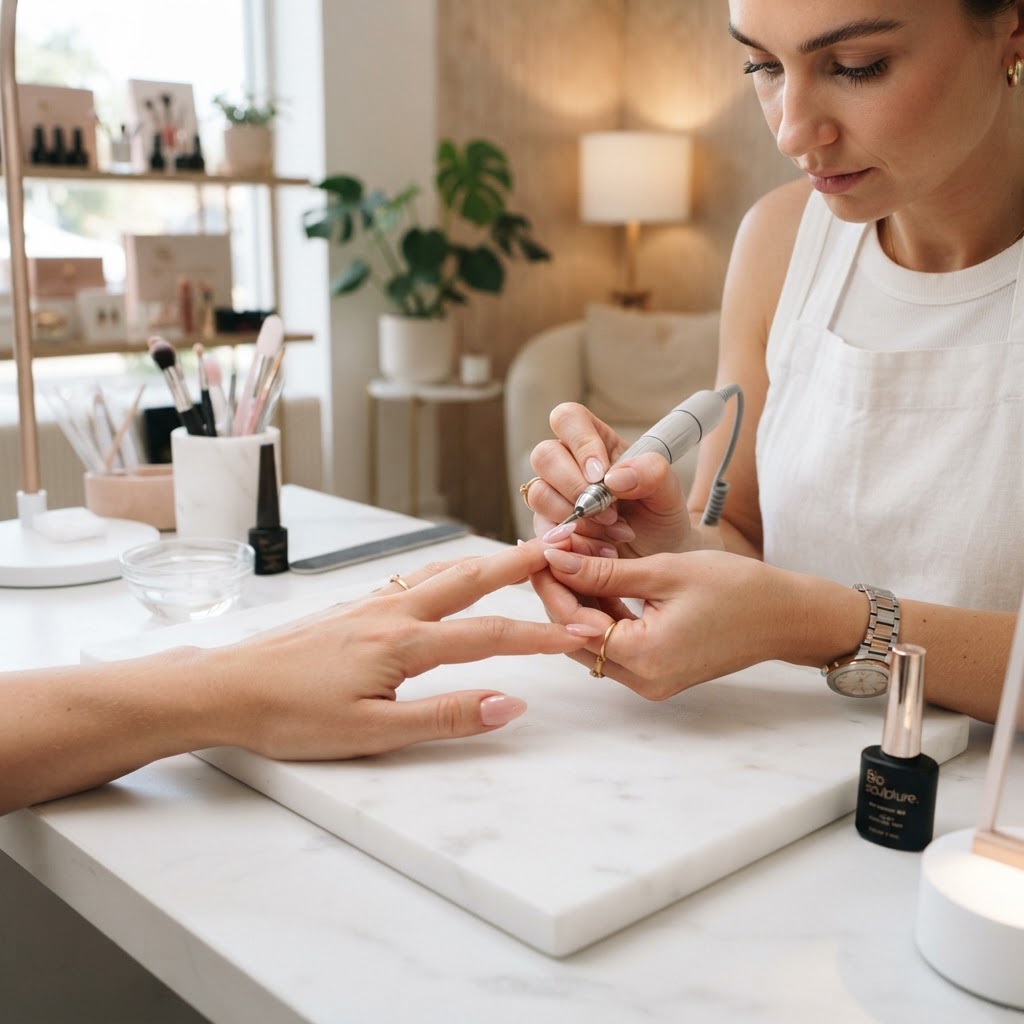
Traditional e-file cleaning can be too abrasive for reactive skin. Instead, utilize a 'dry-buff' approach:

  • Bit Selection: Use a fine-grit diamond cone bit (not a barrel) at low RPM (max 5,000) to gently lift the cuticle without disturbing the hyponychial seal.
  • Dehydration: Avoid liquid dehydrators near the free edge. Instead, use a lint-free wipe dampened with 90% isopropyl alcohol and 'press' rather than 'scrub' to remove surface oils without penetrating the seal.
  • Phase 2: Form Placement and Tension Mapping

    Join the newsletter

    Get fresh nail tutorials, trends, and business tips straight to your inbox.

    For sensitive nail beds, the most common error is applying form tension that stretches the hyponychium.

  • The Relief Cut: Always pre-cut the form side-walls to match the client's specific arch. If the form creates a downward pull, you have already compromised the structure before the first bead is applied.
  • The Fulcrum Shift: Place the form at a 5-degree upward angle relative to the natural nail. This creates a 'bridge' effect, where the weight of the enhancement sits on the free edge, not the sensitive nail bed beneath.
  • Phase 3: The 'Floating' Apex Application

    When applying your builder gel or acrylic, the 'Floating' Apex technique is crucial:

  • Base Layer: Apply a flexible, thin-viscosity base coat. Cure for 30 seconds. This acts as a shock-absorber.
  • The First Bead: Place your product at the stress point (the intersection of the natural nail and the form). Ensure the product does not exceed the depth of the natural free edge.
  • Curing Cycle: Use a 'pulse-cure' method (if your lamp allows) to prevent the exothermic reaction that can irritate the hyponychium through the nail plate.
  • Phase 4: Ergonomic Filing and Finishing

    Once cured, the filing process must prioritize the 'Underside Contour':

  • The Carbide Clearance: Use a thin carbide bit to carve out the 'c-curve' underneath the enhancement. By thinning the product on the underside *near* the hyponychium, you reduce the physical leverage the nail has to pull away from the bed.
  • Smooth Finish: Ensure the underside is perfectly smooth. Any roughness here acts like a saw against the skin every time the client types or uses their hands.
  • Why This Matters for Client Retention

    Clients with sensitive nail beds often jump between salons because their nails hurt during the process. By adopting the 'Contour-Sync' protocol, you signal to your client that you prioritize their anatomy over 'fast-fashion' application methods. This builds trust, leads to longer-lasting sets, and solidifies your reputation as a technician who understands the biology behind the art.

    Learn More on NailRush

    Watch tutorials, shop products, and connect with nail artists worldwide.

    Join the newsletter

    Get fresh nail tutorials, trends, and business tips straight to your inbox.