
The 'Contact-Surface' Friction Audit: Eliminating Premature Gel Lift Through Surface Topology
Mastering the physics of adhesion by re-engineering your plate preparation to account for microscopic topography and surface energy.
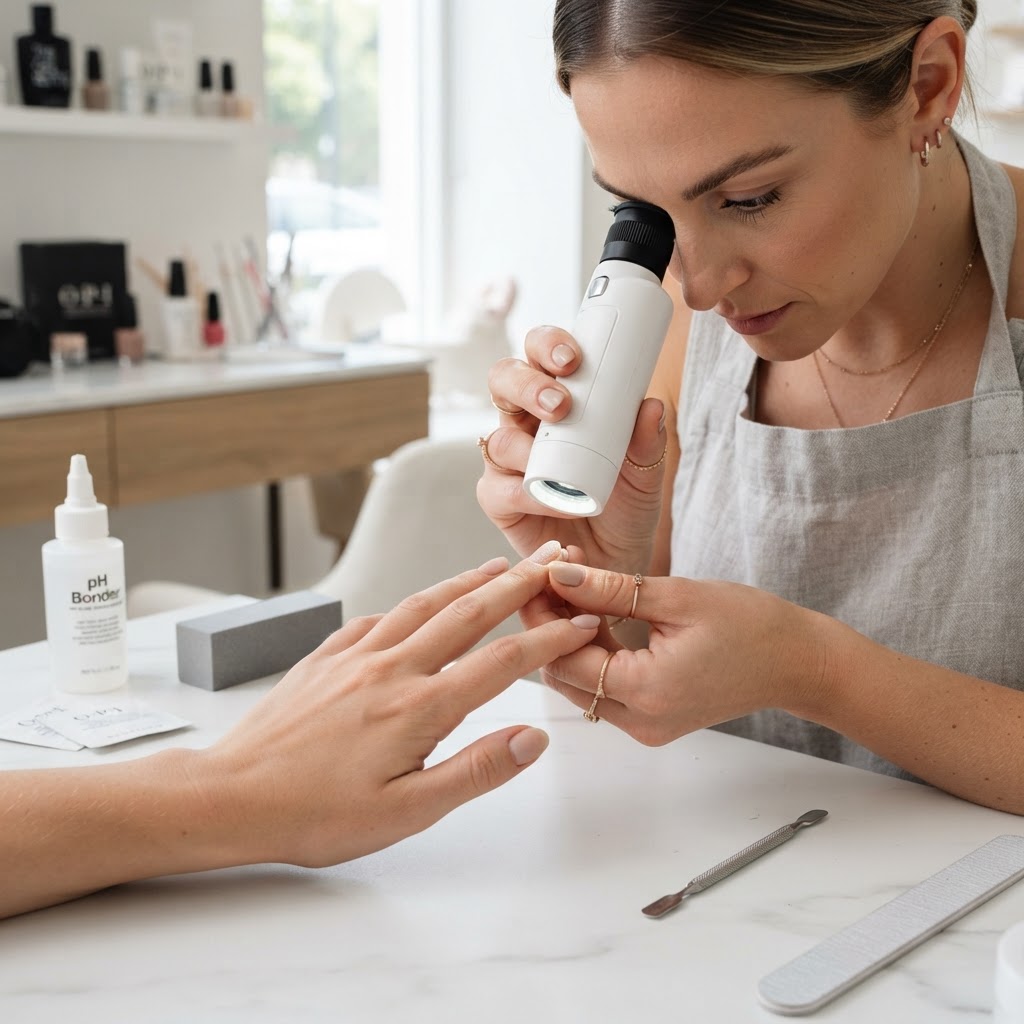
The Physics of Adhesion
Most gel lifting is not a failure of your product brand, but a failure to maximize the contact-surface area between the natural nail and the synthetic polymer. Adhesion relies on two mechanisms: mechanical interlocking (the physical gripping of the gel into the nail grooves) and chemical bonding (the polar attraction between product and plate). To master longevity, you must treat the nail plate as a landscape of micro-topography.
The Topology of the Nail Plate
When we prep the nail, we are essentially trying to achieve 'maximal surface wetting.' If the surface is too smooth, the product beads up rather than penetrating the microscopic valleys of the keratin. Conversely, if the nail plate is over-filed, the structural integrity of the dorsal layers is compromised, leading to flexible substrates that cause the rigid gel to pop off during daily kinetic stress.
The 'Contact-Surface' Audit Protocol
To ensure maximum grip, implement this three-step validation sequence:
Join the newsletter
Get fresh nail tutorials, trends, and business tips straight to your inbox.
Mitigating Lateral Micro-Fractures
Lifting often occurs at the sidewalls because of the 'lateral hinge effect.' As the hand moves, the nail bed flexes, but the rigid gel does not. By tapering the thickness of your gel application toward the sidewalls (the 'feathered edge'), you allow the product to mimic the natural flexibility of the nail. This reduces the mechanical force exerted on the perimeter seal, effectively neutralizing the most common point of failure.
Summary Checklist for Long-Wear
By focusing on the physics of the surface rather than just the aesthetic of the prep, you move from 'application' to 'engineering,' ensuring your sets last the full three-to-four-week growth cycle without a single lift.
Join the newsletter
Get fresh nail tutorials, trends, and business tips straight to your inbox.
