
The 'Contact-Pressure' Calibration: Precision Control for Cuticle-Zone Gel Application
Master the physics of brush pressure to achieve a seamless, flood-free cuticle transition that mimics professional salon-grade gel longevity.
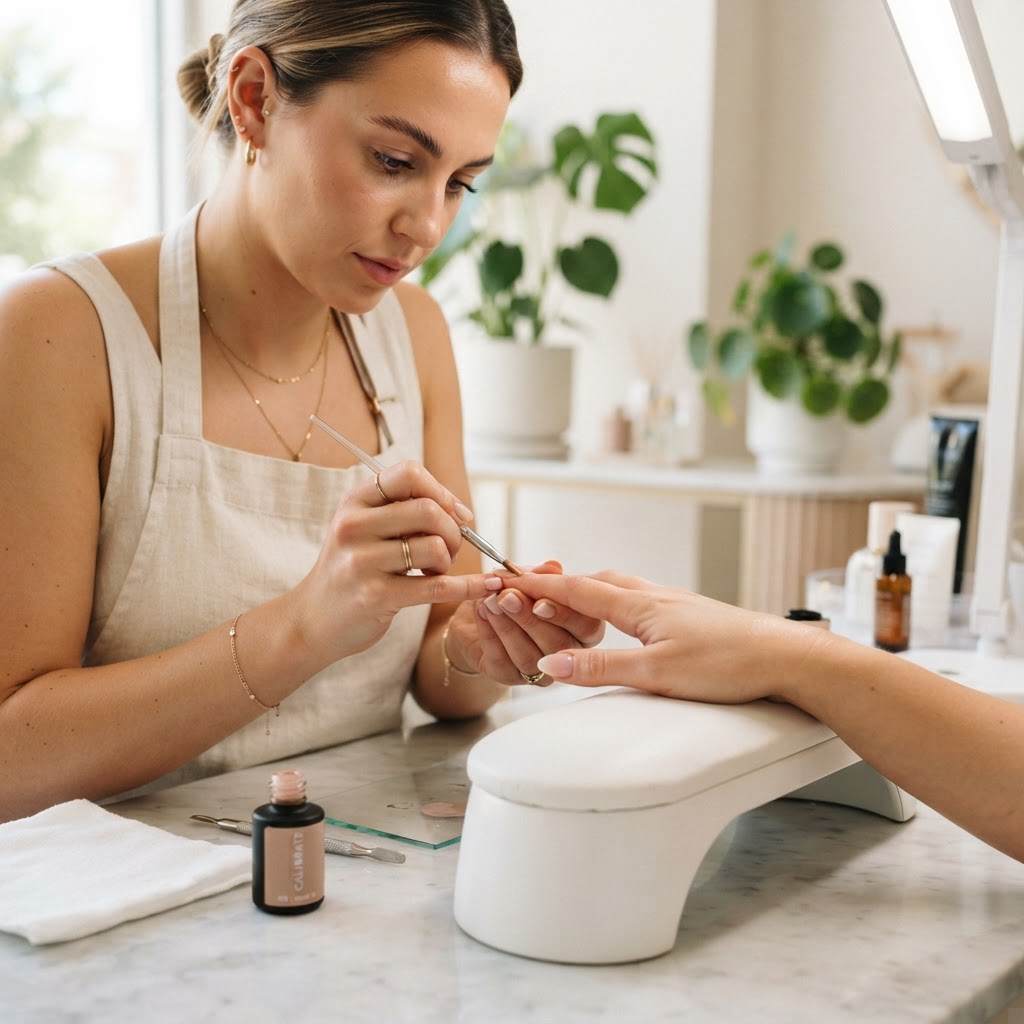
The Physics of the Perfect Cuticle
Many nail technicians struggle with premature lifting at the proximal nail fold not because of product quality, but because of improper pressure distribution. The goal in cuticle-zone gel application is to create a 'gradient of thickness'—a razor-thin edge that tapers perfectly into the nail plate without touching the living tissue. This requires a nuanced understanding of 'contact-pressure' calibration.
The Anatomy of the Brush Stroke
Most artists apply gel with a singular, heavy-handed stroke. To achieve a professional finish, you must divide your brush stroke into three distinct phases:
Join the newsletter
Get fresh nail tutorials, trends, and business tips straight to your inbox.
Troubleshooting: Preventing the 'Flood'
If your product consistently touches the cuticle, you are likely using too much product on the brush during the approach phase. Follow these steps to rectify:
* The Wipe-Down Method: Before approaching the cuticle, wipe both sides of your brush on the edge of the bottle or a lint-free wipe. You only need a bead the size of a poppy seed for the proximal zone.
* Micro-Tensioning: Use your non-dominant hand to gently retract the proximal fold. This creates a clear 'trench' between the skin and the nail plate, giving you a wider margin of error.
* Gravity-Assisted Leveling: If you are using a self-leveling gel, turn the client’s hand palm-up for 5 seconds before curing. Gravity will pull the product away from the cuticle, creating a perfect, rounded apex profile.
Managing High-Viscosity vs. Low-Viscosity Gels
* Low-Viscosity (Bottled Gels): These are prone to running. Use the 'thin-layer' method. Apply two sheer layers at the cuticle rather than one thick one. This allows for total control over the polymerization process.
* High-Viscosity (Builder Gels): These require the 'floating' technique. Do not force the product; allow the brush to skim the surface tension of the gel, letting the product bead move itself into the corners of the nail bed.
The Final Audit: The 'Light-Reflection' Test
After applying your gel but before curing, place your curing lamp to the side of the hand and shine a light across the surface of the nail. If you see a warped reflection at the cuticle line, the product is too thick or has flooded the lateral folds. Smooth this out with a clean, dry detailer brush before committing the product to the LED light.
By mastering the contact-pressure of your brush, you eliminate the need for excessive filing around the cuticle, protecting the skin and significantly increasing the longevity of the enhancement.
Join the newsletter
Get fresh nail tutorials, trends, and business tips straight to your inbox.
