
The 'Contact-Point' Synchronization: Optimizing Gel-Bead Placement for Lateral Wall Integrity
Learn how to master the placement of your gel bead to prevent flooding and ensure structural perfection along the lateral grooves.
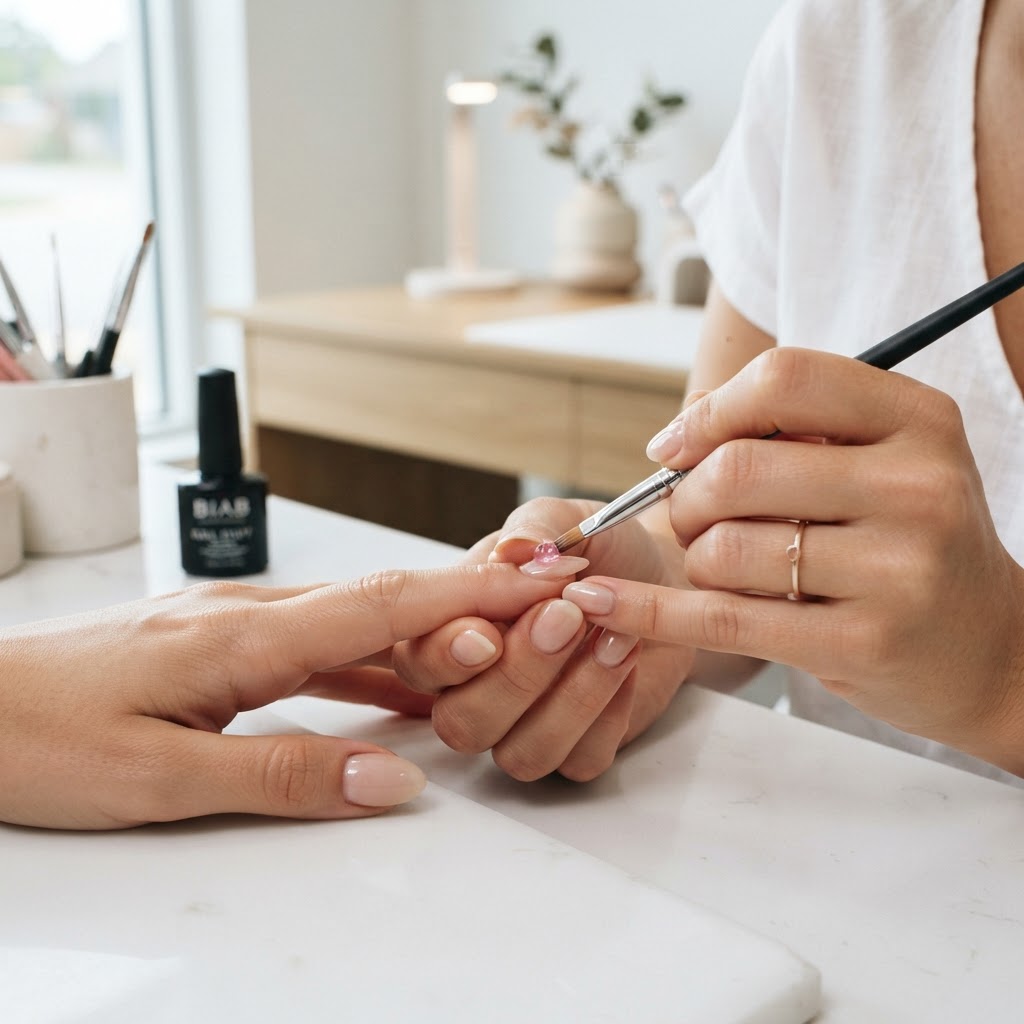
Introduction to Contact-Point Synchronization
In the pursuit of salon-quality gel enhancements, the most common failure point is not the apex or the free edge, but the lateral walls. When a gel bead is placed too close to the cuticle or drifts into the lateral grooves during leveling, you encounter the dreaded 'flooding' effect. This not only compromises the aesthetic look but also leads to premature lifting. The 'Contact-Point' Synchronization technique focuses on a three-stage bead placement process designed to maintain product integrity while achieving a seamless, tapered finish.
Phase 1: The 'Floating' Anchor
Instead of applying your bead directly onto the center of the nail, start by placing the bulk of the material roughly 2mm away from the cuticle line and 1mm away from each lateral sidewall. By leaving this 'buffer zone,' you allow the product to settle under its own weight without encroaching on the delicate skin folds. Use a fine-bristle gel brush to gently 'walk' the product toward the cuticle, using the belly of the brush rather than the tip. This ensures the product is thinned out exactly where the natural nail grows, reducing the 'ledge' effect when the nail starts to outgrow.
Phase 2: Lateral Wall Calibration
Join the newsletter
Get fresh nail tutorials, trends, and business tips straight to your inbox.
Once the product is anchored, the most critical step is the lateral wall sweep. Most technicians apply too much pressure here, which forces the gel to spill over. To achieve optimal precision:
* Stabilize your pinky: Always anchor your non-dominant hand to the client’s hand to prevent tremors.
* The 45-degree tilt: Tilt the client’s finger so the lateral wall you are working on is facing upward.
* The 'Back-and-Forth' Motion: Use the side of your brush to 'drag' the gel bead slightly away from the sidewall before smoothing it back in. This creates a tiny channel of empty space that prevents pooling.
Phase 3: Stress-Zone Distribution
After sealing the sides, focus the remaining product on the structural apex. The goal is to create a gradient where the gel is thickest at the center stress zone and tapers to near-zero at the lateral walls. If you find your gel is self-leveling too slowly, work in smaller, more frequent 'micro-beads' rather than one large, heavy application.
Troubleshooting Common Issues
* Excessive Pooling: If your gel keeps reaching the skin, your ambient room temperature may be too high, lowering the viscosity of the gel. Keep your lamp and product away from direct sunlight or heating vents.
* Micro-Lifting at the Grooves: This often occurs because the product wasn't fully smoothed to the edge. Ensure you are 'capping' the sidewall during your final leveling pass.
By mastering the Contact-Point Synchronization, you move away from 'fixing' mistakes post-cure and toward creating a perfectly sculpted nail from the moment the brush touches the plate.
Join the newsletter
Get fresh nail tutorials, trends, and business tips straight to your inbox.
