
The 'Contact Point' Analysis: Optimizing Scaffolding for Clients with Flat or Up-Turned Nail Beds
Learn the precise architectural adjustments needed to provide durable, aesthetically balanced enhancements for clients with challenging flat or spoon-shaped nail beds.
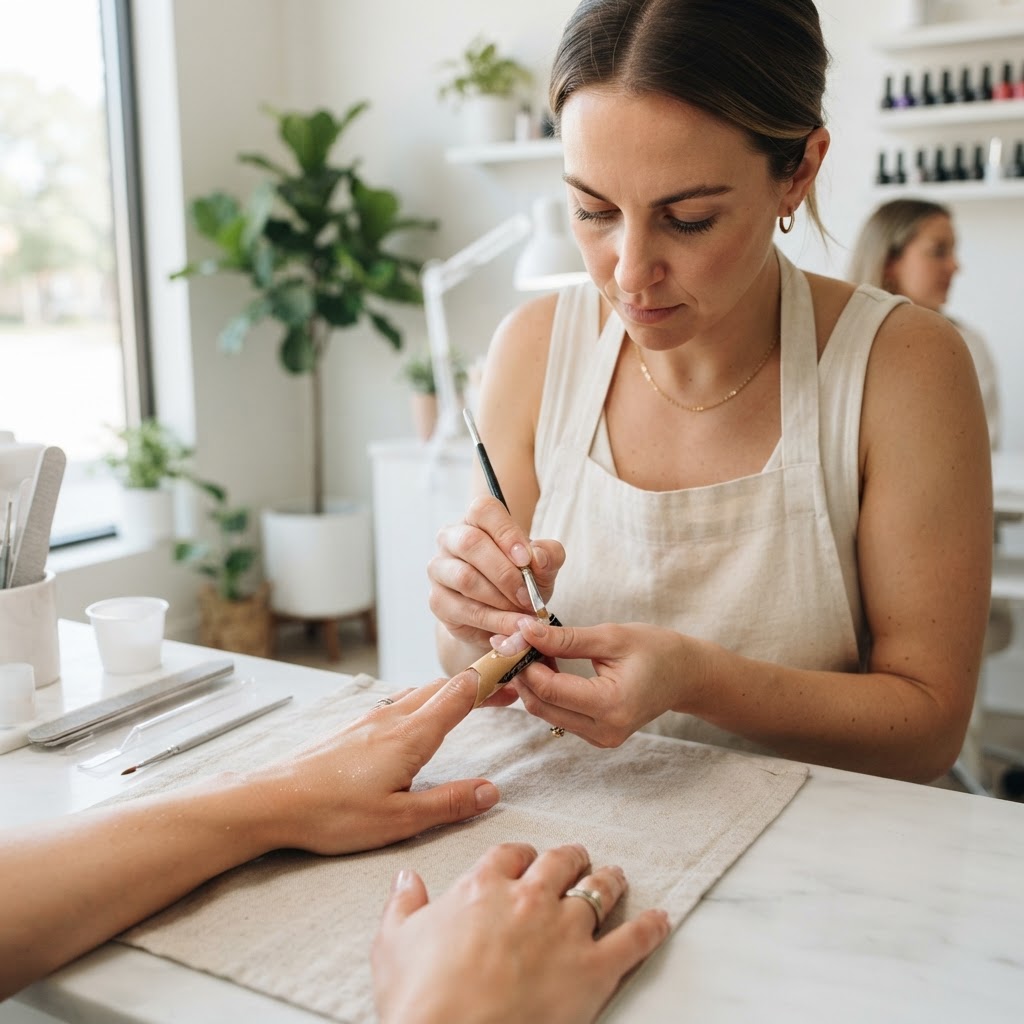
The Architectural Challenge of Flat Nail Beds
For many nail technicians, the 'easy' client is the one with a natural, healthy C-curve. However, the true test of technical mastery lies in the client with flat, wide, or concave (koilonychia) nail beds. Traditional flat application of product on these canvases results in a 'pancake' aesthetic and, more importantly, a lack of structural strength, leading to premature breaking at the stress points.
Understanding the 'Contact Point' Gap
When working on flat nails, the natural apex is virtually non-existent. If you apply a standard overlay, the product will follow the nail plate, leaving the stress area vulnerable. The goal is to build a secondary structural apex that compensates for the lack of natural curvature.
The Scaffolding Technique: Step-by-Step
Join the newsletter
Get fresh nail tutorials, trends, and business tips straight to your inbox.
Troubleshooting the 'Up-Turned' Nail
Clients with nails that turn upward at the free edge require a specific modification: the 'Reverse Apex' build. Because the free edge is elevated, you must add additional product thickness to the distal end of the nail to create a visual balance. Without this, the nail appears to be 'jumping off' the finger. Focus your reinforcement on the distal third of the nail plate, feathering it into the center apex to prevent the enhancement from looking top-heavy.
Essential Inventory for Flat-Bed Success
To manage these challenging canvases, stop relying on thin base gels. You need:
* High-Viscosity Sculpting Gel: These hold their shape and allow you to build an arch before they self-level.
* Fiberglass Infused Gels: Provide extra tensile strength for nails that lack the natural mechanical arch to support themselves.
* Curved Pinching Tweezers: Essential for the structural correction phase.
Managing Client Expectations
Always communicate the 'Structural Upgrade' during your consultation. Explain that because their natural nail lacks a curve, you are effectively building a custom-engineered arch to ensure their service lasts. This justifies the increased time (add 10-15 minutes to your timing) and positions you as an expert technician rather than just a polish applicator.
Join the newsletter
Get fresh nail tutorials, trends, and business tips straight to your inbox.
