
The 'Contact-Angle' Optimization: Mastering Gel-to-Nail Adhesion on Oily Nail Plates
Learn the scientific approach to preventing lifting on hyper-seborrheic nail beds by manipulating surface tension and mechanical interlocking.
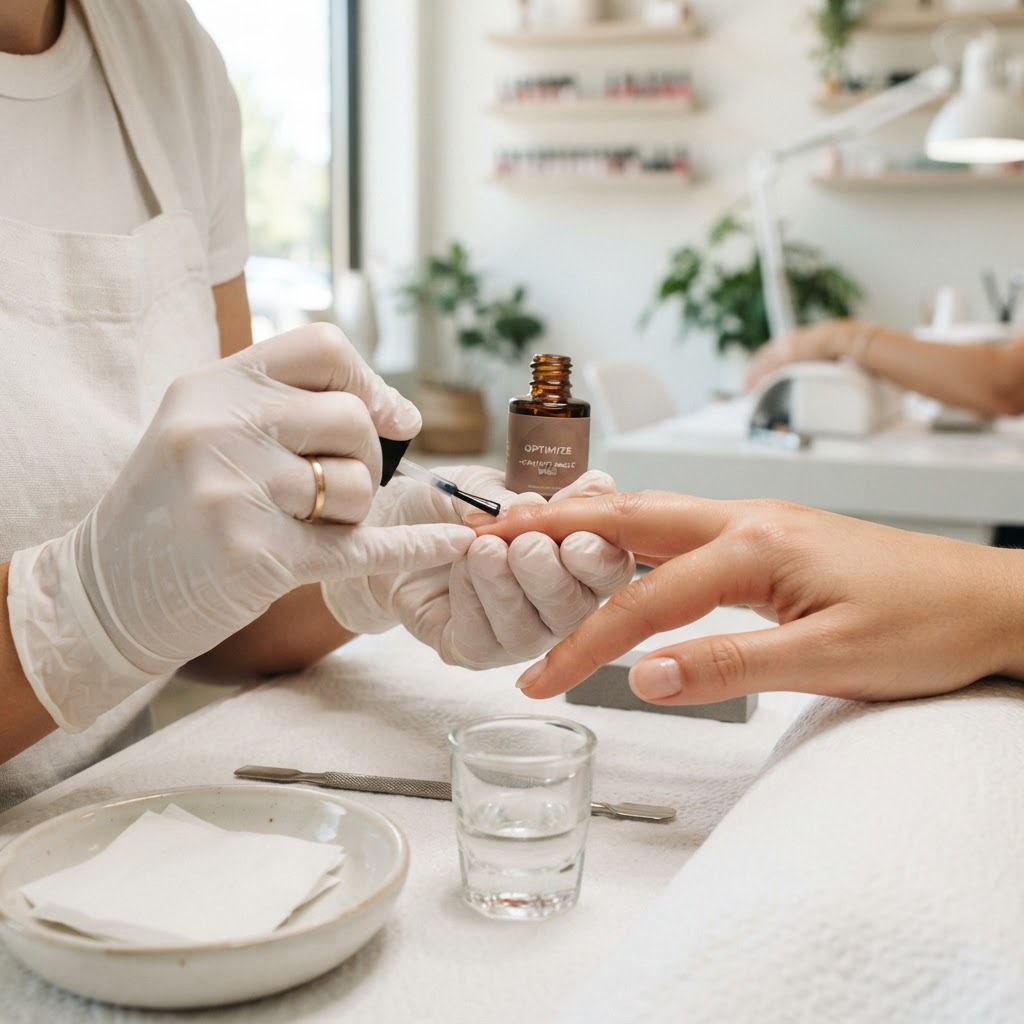
The Science of Surface Energy
Lifting at the proximal fold and lateral sidewalls is the single most common cause of client dissatisfaction and service failure. For clients with 'oily' or seborrheic nail plates, standard prep is often insufficient. To master adhesion, we must look beyond basic buffing and understand the contact angle—the angle at which a liquid (your base gel) meets a solid (the nail plate). When a nail bed produces excess lipids, the surface energy of the plate drops, causing the product to bead up rather than 'wet' the surface. To achieve professional-grade retention, we must maximize the surface energy of the keratin.
The Three-Stage Dehydration Protocol
Standard acetone wipes only remove surface oils temporarily. For high-sebum clients, you must employ a chemical-mechanical hybrid approach:
1. The Solvent Wash
Use 99% Isopropyl Alcohol (IPA) rather than acetone for the initial cleanse. Acetone can leave a microscopic residue depending on the brand's additives. IPA effectively strips volatile oils without disturbing the keratin structure.
Join the newsletter
Get fresh nail tutorials, trends, and business tips straight to your inbox.
2. The Micro-Abrasion Texture
Do not use a 180-grit file, which creates deep, irregular gouges that invite moisture accumulation. Instead, utilize a 240-grit sponge buffer. This creates a uniform, frosted surface that increases the total surface area for the product to bond to without creating 'shelves' where product can catch and peel.
3. The Hydrophilic Bridge
Apply an acid-free primer, but wait for the 'flash-dry' phase. The primer should appear slightly tacky or matte, not wet. If it is wet, you have applied too much, which can cause the primer to act as a lubricant rather than an adhesive agent.
Managing the Contact Angle
The secret to longevity lies in how the base gel is applied. By applying a 'scrub-in' layer, you are manually forcing the polymers into the microscopic crevices created by your 240-grit buffer.
* Step A: Apply a thin, deliberate amount of base gel.
* Step B: Use a dry, clean gel brush to 'scrub' the product into the nail plate using circular motions. This displaces any remaining microscopic oil pockets.
* Step C: Flash cure for 10 seconds. This 'locks' the mechanical bond before the product has a chance to pull away due to surface tension.
Troubleshooting Lateral Failure
If you find your clients consistently experience lifting at the lateral sidewalls, consider the 'Apex-Transition' zone. Often, technicians apply too much product near the sidewalls, which creates a 'ledge' that lifts when the nail plate flexes. Ensure your product tapers to near-transparency as it hits the lateral groove. By reducing the mass of the product at the periphery, you reduce the leverage that the nail plate has against the gel during daily activities, effectively neutralizing the lifting force.
Join the newsletter
Get fresh nail tutorials, trends, and business tips straight to your inbox.
