
The 'Contact-Angle' Optimization: Eliminating Gel-Polish Pooling in High-Curvature Nail Beds
Master the physics of gel-polish surface tension to stop lateral flooding and cuticle-gap migration, ensuring a crisp, salon-grade finish on every client.
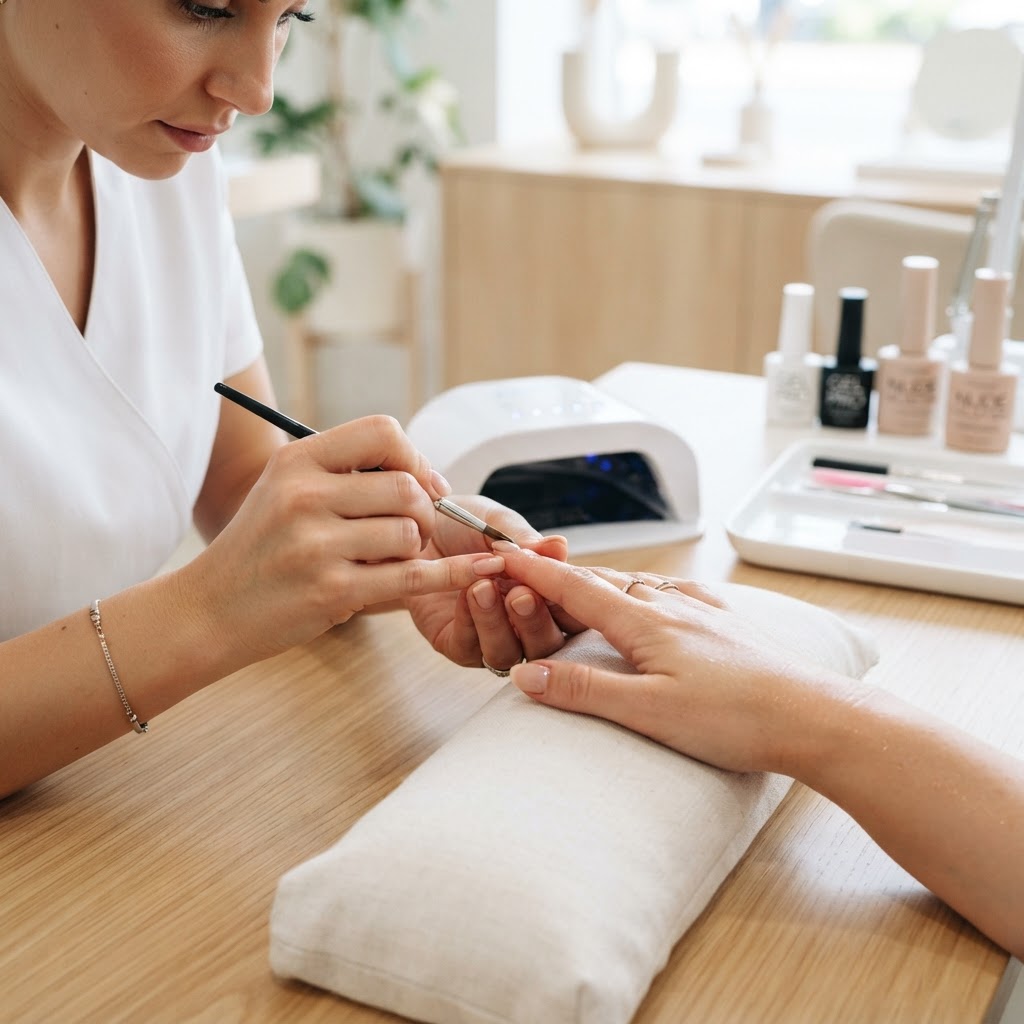
The Physics of Precision
For many nail artists, the most frustrating aspect of a gel manicure is 'the drift'—that moment when the product settles into the proximal or lateral folds mere seconds after application. This is not a failure of your hand-steadiness; it is a failure to manage the contact angle and surface tension of your gel. By understanding the fluid dynamics of your product, you can engineer a perfectly encapsulated cuticle line every time.
The Contact-Angle Principle
The contact angle is the angle at which a liquid interface meets a solid surface. In nail applications, your goal is to manipulate the gel so it creates a 'bead-to-plate' relationship that favors vertical tension rather than lateral flow. If the gel spreads too thin at the edges, the surface tension pulls the mass toward the center of the nail, resulting in a pool that encroaches on the proximal fold.
Step 1: The 'Dehydration-Buffer' Baseline
Before application, the nail plate must be perfectly anhydrous. Any lingering moisture or oils disrupt the surface tension, causing the gel to 'bead up' away from the cuticle in an uneven, blotchy fashion.
* Use an acetone-based cleanser to remove surface lipids.
Join the newsletter
Get fresh nail tutorials, trends, and business tips straight to your inbox.
* Apply a pH-balancing primer sparingly. Over-priming creates a high-friction surface that causes the gel to 'grab' and spread prematurely.
Step 2: The 'Zero-Contact' Application Zone
Stop attempting to paint flush to the skin. Instead, implement the 'Zero-Contact' zone. Your brush should deposit the bulk of the product at a 1.5mm distance from the cuticle fold.
Step 3: Troubleshooting High-Curvature Beds
Clients with high-curvature, 'c-curve' nail beds often suffer from lateral flooding. To combat this, you must apply the gel in two distinct horizontal 'tension zones':
* Zone A (The Apex): Apply a slightly higher volume here to build structure.
* Zone B (The Perimeter): Wipe your brush until it is nearly dry (the 'tacky-thin' state). Drag this near-empty brush along the lateral walls. By using a brush that has less product than the nail surface, the excess gel on the nail is actually drawn *into* the brush through capillary action, effectively 'vacuuming' the product away from the lateral folds.
Engineering Consistency
To standardize this, track your product viscosity. If you are using a high-flow, low-viscosity gel polish, your flash-cure time should be reduced from 30 seconds to 10 seconds. By flash-curing in micro-intervals, you 'lock' the product into its intended geometry before gravity or body heat can compromise the cuticle line. This is the difference between a manicure that lasts two weeks and one that lasts four.
Join the newsletter
Get fresh nail tutorials, trends, and business tips straight to your inbox.
