
The 'Concave-Curvature' Calibration: Mastering C-Curve Consistency in Soft Gel Extensions
Learn the precise physical mechanics of achieving optimal C-curve architecture in soft gel extensions to eliminate side-wall collapse and enhance structural durability.
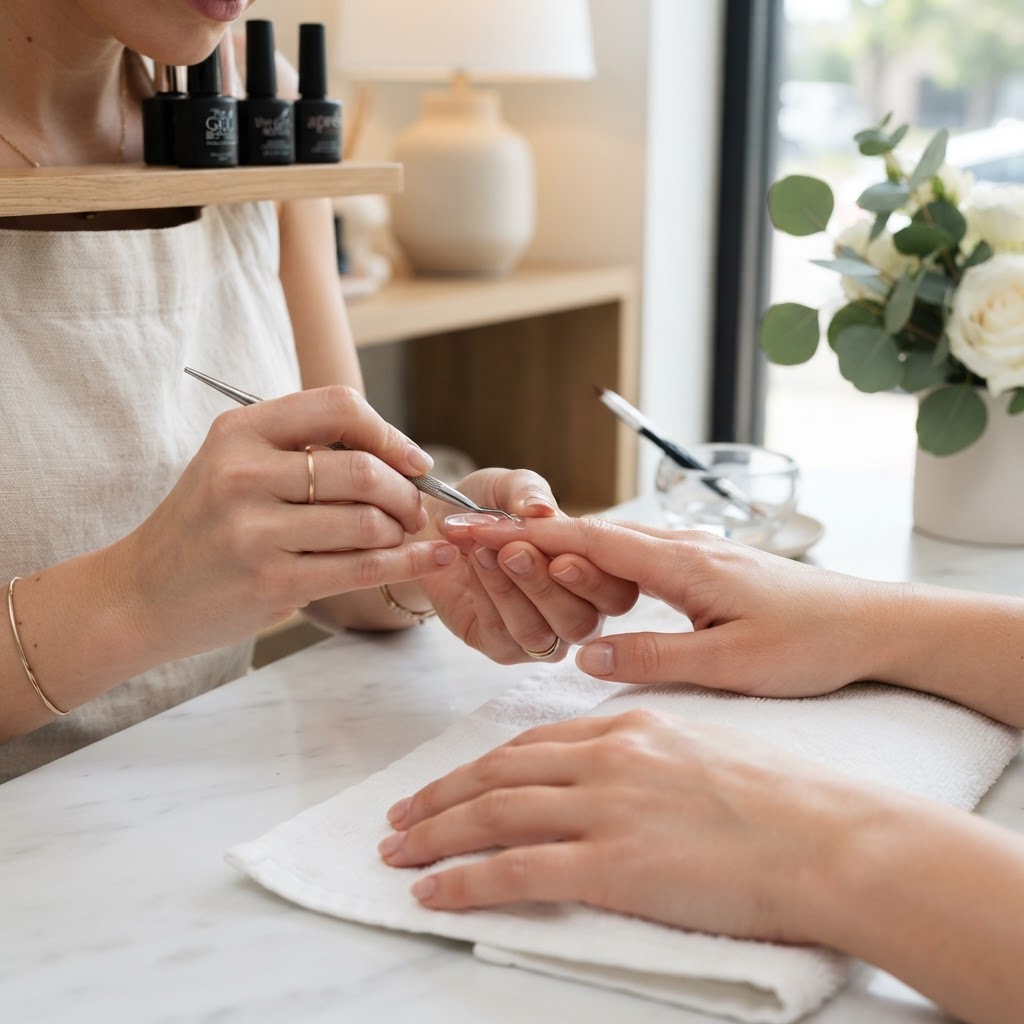
The Architectural Foundation of Soft Gel Extensions
Many technicians treat soft gel extensions as a purely aesthetic service, relying on the product's natural leveling properties. However, when we ignore the geometric integrity of the nail—specifically the C-curve—we inadvertently invite structural failure. In high-fashion soft gel sets, the 'Concave-Curvature' calibration is the difference between a set that lasts three weeks and one that loses its structural apex within days due to lateral flattening.
Why C-Curve Geometry Matters
The C-curve provides the structural bridge of the nail. When a nail is flat, force is distributed evenly across the entire surface, leading to a higher risk of snapping at the stress point. By inducing a proper curvature (typically 30-40% of a circle), you transfer the impact of daily use to the lateral walls and the apex, rather than the natural nail plate itself.
The 'Concave-Curvature' Protocol
Join the newsletter
Get fresh nail tutorials, trends, and business tips straight to your inbox.
To achieve consistent structural integrity, follow this three-step calibration process during your soft gel application:
Troubleshooting Lateral Flattening
If you find your extensions losing their arch before the client’s next visit, perform a 'Retention Audit' on your lamp placement. Often, uneven curing results in a soft core that gradually flattens. Ensure the client's hand is placed in the center of the UV/LED field to prevent 'shadowing' during the polymerization of the sidewalls.
Elevating the Client Experience
Explaining this process to your clients shifts their perception of you from a 'nail painter' to a 'nail architect.' By articulating that you are engineering their nails for both durability and aesthetic grace, you justify premium pricing and reinforce your status as a technician who prioritizes long-term nail health over speed alone. Remember, the beauty of a high-end set is not just in the finish, but in the structural integrity beneath the color.
Join the newsletter
Get fresh nail tutorials, trends, and business tips straight to your inbox.