
The Chemistry of Adhesion: Solving Chronic Lifting at the Proximal Fold
Learn the precise chemical and mechanical steps to eliminate proximal fold lifting by mastering pH balancing, dehydration, and the 'float' application method.
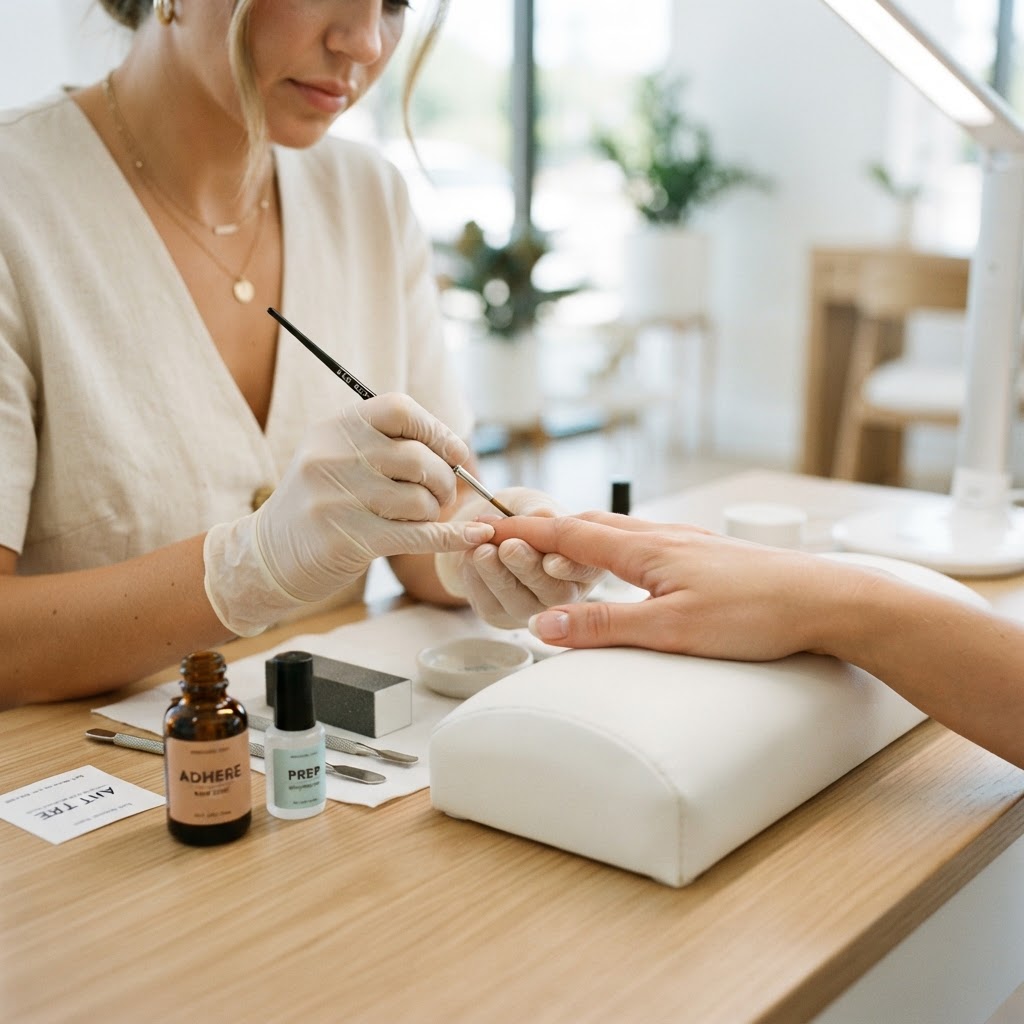
Understanding the Physiology of the Proximal Fold
The proximal fold—the area where the skin meets the nail matrix—is the most common failure point for gel and acrylic enhancements. Lifting in this area isn't just an application error; it is often a failure to account for the unique chemistry of the eponychium and the surrounding periungual skin. When moisture, oil, or debris remain trapped in the microscopic crevices of the cuticle line, the chemical bond is compromised before it even cures.
The Three-Step Pre-Application Protocol
To ensure a seamless, lifting-free finish, you must normalize the nail plate's surface:
Join the newsletter
Get fresh nail tutorials, trends, and business tips straight to your inbox.
The 'Float' Technique for Precision Placement
Many technicians create bulk near the cuticle by pushing too much product toward the fold. Instead, use the 'float' application method:
* Apply a 'slip' layer: Apply a very thin, wet layer of base gel across the entire nail without curing. This acts as a lubricant for your bead.
* The Bead Placement: Place your main product bead about 2mm away from the cuticle.
* The Taper: Use a fine-tipped liner brush to gently 'push' the gel toward the proximal fold, thinning it out as you approach the skin. The goal is to have the product almost invisible at the boundary, creating a seamless transition that hides regrowth.
* The Flash-Cure Check: Before a full cure, use a handheld light to flash-cure for 10 seconds. This prevents the product from self-leveling into the cuticle wall while you work on the other hand.
Troubleshooting Common Failures
If you find your clients returning with lifting, analyze your workflow against these three factors:
* The 'Flood' Factor: If product touches the skin, it will lift. If you accidentally hit the skin, remove it immediately with a clean orange wood stick or a synthetic brush dipped in cleanser before curing. Even a microscopic overlap will create a 'bridge' for moisture to wick underneath the product.
* Base Gel Selection: If a client has naturally oily nail plates, you may need a high-adhesion rubber-based gel rather than a standard thin base coat. These formulas are more viscous and offer better flexibility.
* The E-File Buffer: Ensure you are not 'over-thinning' the nail plate during prep. If you remove too many keratin layers, the nail loses its natural structure, making it too flexible for rigid gel coatings, which leads to immediate edge lifting.
Refining Your Workflow
Mastering this area is about surgical precision. Invest in high-quality, fine-grit diamond bits for the cuticle area to ensure that the dead skin is removed completely without damaging the eponychium. By standardizing your dehydration, bond application, and the float-and-taper technique, you will move from 'maintenance' appointments to 'longevity-focused' service cycles, significantly increasing client satisfaction and retention.
Join the newsletter
Get fresh nail tutorials, trends, and business tips straight to your inbox.
