
The 'Cantilever-Flex' Protocol: Managing Structural Loading in Long-Form Enhancements
Master the science of structural tension to eliminate premature breakage in long nail extensions using the Cantilever-Flex protocol.
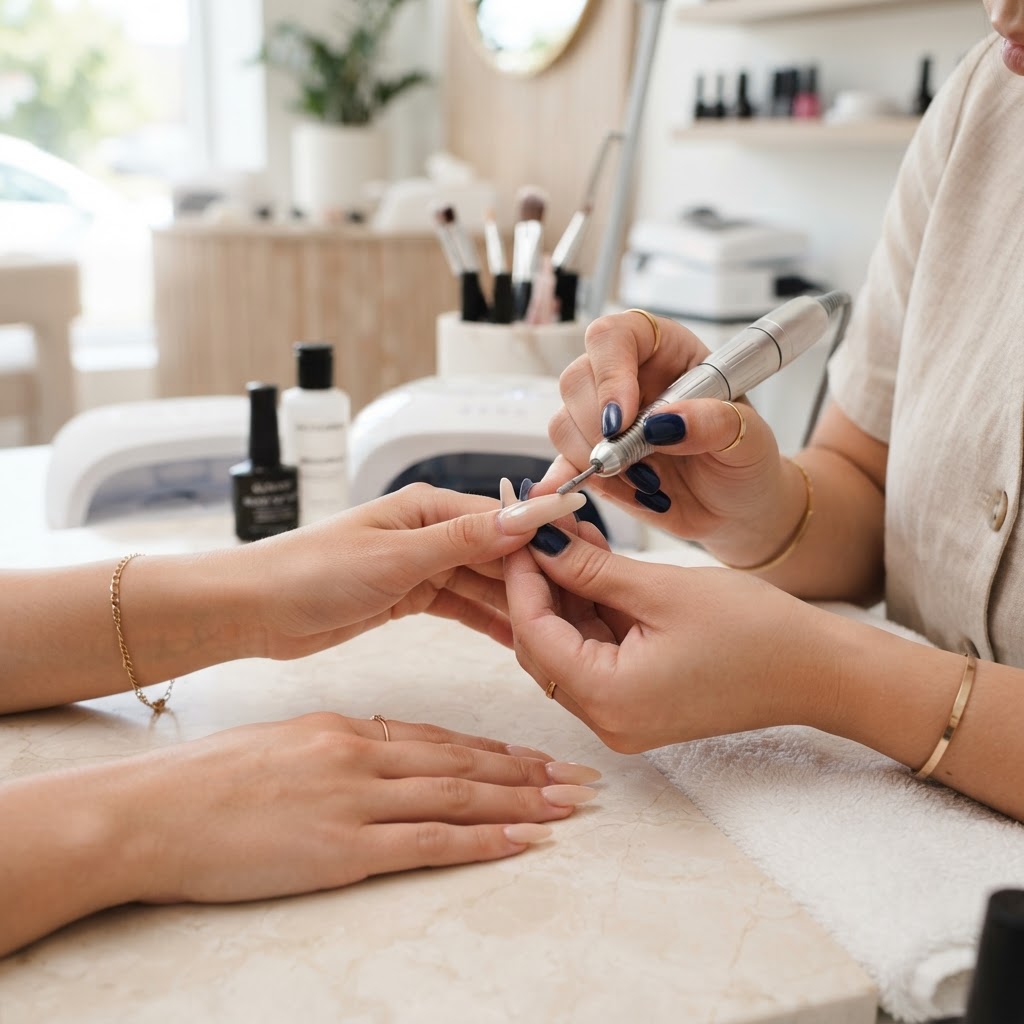
Introduction to Structural Loading
For nail technicians specializing in extreme lengths, the primary enemy of durability is not the quality of the product alone, but the structural load placed on the nail unit. When a nail is extended beyond the natural free edge, it functions like a cantilever beam—a structure supported at only one end. Without proper calibration, the stress exerted on the apex and the lateral walls leads to microscopic fractures and, eventually, complete structural failure. The 'Cantilever-Flex' protocol provides a mathematical approach to product placement, ensuring the extension moves with the natural anatomy rather than fighting against it.
The Physics of the Stress-Zone
The most critical area of any extension is the 'Stress-Zone,' located at the junction between the natural nail bed and the artificial extension. This is where torque is highest. Many artists mistakenly build a uniform thickness from the cuticle to the free edge. This is a common architectural error. To achieve a high-performance extension, you must transition the product thickness:
* The Proximal Third: Maintain a paper-thin blend at the cuticle to prevent lifting and ensure a seamless aesthetic.
* The Apex (The Anchor): This is the heart of the Cantilever-Flex method. The thickness here should be proportional to the overall length of the nail. For every 5mm of free edge length, increase the apex height by 0.5mm to distribute force away from the bond line.
Join the newsletter
Get fresh nail tutorials, trends, and business tips straight to your inbox.
* The Distal End: Taper the product to the absolute minimum required for structural integrity to reduce total weight, which acts as a leverage factor on the natural nail.
Step-by-Step Execution
1. Lateral Parallelism Verification
Before adding volume, check your lateral walls. If they are not perfectly parallel to the longitudinal axis of the finger, the structure will be lopsided under pressure. Use a straight-edge tool to ensure that the sidewalls are not dipping, which creates a point of weakness where a crack is guaranteed to form.
2. Volumetric Product Distribution
When applying your structural gel or acrylic, do not spread the material thinly across the entire nail plate. Instead, place your largest bead directly over the Stress-Zone. Use a gravity-assisted technique, allowing the material to self-level toward the free edge while keeping the apex height static. This creates a 'tapered gradient' that mimics the natural structural support of a cantilever.
3. The Curing/Setting Differential
If using light-cured products, perform a partial cure. For very long lengths, hold the finger in an inverted position for the first 10 seconds of the cure. This pulls the apex into the highest point of the nail, reinforcing the structural peak before the product fully polymerizes. For acrylic, ensure the monomer-to-polymer ratio is slightly higher in the apex zone to maximize the plasticizer density, which allows for greater shock absorption during daily wear.
Managing Leverage and Daily Wear
Client education is the final piece of the Cantilever-Flex protocol. A long extension acts as a lever; the longer the nail, the easier it is to snap off due to simple mechanics. Advise your clients to avoid using their fingertips as tools. Because you have engineered a specific apex for their nail shape, any perpendicular force—such as opening a soda tab or typing with the tip—transfers directly to the apex, bypassing the natural cushioning of the nail bed. By adhering to these structural guidelines, you elevate your work from mere surface aesthetics to precise, engineered durability.
Join the newsletter
Get fresh nail tutorials, trends, and business tips straight to your inbox.
