
The 'Cantilever-Balance' Workflow: Engineering Structural Integrity for Extreme Lengths
Learn the precise biomechanical adjustments required to shift the structural weight of extreme nail enhancements, preventing premature tip-fracture and stress-point fatigue.
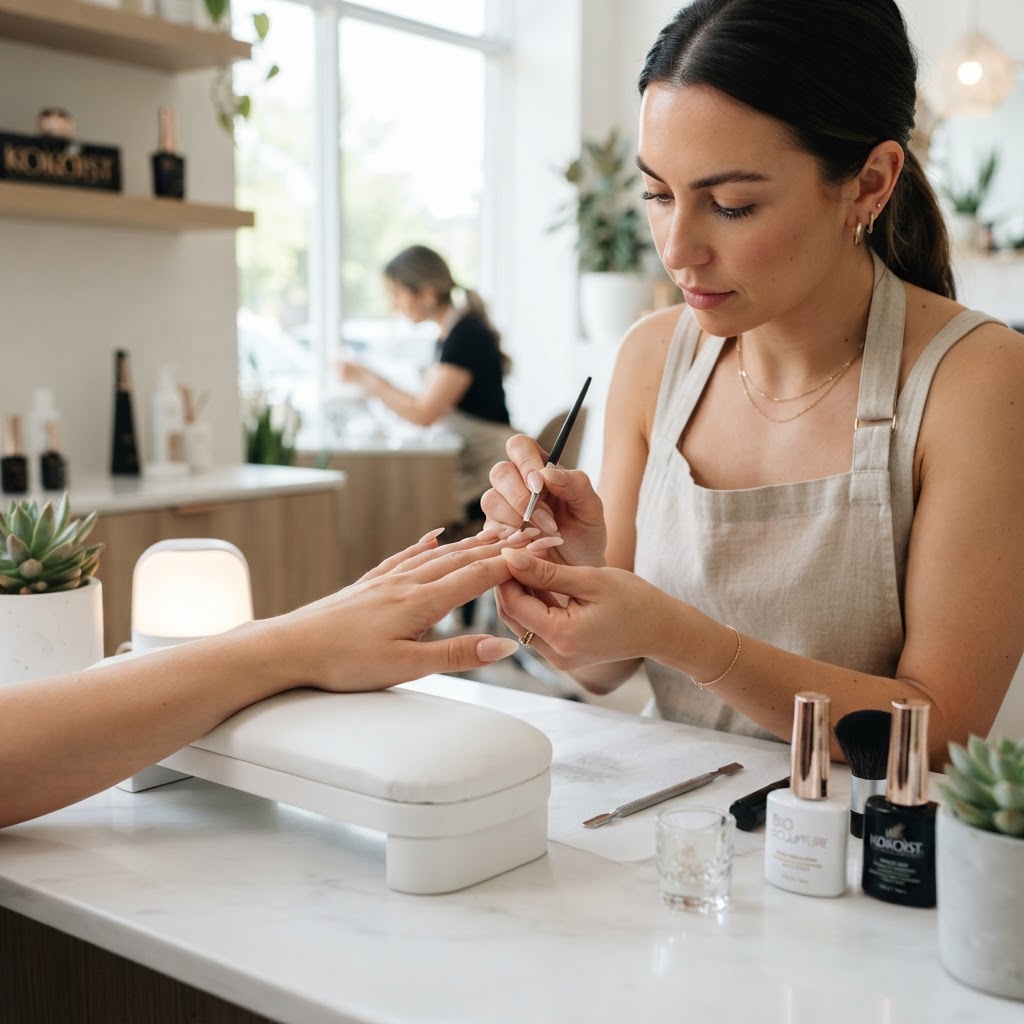
The Biomechanics of Extreme Length
When working with extensions exceeding 30mm from the free edge, the standard apex placement is insufficient. The 'Cantilever-Balance' workflow treats the nail enhancement as a bridge, where the natural nail acts as the abutment and the extension acts as the span. Without proper weight distribution, the stress placed on the nail plate—specifically at the transition between the natural nail and the product—leads to micro-fractures, not just lifting.
Phase 1: The Foundation of the Stress-Zone
For extreme lengths, your stress zone is not merely a central mound. You must shift the highest point of your apex 2-3mm closer to the posterior sidewalls than you would on a short square or almond shape. By creating a 'structural gusset'—a thickening of the product where the lateral wall meets the extension—you effectively transition the torque away from the natural nail plate.
* Step 1: Apply a thin layer of base gel and cure to create a flexible interface.
Join the newsletter
Get fresh nail tutorials, trends, and business tips straight to your inbox.
* Step 2: Form the structural skeleton by placing a small bead of high-viscosity sculpting gel precisely where the free edge begins.
* Step 3: Use a fine-liner brush to pull the gel along the lateral sidewalls, creating an inverted triangular reinforcement.
Phase 2: Calibrating the Vertical Arch
If the arch of the nail is too flat, the extension will bow under pressure; if it is too high, it becomes fragile at the tip. Use the 'Goldilocks Arch' measurement: for every 10mm of extension length, add 1mm of total vertical arch height at the apex.
Phase 3: The 'Under-Support' Protocol
One of the most overlooked causes of breakage in long sets is the lack of support on the underside of the free edge. Once the top layer is cured, flip the finger and apply a 'cradle' of fiber-infused builder gel along the underside of the free edge. This acts as a support beam that prevents the product from sagging during the curing process and provides a secondary layer of shock absorption for daily wear.
The Final Geometry Check
Before finishing, hold the finger at eye level and verify that the line from the apex to the tip maintains a slight taper. If the product is thicker at the tip than at the cuticle, you are creating a pendulum effect that will pull against the natural nail plate with every movement. Always ensure the thickness at the tip is no more than 1mm, while the stress-zone remains at 2.5mm for maximum durability.
Join the newsletter
Get fresh nail tutorials, trends, and business tips straight to your inbox.
