
The 'Calibration-Sync' Protocol: Eliminating Light-Cure Under-Polymerization in High-Density Pigment Gels
Learn how to calculate your specific lamp-to-gel exposure requirements to prevent common allergies and lifting issues caused by incomplete polymerization.
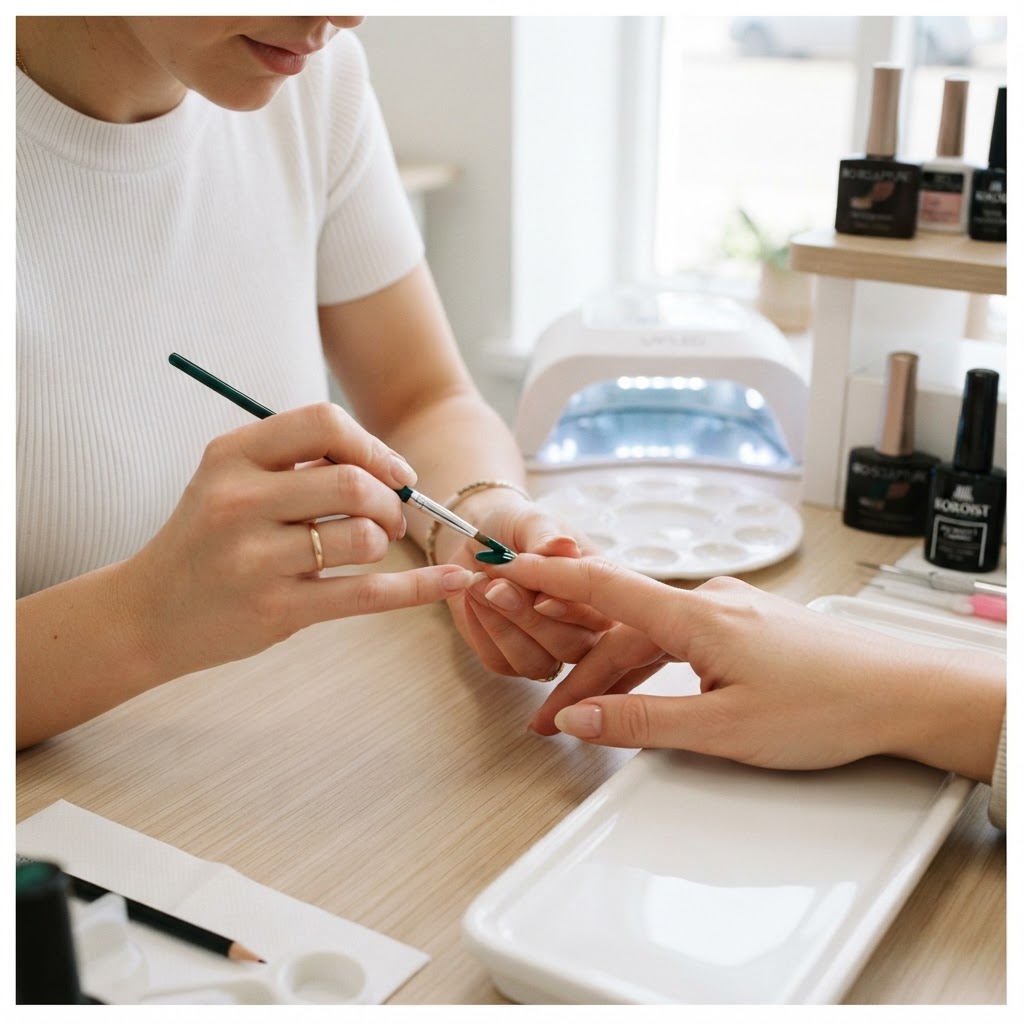
The Hidden Danger of 'Visual Cure'
Many nail artists rely on 'visual curing'—looking at the gel to see if it has hardened. While the gel may feel solid to the touch, many high-density pigment gels suffer from 'internal under-polymerization.' This occurs when the surface cures rapidly, blocking light from reaching the lower layers of the monomer matrix. This uncured gel is not only a primary cause of future service lifting, but it is also the leading contributor to the development of photo-initiator allergies.
The Calibration-Sync Protocol
To ensure structural integrity and client safety, you must move beyond the '60-second' rule. Not all lamps emit the same irradiance, and not all gels contain the same photo-initiator density.
Step 1: Irradiance Mapping
Use a UV/LED radiometer to test the output of your lamp. Measure the output at the center of the tray and at the edges. If the edges drop below 20mW/cm², you must adjust your hand placement to ensure the pinky and thumb are positioned directly beneath the strongest diodes.
Step 2: The 'Pigment-Density' Test
Join the newsletter
Get fresh nail tutorials, trends, and business tips straight to your inbox.
Create a 'Drawdown Sheet' to test the specific cure time of your high-pigment products:
* Apply a thin layer of your most opaque gel to a clear plastic tip.
* Cure at the manufacturer’s recommended time.
* Flip the tip over and attempt to scratch the 'under-side' of the gel with a metal cuticle pusher.
* If the gel smears or leaves a residue on the pusher, it is under-cured. Increase your cure time by 15-second intervals until the underside is completely solid.
Optimizing Multi-Layered Art
When working with deep, saturated colors or 3D gel elements, follow the 'Half-Cure, Full-Cure' method.
Why This Matters for Your Business
Beyond technical mastery, this protocol is a business safeguard. Service failures like lifting or premature chipping often result in 'remake' appointments that consume your most profitable hours. By implementing a standardized 'Calibration-Sync' workflow, you minimize the risk of chemical sensitivities and ensure that your sets hold their structural integrity for the full 3-4 week wear cycle.
Consistency is the hallmark of a high-end salon. When you can guarantee that a gel application is perfectly cured from the nail plate to the top coat, you transition from being just a technician to being a master of chemical architecture.
Join the newsletter
Get fresh nail tutorials, trends, and business tips straight to your inbox.
