
The Bespoke Manicure Blueprint: A Strategic Framework for Selecting Your Next Set
Stop relying on spur-of-the-moment salon decisions. Learn the professional methodology for selecting shapes, colors, and art that align with your lifestyle and personal aesthetic.
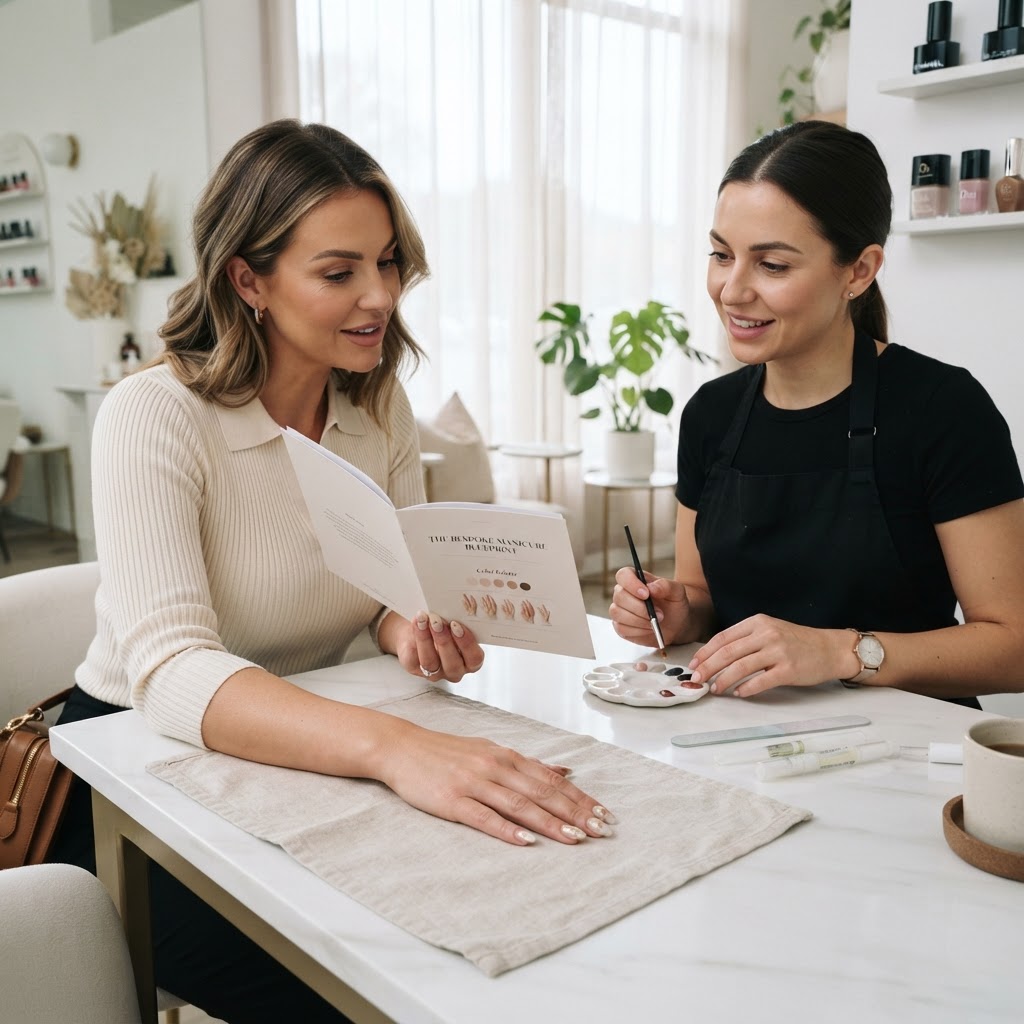
Why Your Manicure Planning Starts Long Before the Salon Chair
We have all experienced the 'appointment regret'—that moment when the nail artist asks, 'What are we doing today?' and you panic-choose a color that clashes with your wardrobe or a shape that hinders your typing speed. A perfect manicure isn't just about the execution; it is about the preparation. By applying a structured framework to your nail planning, you can ensure that your next set is both visually stunning and functionally sustainable.
Phase 1: Evaluating Functionality and Lifestyle
Before you look at a single Instagram mood board, you must audit your lifestyle. If you are a medical professional, an athlete, or a heavy typist, your nail shape is not just an aesthetic choice; it is a structural one.
The 'Utility Audit'
* The Daily Reach: If you spend your day on a mechanical keyboard, a shorter squoval or rounded edge minimizes breakage risk.
* The Wear-Time Window: Do you need your nails to last three weeks? If so, prioritize structured overlays or shorter extensions over dramatic stilettos, which apply more leverage to the nail bed.
* The Wardrobe Baseline: Analyze your closet. If your daily style leans toward neutral, earthy tones, a neon orange set might feel 'out of place' after just two days. Choose a color family that complements at least 80% of your wardrobe.
Phase 2: Mastering the Color Theory of Undertones
Color selection is where most people get stuck. Rather than just picking a 'pretty' color from the wall, categorize your skin tone by its primary undertone: cool, warm, or neutral.
Join the newsletter
Get fresh nail tutorials, trends, and business tips straight to your inbox.
* Cool Undertones: Look for polishes with blue or purple bases. Think crisp whites, berry reds, and cool-toned greys.
* Warm Undertones: Lean into oranges, golden yellows, rich terracottas, and olive greens.
* Neutral Undertones: You have the most versatility. You can oscillate between soft pastels and bold, saturated jewel tones.
Phase 3: The Virtual Proof of Concept
One of the biggest hurdles in nail design is the 'imagination gap'—what you see in your head rarely looks the same on your specific finger shape or skin tone. This is where digital prototyping becomes a game-changer. Rather than gambling on a design at the salon, use the NailRush Live AI nail designer to map different shapes, lengths, and art styles onto your own hand. This allows you to preview how a specific shade of chrome or a complex French tip will actually look against your skin, preventing costly design shifts once you are already in the chair.
Phase 4: Constructing Your 'Brief' for the Artist
Once you have determined your shape, color, and design, don't just show up and hope for the best. Prepare a brief for your nail technician. A professional artist appreciates a client who knows their 'why.'
Your Pre-Appointment Checklist:
Why Precision Beats Inspiration
Inspiration is a great starting point, but precision is what creates a long-lasting, satisfying manicure. By taking the time to audit your needs, analyze your color palette, and visualize the outcome with AI-driven tools, you shift the appointment dynamic. You stop being a passive recipient of whatever the salon happens to have in stock and become the architect of your own aesthetic. This confidence not only yields better results but also builds a stronger, more collaborative relationship with your nail artist, ensuring every set you get is exactly what you envisioned.
---
[Design your next set with NailRush AI](https://nailrushlive.com/ai-design) to take the next step.
Join the newsletter
Get fresh nail tutorials, trends, and business tips straight to your inbox.
