
NailRush Live
Tutorials6 min readby NailRush Live Team2 views

The Art of Nail Design: Preparing Your Nail Studio for Client Consultations

Effective consultations can transform client relationships and elevate your nail services. Here’s a detailed guide on how to prepare your nail studio for successful client consultations and create a personalized nail experience.
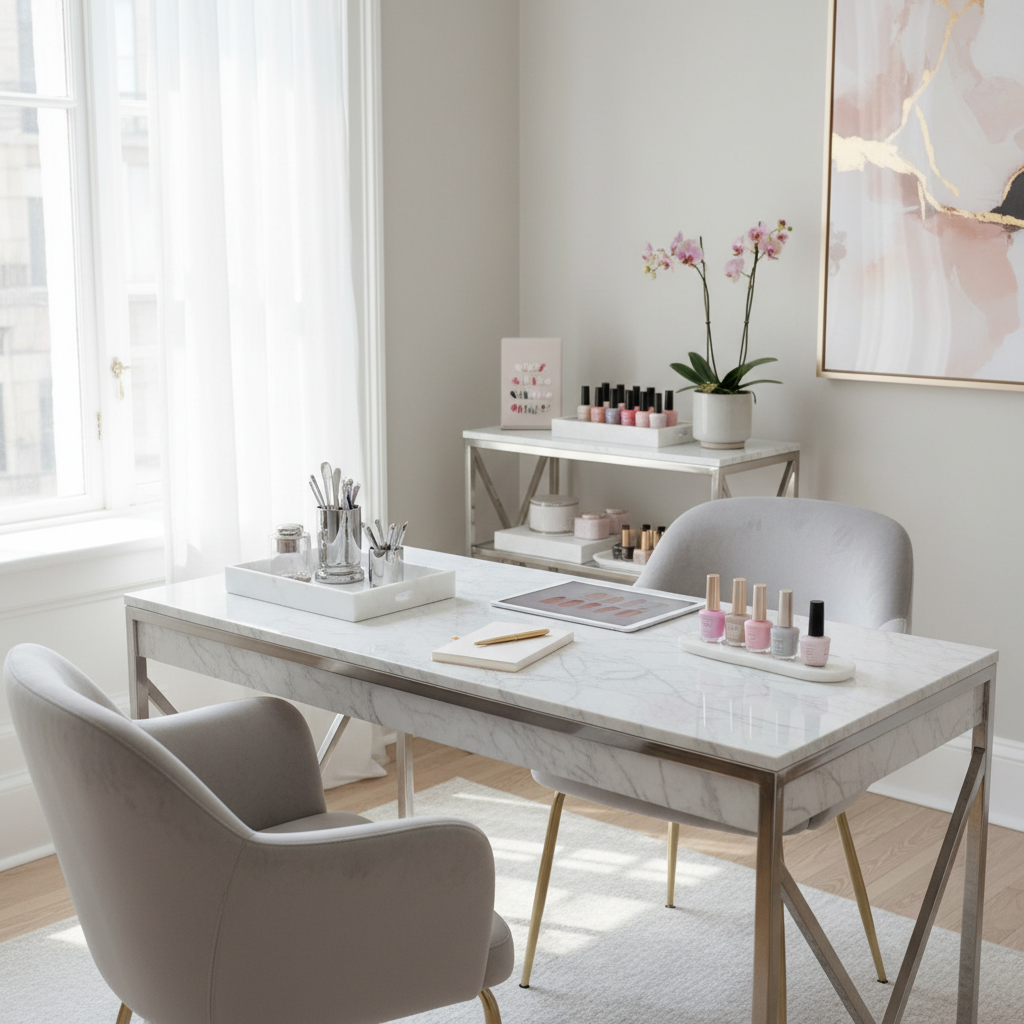
The Art of Nail Design: Preparing Your Nail Studio for Client Consultations

Introduction

In the competitive world of nail artistry, establishing strong relationships with your clients begins long before the first brush stroke. An effective consultation sets the tone for a fruitful engagement, ensuring you truly understand their needs while showcasing your expertise. In this guide, we’ll explore actionable steps to prepare your nail studio for client consultations that impress and inspire.

Know Your Space

1. Organize and Declutter

The first step to a successful consultation is ensuring your studio is clean and tidy. Clients will be more comfortable in a well-organized environment. Here’s how to prepare:

  • Tidy Up All Workstations: Make sure every station is free of unnecessary tools or products. Keep only the essentials ready for use.
  • Sanitize Surfaces: Wipe down all surfaces, ensuring cleanliness and hygiene—an essential part of any beauty business.
  • Display Nail Art Samples: Showcase your expertise by displaying a small selection of your best work through nail art samples or pictures.
  • 2. Create a Welcoming Atmosphere

    Your studio should feel like a sanctuary where creativity flows. Consider the following:

  • Lighting: Ensure that area is well-lit but soft, promoting a calm environment.
  • Scent: Use a subtle scent diffuser to create a pleasant ambiance. Scents like lavender or citrus can evoke a relaxing atmosphere.
  • Comfort: Have cozy seating available for consultations and provide refreshments such as tea or water.
  • Prepare Consultation Tools

    1. Client Consultation Forms

    It’s crucial to gather information that helps you understand your client’s preferences and needs. Consider these items:

  • Create a Form: Design a form that captures vital information, such as their previous nail experiences, allergies, style preferences, and favorite colors.
  • Update Regularly: Depending on the client's recurring visits, refresh these forms regularly to keep the information current.
  • 2. Digital Tools

    Utilize technology to enhance your consultation process:

  • Use an Appointment Management System: A platform like NailRush Live allows you to track client history and preferences. Use it during consultations to personalize your recommendations swiftly.
  • Visual Aids: Have a tablet or a tablet-like device handy with examples of nail styles, colors, and designs saved as portfolios for easier visual communication.
  • Join the newsletter

    Get fresh nail tutorials, trends, and business tips straight to your inbox.

    Create a Pre-Consultation Checklist

    A checklist can ensure you cover all your bases before meeting a client. Here’s a sample:

  • [ ] Ensure the studio is clean and tidy.
  • [ ] Prepare client consultation forms and digital tools.
  • [ ] Set up a comfortable seating area with refreshments.
  • [ ] Check your nail art samples available for display.
  • [ ] Ensure your appointment calendar is updated.
  • Conducting the Consultation

    1. Build Rapport

    Start the meeting by making your client feel comfortable:

  • Greet Warmly: A simple warm greeting can set the right tone.
  • Ask About Themselves: Begin with open-ended questions such as, “What inspired your interest in nail art?” to build a connection.
  • 2. Discuss Preferences and Past Experiences

  • Dive Into Their Preferences: What nail shapes or colors do they love? Use the consultation forms to guide this discussion.
  • Share Your Expertise: Offer insights based on their preferences. For example, if a client loves bold colors, suggest vibrant designs.
  • 3. Show Visuals and Set Realistic Expectations

  • Use Visual Aids: Show them examples of your previous work, styles, or potential designs that align with their interests.
  • Manage Expectations: Clearly explain the process and what can realistically be achieved within their chosen design, especially if they have specific requirements.
  • Follow-Up

    1. Confirm Appointments

    Send a follow-up message confirming their appointment and what services you’ll provide. You can use automation through your NailRush Live portal for efficiency.

    2. Thank You Notes

    Send a personalized thank you note after the consultation via email or text, reinforcing the bond and showing appreciation for their choice to visit your studio.

    Conclusion

    By preparing your nail studio for client consultations thoughtfully, you not only enhance your service but also create trust and rapport with your clients. This not only improves client retention but can turn one-time visitors into long-term clients.

    Start implementing these techniques today and watch your bookings grow!

    SEO Tags

  • Nail salon consultation
  • Client relationship building
  • Nail studio preparation
  • Nail artist tips
  • Client experience enhancement
  • Read Time

    6 min read

    Learn More on NailRush

    Watch tutorials, shop products, and connect with nail artists worldwide.

    Join the newsletter

    Get fresh nail tutorials, trends, and business tips straight to your inbox.