
The 'Apex-Transfer' Technique: Balancing Structural Integrity and Natural Nail Health
Learn the precise biomechanical method for distributing gel weight across the nail plate to prevent lifting and stress-point fractures in mid-to-long length extensions.
The Biomechanics of the Apex
In professional nail enhancement, the 'apex' is not merely an aesthetic choice; it is the structural spine of the extension. When working with medium-to-long lengths, failure to accurately place and secure the apex leads to micro-fractures at the stress point, lateral wall cracks, and eventual lifting. The 'Apex-Transfer' technique focuses on managing the distribution of product weight through controlled polymerization to ensure the natural nail plate isn't subjected to cantilever stress.
Identifying the Structural Stress Point
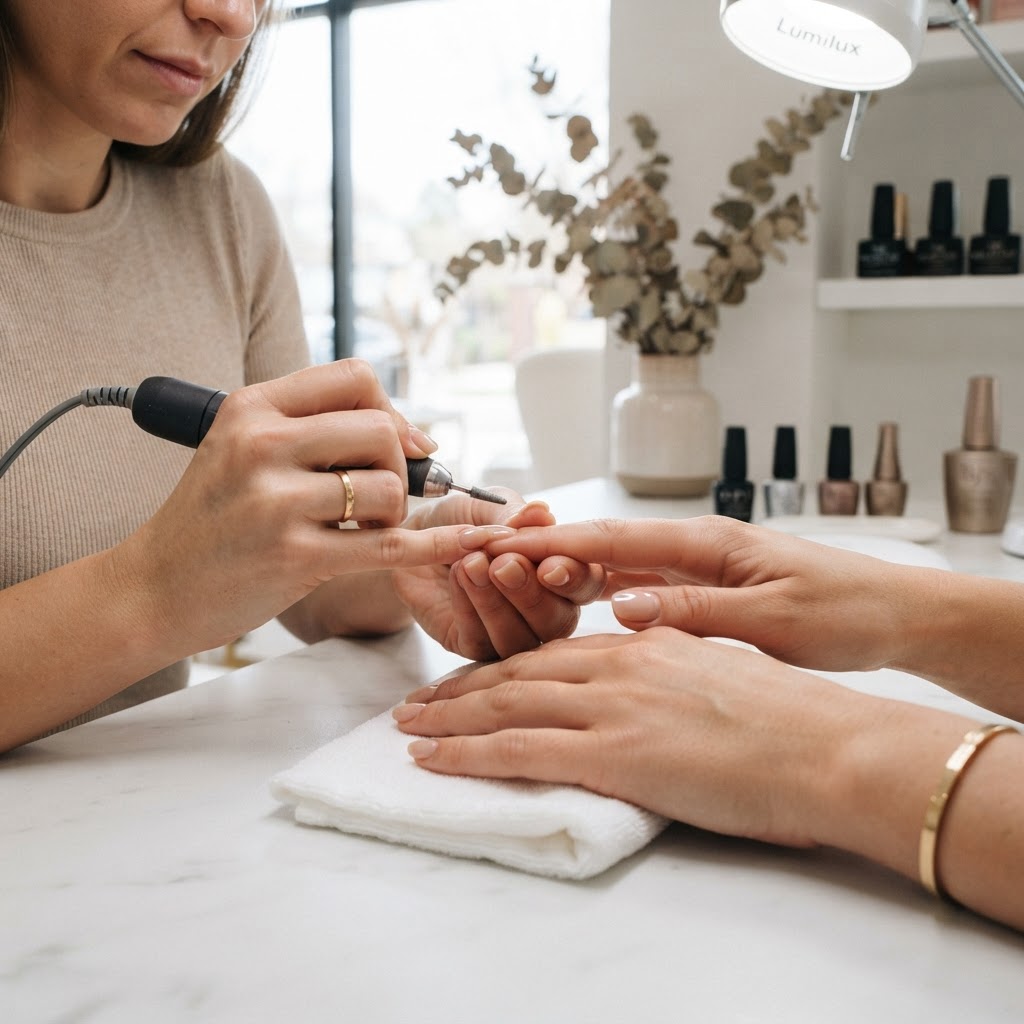
Before applying your product, you must identify the natural stress point of the client’s nail. This is the transition area where the nail plate leaves the nail bed. For most clients, this is the center point of the nail. Using your e-file or manual file to create a 'tapered foundation' ensures that the apex sits slightly behind this stress point, acting as a bridge that transfers pressure away from the free edge and back toward the stronger, supported nail bed.
The 'Apex-Transfer' Step-by-Step
Join the newsletter
Get fresh nail tutorials, trends, and business tips straight to your inbox.
Why This Prevents Lifting
Lifting often occurs because the product is too thin at the stress point, causing the nail to flex under pressure. When the nail flexes, the rigid gel does not, causing the product to pull away from the keratin. By building a precise apex that aligns with the natural high point of the nail, you minimize this flex-gap.
Troubleshooting Common Failures
By mastering the Apex-Transfer technique, you move beyond mere decoration into the realm of structural engineering. Your clients will experience fewer breakages, extended wear times, and a significant reduction in natural nail damage caused by poorly supported enhancements.
Join the newsletter
Get fresh nail tutorials, trends, and business tips straight to your inbox.