
The Anatomy of a Perfect Structured Gel Overlay: Techniques for Apex Placement and C-Curve Mastery
Structured gel overlays offer the durability of acrylic with the flexibility of gel, but their success relies entirely on physics. Learn the precise techniques for apex placement, sidewall tapering, and C-curve mapping to create flawless, long-lasting manicures.
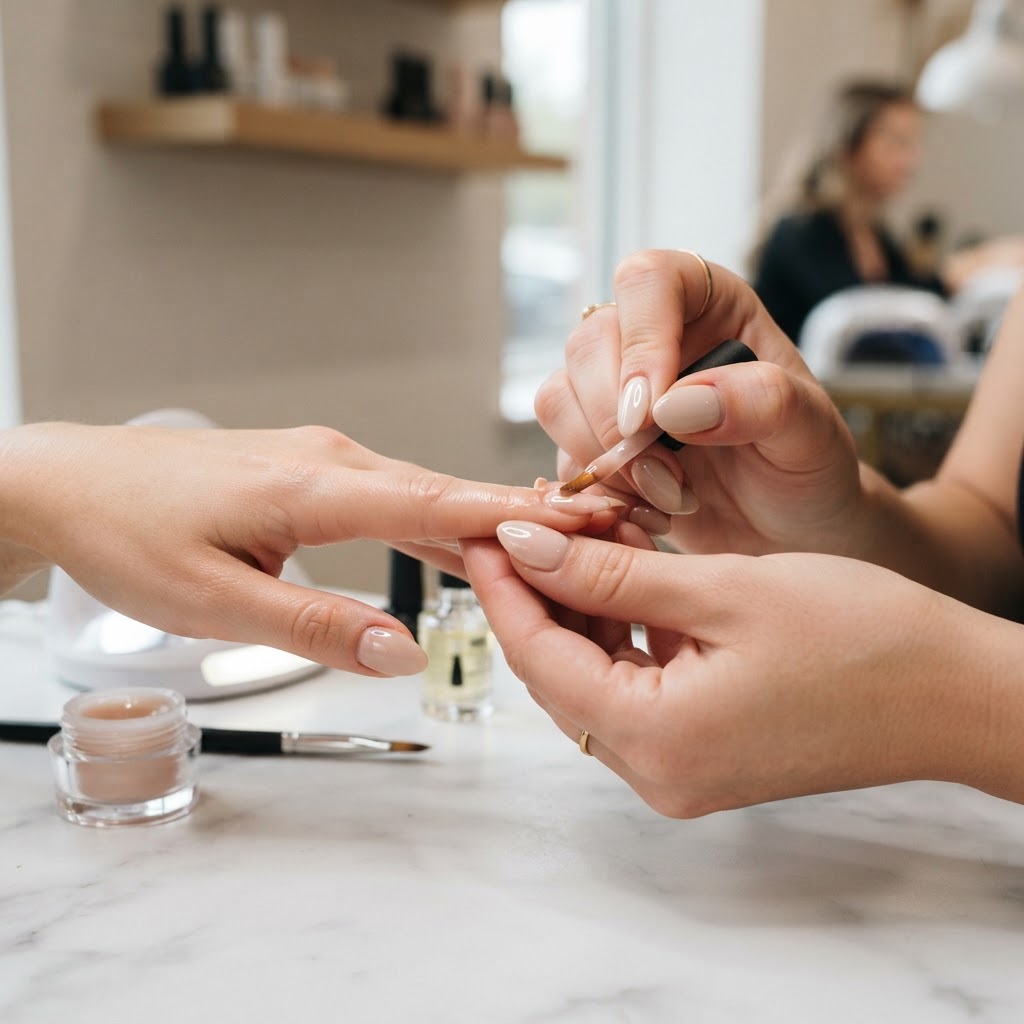
# The Anatomy of a Perfect Structured Gel Overlay: Techniques for Apex Placement and C-Curve Mastery
If you’ve ever wondered why some gel manicures last three weeks without lifting or chipping, while others crack at the free edge after five days, the answer lies in structure. A structured gel overlay—often referred to as Builder In A Bottle (BIAB) or hard gel overlay—isn't just about layering a thicker product on the nail. It is an exercise in physics.
By intentionally placing thickness where the nail experiences the most stress and tapering it where it doesn't, you create a protective armor that allows the natural nail to grow without breaking. In this tutorial, we are going beyond simple product application. We will break down the exact techniques for mapping your apex, sculpting your C-curve, and tapering your sidewalls for the perfect structured gel overlay.
The Physics of a Structured Overlay
The natural nail is strongest at the cuticle area where it is attached to the nail bed, and it becomes progressively weaker towards the free edge. When you apply a uniform layer of gel, the free edge remains the weakest point, and daily impacts will eventually cause the gel to crack or break.
A structured overlay corrects this imbalance. By building an "apex"—the highest point of the product—you shift the structural load away from the fragile free edge. The apex acts as a load-bearing arch, distributing pressure back toward the stronger base of the nail.
Materials You Will Need
* 100/180 grit file for shaping
* Medium-fine e-file bit (or 240 grit hand file) for refinement
* Dehydrator and Primer
* High-viscosity builder gel (BIAB) or self-leveling hard gel
* Base coat and Top coat
* A clean, dry sculpting/detail brush for manipulating wet gel
Step 1: Prep and Base Layer Application
Prep remains the foundation of any good manicure. Push back and carefully remove the non-living cuticle tissue from the nail plate. Lightly buff the surface to remove shine, and remove the dust.
Apply your dehydrator and primer, allowing them to dry completely. Apply a thin, foundational layer of base coat, capping the free edge, and cure for the manufacturer's recommended time (usually 30–60 seconds in an LED lamp). This layer provides the chemical bond for your builder gel.
Step 2: Mapping and Building the Apex
Join the newsletter
Get fresh nail tutorials, trends, and business tips straight to your inbox.
This is where the structure is born. Before you pick up your gel, you need to know exactly where your apex will go.
Finding the Sweet Spot
The apex should sit directly over the "stress area"—the junction where the natural nail separates from the finger (the apex of the smile line). However, nail bed length matters:
* Standard/Long Nail Beds: The apex sits directly over the stress area, typically 1/3 to 1/2 of the way down the nail from the cuticle.
* Short or Bitten Nails: Because there is little to no free edge, you must move the apex further back, closer to the center of the nail bed, to create the illusion of length and provide the necessary support.
The Application Technique
Cure for 60 seconds (or longer if required by the gel's viscosity).
Step 3: Sculpting the C-Curve and Sidewalls
The C-curve refers to the cross-sectional arch of the nail. A pronounced, well-supported C-curve adds immense structural integrity, much like an arch in architecture. The sidewalls are the edges of the nail; if these are too thick, the gel will lift as the natural nail expands and contracts.
Cure completely.
Step 4: Refining and Shaping
Once cured, the overlay will likely look a bit lumpy or uneven. This is normal. The magic happens in the refinement stage.
Step 5: The Final Shine
Once the structure is perfected and the surface is smooth, wipe away all filing dust with a lint-free wipe and cleanser.
Apply a thin, even layer of top coat. Make sure to cap the free edge completely to seal the structure. Cure for the full recommended time. If using a non-wipe top coat, you are done. If using a wipe-off top coat, cleanse the inhibition layer and apply cuticle oil.
Conclusion
Mastering the structured gel overlay separates good nail technicians from elite ones. By understanding the mechanics of the apex, C-curve, and sidewalls, you can guarantee your clients a manicure that withstands the rigors of daily life while protecting their natural nails. Practice your mapping on a practice hand before trying it on paying clients, and watch your retention rates skyrocket.
Join the newsletter
Get fresh nail tutorials, trends, and business tips straight to your inbox.
