
Sculpting the Perfect Silhouette: Precision Tapering for Extreme Lengths
Achieve high-end, editorial-quality nail silhouettes by mastering the 'side-wall carve' technique, ensuring your long-length extensions look slender without compromising structural integrity.
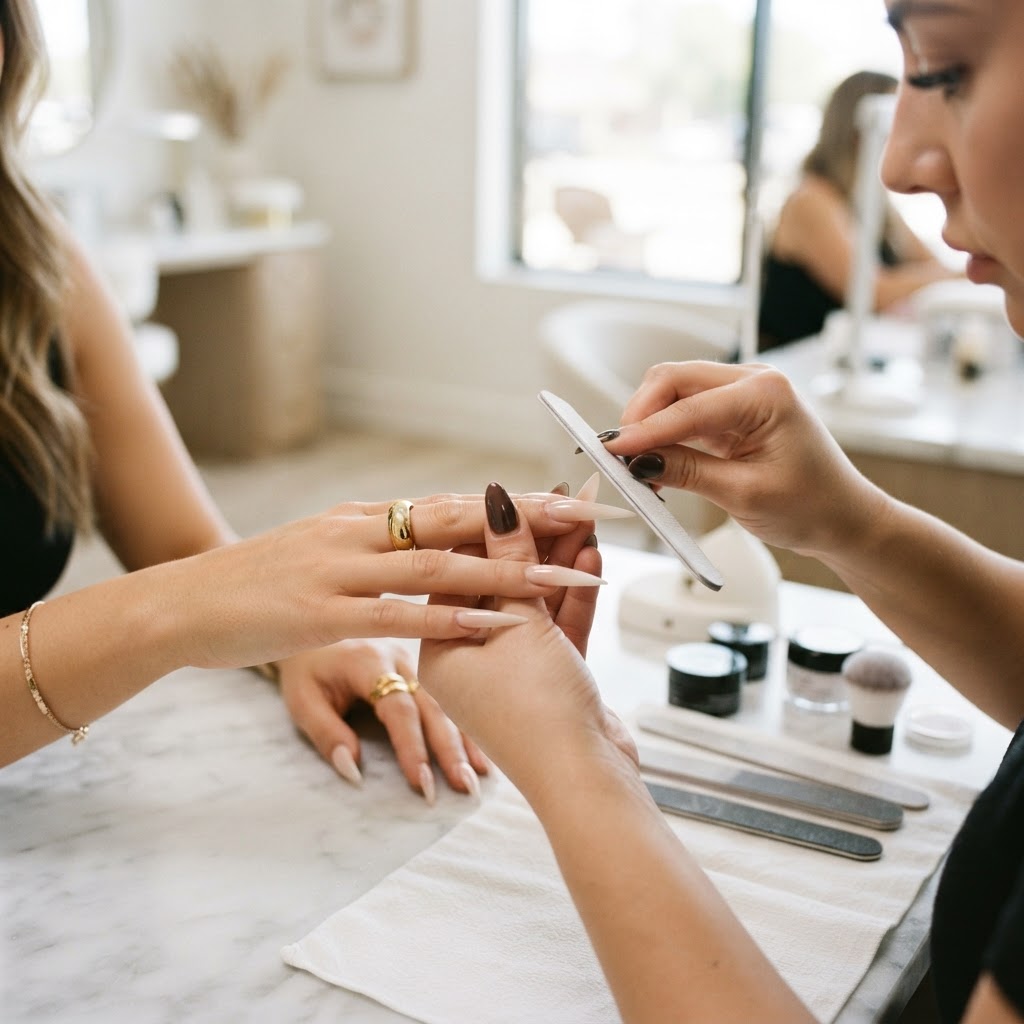
The Science of the Silhouette
When working with extreme lengths—anything beyond a size 3 or 4 on a standard nail form—the most common pitfall is the 'bulbous' look. As product accumulates toward the free edge, the nail loses its sleek, feline aesthetic, appearing heavy and prone to breakage. Achieving a high-fashion, tapered look requires moving beyond simple filing and into the realm of architectural sculpting.
Phase 1: The Foundation of Structure
Before you can taper, you must ensure your apex is placed correctly. On extreme lengths, the apex should sit slightly further back (roughly at the 1/3 point of the nail plate) to support the increased leverage of the extended free edge. Use a high-viscosity builder gel or a hard polygel to build this shelf. If your structure isn't solid, your taper will result in a fragile tip that snaps within days.
Phase 2: The Side-Wall Carve Technique
Many technicians make the mistake of filing the sides only after the product is fully cured. This often leads to over-filing the stress points.
Join the newsletter
Get fresh nail tutorials, trends, and business tips straight to your inbox.
* The Pinch Point: At the 75% cure mark (when the product is tacky but semi-rigid), use your tweezers to gently pinch the free edge. This initiates the C-curve without waiting for full polymerization.
* The Underside Clean-up: Once fully cured, flip the hand. Use a small, carbide safety bit on a low RPM (below 8,000) to clear out the excess product from the natural nail regrowth area underneath. This immediately thins the appearance of the nail from a profile view.
Phase 3: Precision Tapering Mechanics
To achieve that razor-sharp taper, you must treat the nail as a three-dimensional object.
Troubleshooting Common Tapering Errors
* The 'Step' Effect: If you see a visible line where your filing ended, you are using too much pressure. Always use a 'light touch' with a fresh file. A dull file will cause you to press harder, which is the enemy of a smooth silhouette.
* Weak Stress Points: If your client experiences hairline cracks at the side walls, you've filed too close to the natural nail. Leave the product slightly thicker (at least 1.5mm) in the 2mm zone surrounding the lateral fold.
Elevating the Finish
Always finish with a hand-buffing block. Even if your carbide bit is excellent, microscopic ridges will remain. A 220/280 grit buffer ensures the surface is glass-smooth before your top coat is applied. On long lengths, the top coat application is the final 'seal.' Apply a thin layer of non-wipe top coat, then flip the finger upside down for 5 seconds before curing—this encourages the product to level into the center, reinforcing the apex and creating a perfect light reflection along the length of the nail.
Join the newsletter
Get fresh nail tutorials, trends, and business tips straight to your inbox.