
Style7 min readby NailRush Live Team1 view
Optimizing the 'Hard Gel Overlay' for Clients with Thin or Damaged Nail Plates
Learn the specific chemistry and application sequence required to safely transition clients with thin, post-acrylic, or brittle nails to a long-lasting hard gel overlay system.
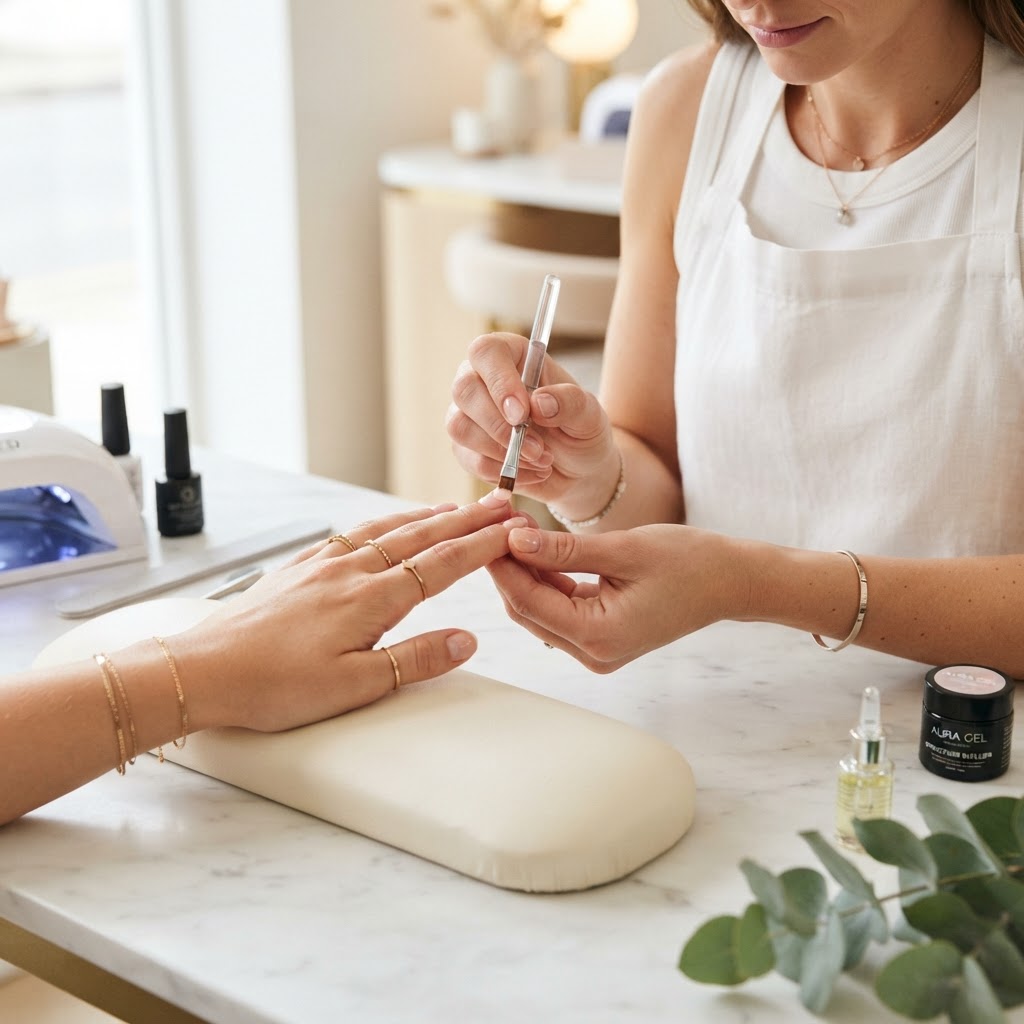
Assessing the Integrity of the Natural Nail Plate Before you touch your file, you must assess the structural integrity of the nail plate. For clients coming off acrylics or those with naturally thin, flexible nails, the 'standard' prep protocol will lead to thermal spikes and premature lifting. Use the 'Translucency Test': if you can see the nail bed blushing under light pressure, the nail plate is too thin for aggressive etching. Instead, skip the 100/180 grit file on the natural nail entirely. Use a high-quality 240-grit buffer to remove the shine only, ensuring the keratin layers remain intact. ## The Chemistry of Acid-Free Adhesion Many technicians use acid-based primers to compensate for improper prep. This is a mistake for damaged plates, as it draws moisture out of the nail and increases brittleness. Instead, utilize an acid-free bonder applied sparingly—only to the natural nail. Allow it to air-dry for 60 seconds. This creates a sticky, chemical anchor that allows the gel to bond without requiring excessive mechanical roughening of the nail plate. ## The 'Base-Layer' Technique for Structural Support To create a bridge between a damaged nail and a hard gel overlay, you must use a dual-layer approach. 1. The Anchor Coat: Apply a thin, scrubbed-in layer of a flexible, rubberized base gel. Cure this for the full manufacturer-recommended time. This layer acts as a 'shock absorber' that moves with the client’s flexible natural nail. 2. The Structural Base: Once the flexible base is cured, apply your hard gel. Hard gel has high tensile strength but zero flexibility; if applied directly to a thin, bendy nail, it will crack. By placing it over the flexible base, you create a sandwich effect that mimics the strength of the natural nail while providing the durability of an enhancement. ## Managing Apex Placement on Flat, Thin Nails When nails are thin, they often lose their natural C-curve and become flat. You cannot build a flat nail to be durable; it will simply snap at the stress point. Use a thicker viscosity hard gel to build a 'bead-and-drag' apex. Focus the volume of the product at the center of the nail (the stress zone) and feather it toward the cuticle and sidewalls. If your client has a particularly flat nail bed, flip their finger upside down for 5-10 seconds before curing. Gravity will pull the gel toward the center, naturally creating a perfect apex without the need for excessive filing. ## Post-Cure Management and Client Education The most common cause of service breakdown on damaged nails isn't the product; it's the client's home care. Teach your clients that their nails are 'tools, not jewels.' Explain the science: because their nail plates are thin, they absorb water faster, which causes the gel to expand and contract. Recommend a cuticle oil with jojoba base—its molecular size is small enough to penetrate the nail plate and the surrounding skin, keeping the nail flexible and preventing it from becoming so brittle that it snaps underneath your hard gel overlay.
Join the newsletter
Get fresh nail tutorials, trends, and business tips straight to your inbox.
Join the newsletter
Get fresh nail tutorials, trends, and business tips straight to your inbox.
