
Optimizing the 'E-File Prep' Protocol: Reducing Lift and Extending Manicure Longevity
Move beyond generic cuticle work and master the mechanical precision of electronic file preparation to ensure zero-lift applications for even the most difficult nail types.
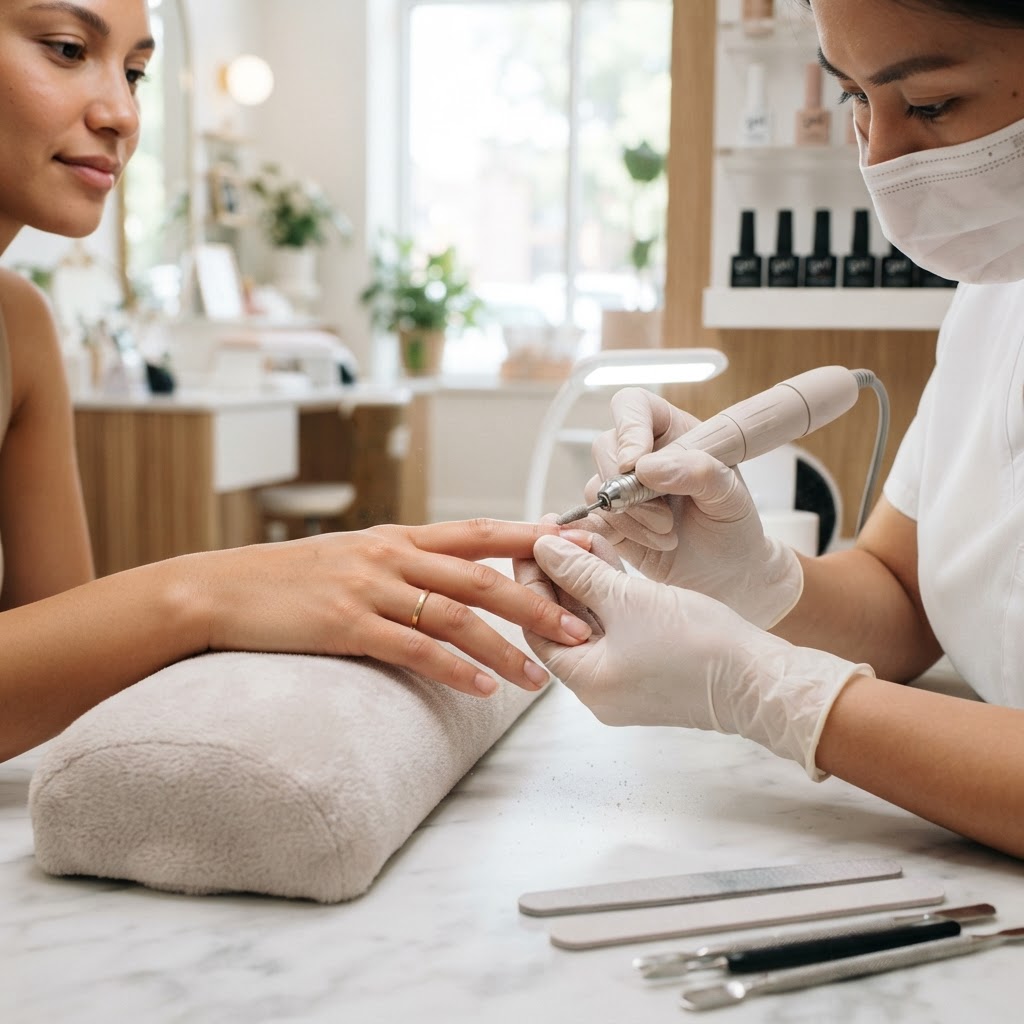
The Importance of Mechanical Prep Efficiency in Modern Nail Artistry
For many nail technicians, the cause of 'lifting' is often attributed to product quality or climate, but 90% of the time, the culprit is insufficient or improper nail plate preparation. Transitioning from manual pushers to a standardized electronic file (E-File) protocol is the single most effective way to ensure your structured gels and extensions remain flawless for three to four weeks.
Choosing the Right Bits for Cuticle Detox
Stop using abrasive bits that gouge the natural nail plate. Your goal is to exfoliate the dead tissue without scarring the nail matrix.
The Essential Toolkit
* Flame Bit (Medium/Fine Grit): Use this for lifting the cuticle pocket. Keep the bit at a 45-degree angle to the nail plate.
* Ball Bit (Diamond, Fine Grit): Ideal for the 'dry manicure' final touch, removing the frayed skin tags created by the flame bit.
* Mandrel and Sanding Band (180 Grit): Reserved exclusively for etching the nail plate. Never use a diamond bit to prep the surface of the nail.
Join the newsletter
Get fresh nail tutorials, trends, and business tips straight to your inbox.
The Three-Step Protocol for Maximum Adhesion
Step 1: Pocket Creation
Using a medium-grit flame bit at a low RPM (5,000–8,000), gently trace the cuticle line. You aren't cutting; you are vibrating the dead skin away from the nail plate. The skin should appear to 'stand up' once the pocket is properly evacuated.
Step 2: Surface Etching
Many technicians over-file the nail plate, causing 'rings of fire' or thin, sensitive nails. Switch to a 180-grit sanding band. Use a light, feather-touch pressure. Move in one direction—from the cuticle to the free edge—to ensure the scales of the nail plate are smoothed down, not jagged.
Step 3: Dehydration and Chemical Bridging
Mechanical prep is only half the battle. After dusting, perform a double-dehydration process. Apply a high-quality dehydrator, followed by an acid-free primer. Wait for the primer to become tacky—not dry—before applying your base coat.
Troubleshooting Common Prep Issues
* Still experiencing lifting? Check your RPM. High speed generates heat, which causes the nail plate to expand and contract, leading to micro-gaps between the product and the nail.
* The 'Oily' Nail Problem: If a client has high sebum production, increase your mechanical etching intensity slightly, but do not skip the use of a pH balancer before your dehydrator.
* The Cuticle 'Fringe': If you see a white fringe of skin after your prep, you have missed dead tissue. Re-examine your angle. The bit should be parallel to the nail plate, not digging into it.
Why Standardizing Prep Increases Profit
When your prep is uniform, your application time decreases and your client retention skyrockets. A client who doesn't experience premature lifting becomes a repeat, loyal customer. By mastering these specific E-File techniques, you reduce the time spent on 'damage control' appointments and build a reputation for durability that sets your salon apart.
Join the newsletter
Get fresh nail tutorials, trends, and business tips straight to your inbox.
