
Mastering the 'Thermal-Reaction' Ombré: Controlling Pigment Migration in Variable Gel Viscosities
Learn the professional technique for achieving flawless, ghost-free gradient transitions by manipulating the thermal properties and viscosity of your gel products.
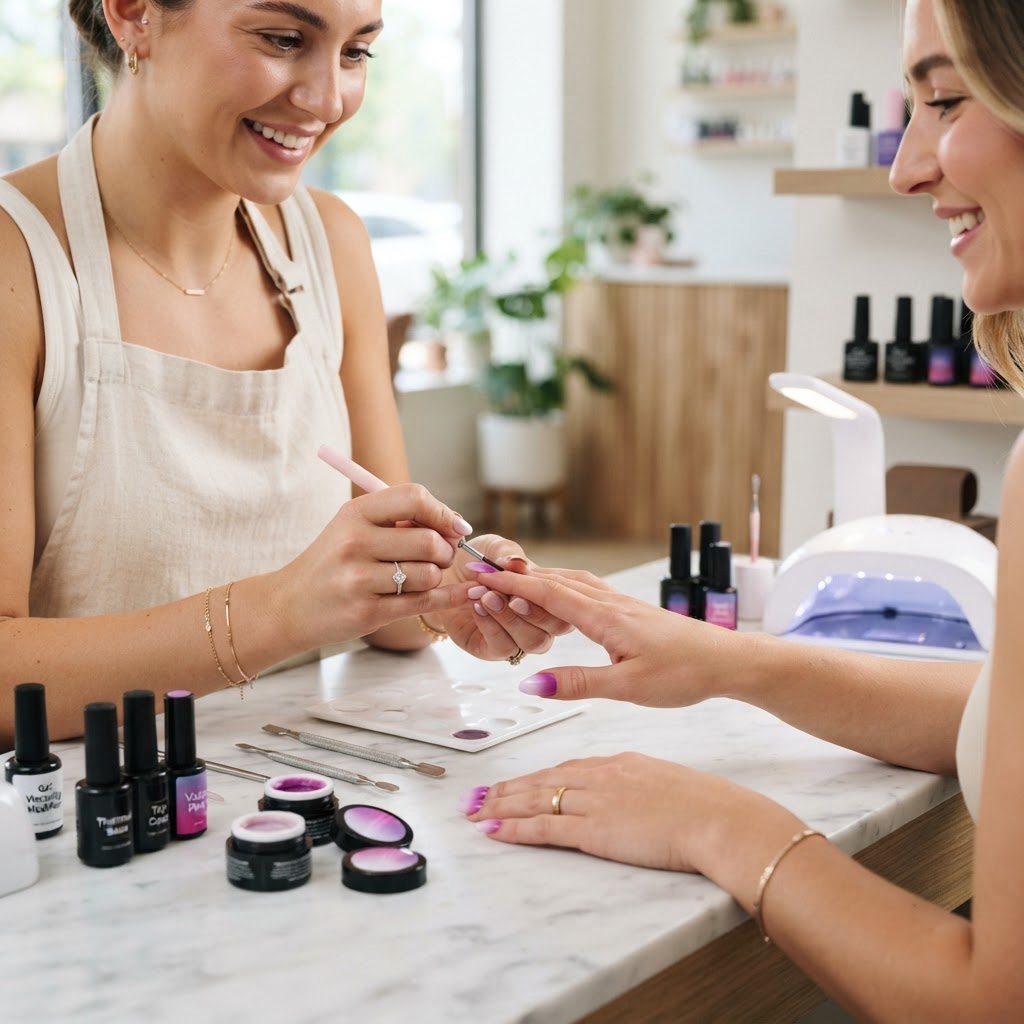
Understanding the Thermal Variable in Gradient Blending
The most common complaint in high-end salon ombré work is 'pigment drift,' where two colors bleed into one another in muddy, inconsistent ways. Many artists assume the problem lies solely in the blending brush, when in reality, the issue is a failure to manage the thermal reaction and viscosity of the gels being used. When you apply a high-viscosity sculpting gel against a low-viscosity color coat, the thermal output of the curing lamp causes the thinner product to migrate toward the heat source, resulting in a jagged, 'dirty' transition line.
The 'Thermal Bridge' Technique
To achieve a seamless transition, you must bridge the viscosity gap between your base color and your accent color. Instead of blending the two colors directly on the nail plate, follow this three-step protocol:
Join the newsletter
Get fresh nail tutorials, trends, and business tips straight to your inbox.
Controlling Curing Dynamics
Advanced nail artists know that lamp intensity is a variable in design, not just a static requirement. If your gels are separating, try the 'Flash-Pause' method:
* Apply your gradient transition.
* Flash-cure for exactly 5 seconds. This locks the pigment in place while the gel is still in a 'semi-tacky' state.
* Remove from the lamp and gently smooth the transition with a dry, clean detail brush if any micro-textures remain.
* Final full-cure for 60 seconds.
Troubleshooting Common Failures
* Muddy Transitions: This is almost always caused by an over-saturated brush. Clean your brush with a lint-free wipe dampened with 99% isopropyl alcohol after every three strokes to keep the pigment deposit precise.
* Edge Lifting: When doing heavy gradient work, ensure you are not flooding the side walls. Because you are layering product to create the fade, the total volume of gel at the center of the nail is higher. Counteract this by thinning out your application as you move toward the free edge.
By treating the ombré as a study in fluid dynamics rather than just an artistic application, you elevate your work from 'amateur blur' to 'professional gradient.' Mastery of these thermal and viscosity variables will reduce your service time by preventing the need for multiple 'fix-it' layers, directly increasing your hourly revenue.
Join the newsletter
Get fresh nail tutorials, trends, and business tips straight to your inbox.
