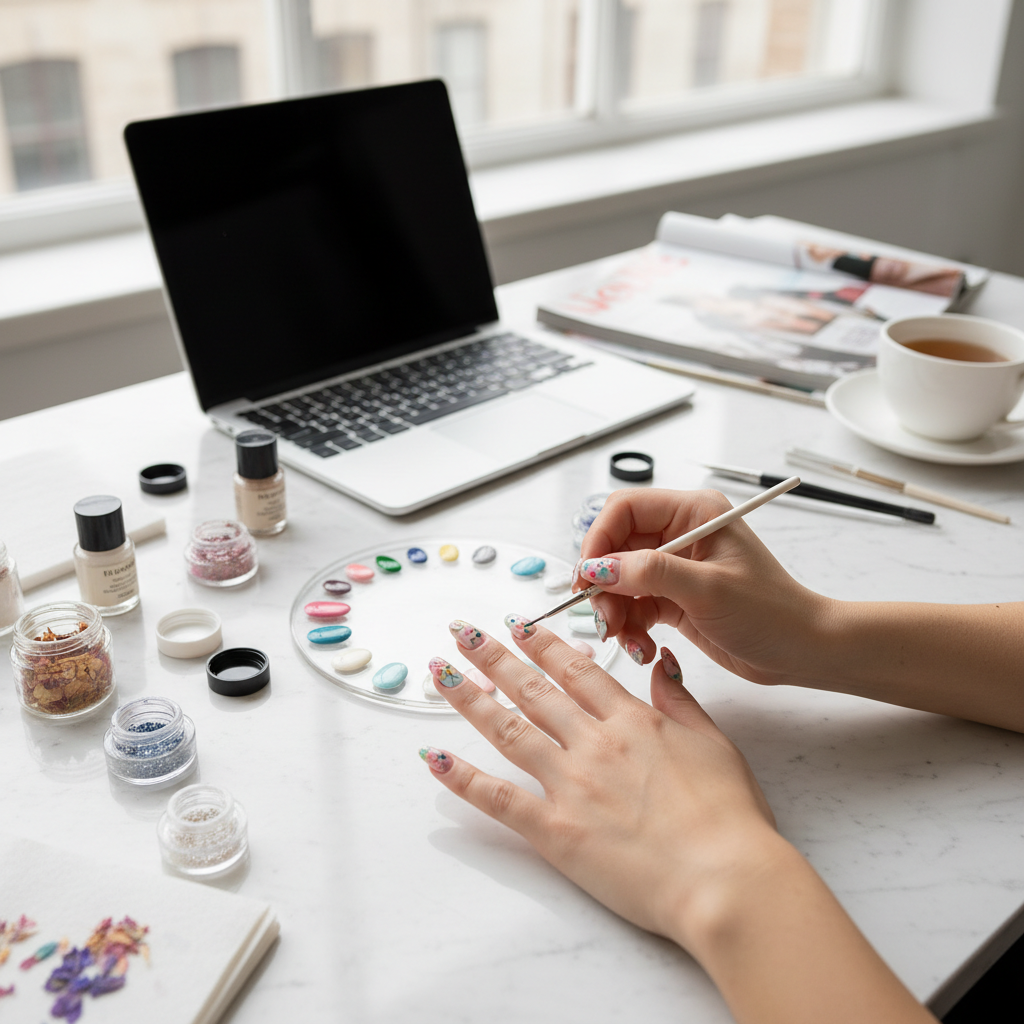
How to Create Eye-Catching Floral Nail Art: Step-by-Step Techniques for Professionals
Flowers evoke beauty and elegance, making them a popular choice for nail art. This tutorial will walk you through creating stunning floral designs that will appeal to your clients and enhance your portfolio.
Introduction
Floral nail art is an enduring trend that resonates with clients of all ages. Whether it’s a simple daisy or an intricate rose garden, mastering floral designs can elevate your skills as a nail artist. This tutorial will guide you through creating two distinct floral nail designs: a watercolor floral and a 3D flower design. By the end, you’ll be equipped with the necessary techniques and tips to wow your clients and build your portfolio.
Tools and Materials Needed
Before you dive into the designs, ensure you gather the following tools and materials:
Base coat
Nail polish (white, pastel colors, and green for foliage)
Dotting tools (different sizes)
Nail art brushes (fine detail brush and flat brush)
Water (for the watercolor technique)
Top coat
Nail art sponge
Tweezers (for 3D elements)
Nail glue (for attaching 3D elements)
Part 1: Watercolor Floral Design
Step 1: Prepare the Nails
Clean and Shape: Start with clean, shaped nails. Push back cuticles and file nails to the desired shape.
Apply Base Coat: Use a base coat to protect the nail and ensure longevity of your design. Once dry, proceed to the next step.
Step 2: Create the Base
Apply a Base Color: Use a light pastel color (like baby blue or soft pink) and apply one or two coats for smooth coverage. Let it dry completely.
Step 3: Watercolor Technique
Prepare Your Paint: On a palette, mix a few drops of nail polish with a small amount of water. This will help achieve the desired watercolor effect.
Apply First Flower Layer: Using your flat brush, pick up the thinned polish and dab it onto the nail. Use a random, blotchy pattern to create a soft flower shape. Repeat this for various flowers across the nail.
Layering: Allow the first layer to dry slightly (but not completely). Then, using a different color, add smaller flower details on top of the first layer to create depth.
Add Leaves: Use green polish to create simple leaf shapes around the flowers by using the dotting tool or the flat brush.
Join the newsletter
Get fresh nail tutorials, trends, and business tips straight to your inbox.
Step 4: Final Touches
Top Coat: Once your design is dry, seal it with a top coat to enhance shine and longevity.
Cleanup: Clean any excess polish around the cuticles with a small brush dipped in acetone.
Part 2: 3D Flower Nail Design
Step 1: Prepare the Nails
Just like in the first part, start with a fresh nail polish application and base coat.
Step 2: Base Color Application
Choose a Base Color: Apply a vibrant base color that will contrast with your 3D flower (such as bright red or sparkling gold).
Dry Completely: Make sure the base color is completely dry before placing any 3D elements.
Step 3: Making 3D Flowers
Using Nail Art Gel: Take a small bead of nail art gel and roll it into a small ball. Flatten it slightly to create a petal shape.
Form Petals: Create multiple petals (5-6) for one flower, ensuring different sizes for a more natural look.
Attach Petals: Use nail glue to attach the petals onto your nail, forming a flower shape. Tip: Use tweezers for better precision.
Add Center: Create a smaller bead with a different color for the flower's center and attach it.
Step 4: Leaf Application
Create Leaves: Use green gel to form small leaf shapes, attaching them between the petals.
Curing: Cure the entire design under a UV/LED lamp according to the gel product’s instructions.
Step 5: Final Steps
Top Coat: Apply a top coat over the entire nail to enhance shine and secure the 3D elements.
Client Care: Advise clients on proper care for their 3D nails to maintain longevity.
Conclusion
By mastering both watercolor and 3D floral nail designs, you can offer your clients unique and eye-catching options. Practice these techniques, and don’t forget to adapt them to your personal style. Floral designs not only bring a touch of elegance to nails but also demonstrate your creativity and skill as a nail artist. Happy painting!
Tips for Success
Experiment with color gradients in your watercolor technique for added visual interest.
Encourage clients to try different floral combinations for customized designs.
Stay updated with seasonal flowers and motifs to keep your offerings fresh.
SEO Tags
Floral Nail Art Techniques
3D Nail Art Tutorial
Watercolor Nail Design
Nail Art for Professionals
Nail Art Tips and Tricks
Estimated Read Time
7 min read
Learn More on NailRush
Watch tutorials, shop products, and connect with nail artists worldwide.
Join the newsletter
Get fresh nail tutorials, trends, and business tips straight to your inbox.