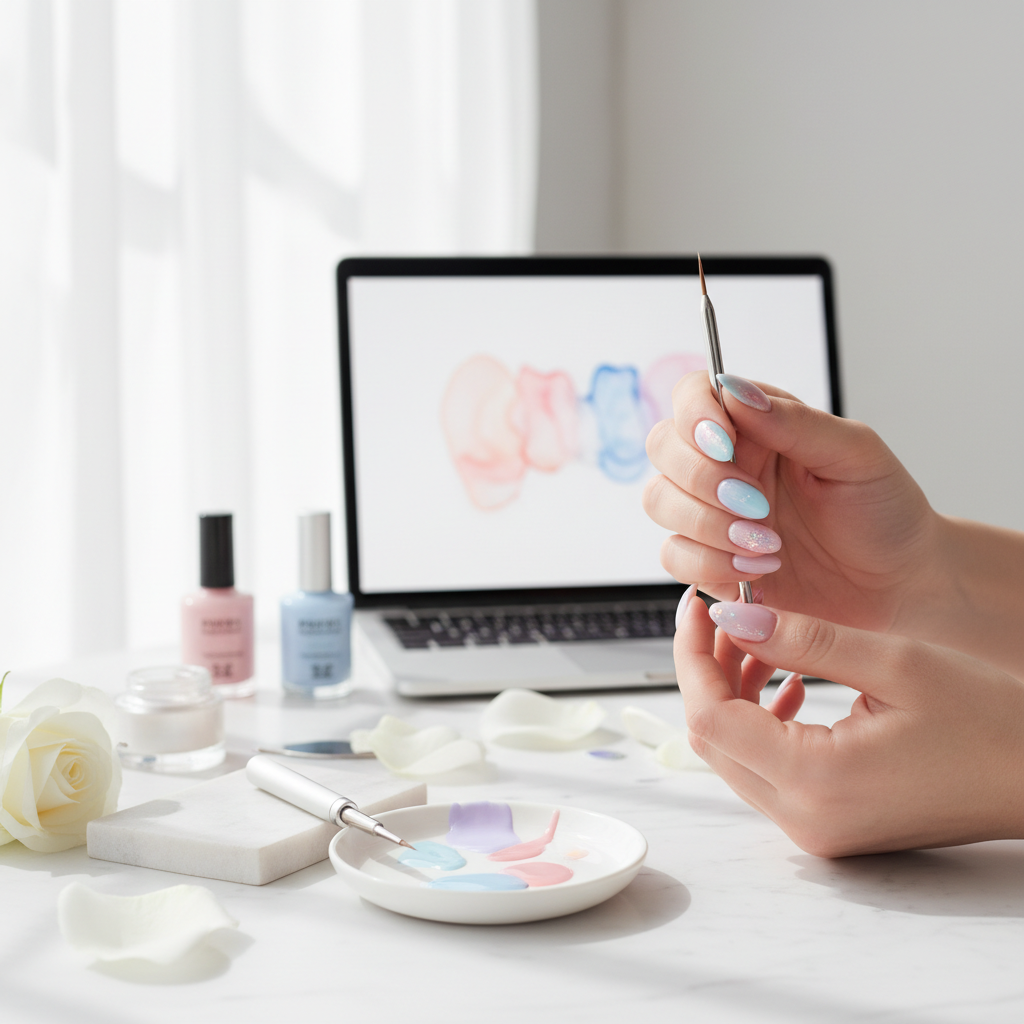
Elevate Your Nail Art: Mastering the Gradient Technique for Stunning Designs
Discover the step-by-step process to create beautiful gradient nail art that will captivate your clients and help you stand out in the competitive nail salon market.
Elevate Your Nail Art: Mastering the Gradient Technique for Stunning Designs
In the competitive world of nail artistry, having a signature technique can set you apart and leave your clients wanting more. One of the most visually striking techniques you can master is the gradient nail art. Perfect for all styles—from subtle ombrés to bold color blends—gradient nails can complement any outfit and occasion. In this post, I’ll guide you through the process of creating stunning gradient nails using practical techniques and tools that will keep your clients returning for more.
Understanding the Gradient Technique
Gradient nail art, often called ombre, involves blending two or more colors seamlessly together, creating a beautiful transition. This irresistible look is versatile—it can be done with gels, acrylics, or even regular polish. The key is in the blending technique and the choice of colors.
Choosing Your Colors
Complementary Colors: Opt for colors that enhance each other. Choose two or three shades from the same color family for a smoother transition.
Contrasting Colors: For a bold look, select colors from opposite sides of the color wheel, like blue and orange.
Nude Base Enhancements: For a more subtle approach, use a nude base and gentle colors, creating a sophisticated gradient.
Tools You’ll Need
To achieve that perfect gradient, you’ll need a few essential tools:
Quality Nail Polishes or Gels: Choose at least two colors to blend.
Makeup Sponge: A soft sponge is essential for the blending process.
Nail Brush: For detailed work, including cleaning up edges.
Top Coat: A high-gloss top coat to seal your work and add shine.
Tape: Use it to protect the skin around the nails while working.
Step-by-Step Gradient Nail Art Tutorial
#### Step 1: Prepare Your Nails
Clean and Shape: Start with clean, shaped nails. Remove any old polish and push back cuticles if necessary.
Join the newsletter
Get fresh nail tutorials, trends, and business tips straight to your inbox.
Base Coat: Apply a base coat to protect the nails and provide a smooth surface. Allow it to dry completely before moving on.
#### Step 2: Apply Base Color
Choose Your Base Color: Pick the lighter of your two gradient colors as your primary base. Apply one to two coats until even. Make sure each coat dries before applying the next.
#### Step 3: Create the Gradient
Sponge Preparation: On a makeup sponge, apply stripes of your two chosen nail colors horizontally. The levels of the colors should overlap a little.
Dabbing Technique: Press the sponge onto the nail in a bouncing motion. Start at the tip and gently work downwards. Repeat this process until satisfied with the coverage.
Clean Edges: Dip your nail brush in nail polish remover to clean up around the edges of your nails where the polish might have smudged against the skin or cuticles.
#### Step 4: Final Touches
Add More Layers: If you want a more intense gradient, repeat the sponging process after the first application has dried.
Seal with Top Coat: Once you’re happy with the gradient, finish with a glossy top coat to seal your design and add shine. Ensure it’s applied evenly across all nails.
Maintenance Tips for Lasting Gradient Nails
Avoid Soaking: Advise clients to avoid soaking their hands in water for prolonged periods, which can weaken the polish.
Regular Touch-Ups: Suggest applying a top coat every few days to maintain the gloss and protect the nail art.
Gentle Cleaning: Encourage gentle cleaning methods to prolong the life of the gradient.
Marketing Your Gradient Nail Art
After mastering the gradient technique, consider marketing this unique service to attract more clients. Here are a few ideas:
Social Media Showcase: Share photos of your gradient designs on platforms like Instagram and TikTok. Use trending hashtags to catch people's attention.
Gradient Night Specials: Host a Gradient Night at your salon, where clients can choose any color combination for a limited time.
Client Consultation: During appointments, ask clients if they want to try something new, like gradient nails, as part of their service.
Conclusion
The gradient nail art technique is not only visually appealing but also a fantastic way to express creativity while satisfying client demands. By mastering this method, you can elevate your skills and stand out in a crowded market. Start practicing today and watch as your client base grows with your new stunning gradient designs!
SEO Tags
Gradient Nail Art
Ombre Nails
Nail Art Techniques
Nail Salon Marketing
Nail Design Tips
Estimated Read Time
5 min read
Learn More on NailRush
Watch tutorials, shop products, and connect with nail artists worldwide.
Join the newsletter
Get fresh nail tutorials, trends, and business tips straight to your inbox.