
Daily Nail Challenge Ideas You Can Actually Wear
Try a daily nail challenge with 13 wearable looks, tips to pick the right one, and how to post, heart, and streak on NailRush Live.
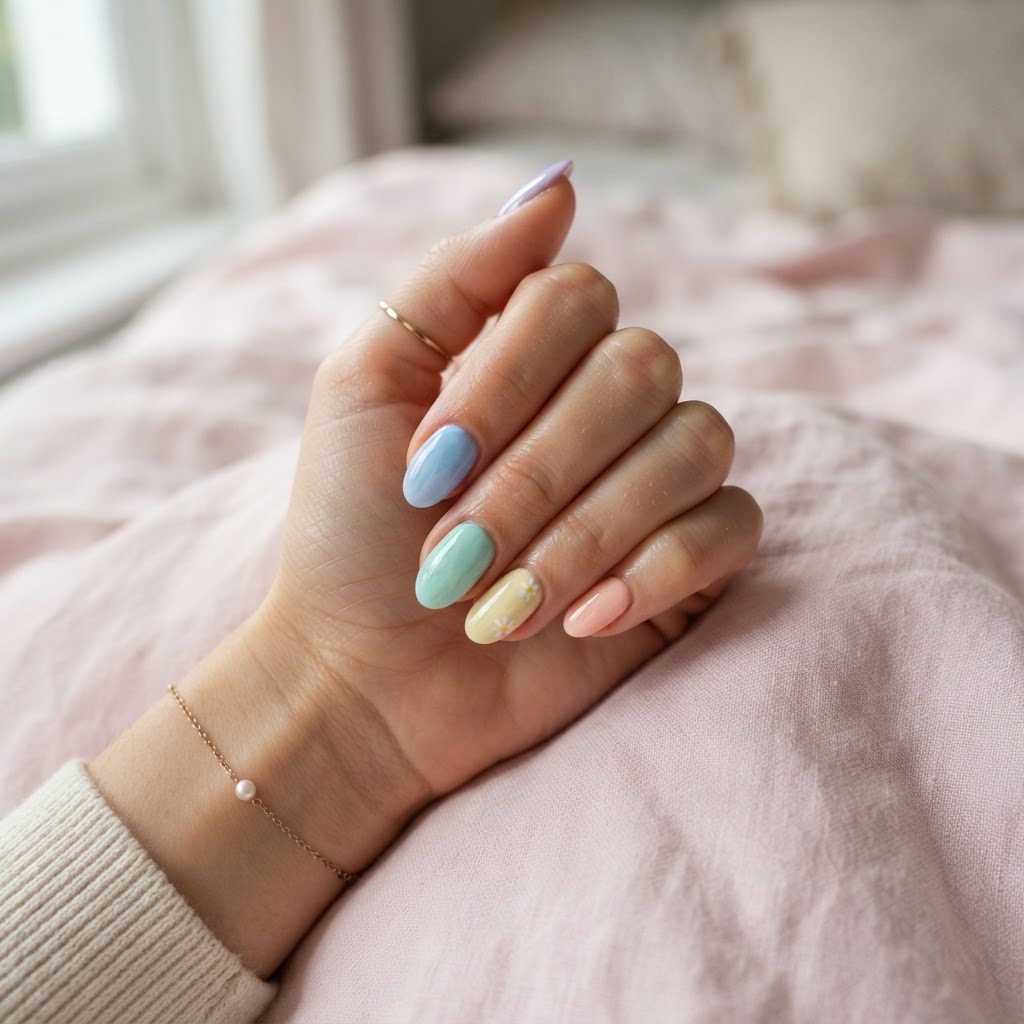
A daily nail challenge is a simple way to practice nail art one small idea at a time, instead of staring at your hands wondering what to do next. You pick a theme, do your nails to match it, and move on to a fresh theme the next day. It keeps things interesting without asking you to learn ten techniques at once.
The reason a new theme every day works so well is that it gives you a limit. Limits make nail art less scary. Instead of "do something cool," you get "do stripes today" or "do one accent nail today," and that's a lot easier to start.
Below you'll find 13 looks worth trying, how to pick between them, mistakes to skip, and how to get any of them done at home, at a salon, or through NailRush Live's own daily challenge.
13 Looks to Try in Your Daily Nail Challenge
Glass Milk Bath
This look uses a sheer milky white polish over bare nails, almost see-through but not quite, with a glossy top coat. It suits almond or oval nails at medium length best, since the shape shows off the soft glow. It's easy for beginners because there's no line work, just two or three thin coats. Tip: let each coat dry fully or the milky color will look streaky instead of soft.
Terrazzo Confetti
Paint a neutral base like warm beige or soft gray, then dot on small flecks of black, rust, and cream using a thin brush or dotting tool. This works on any shape but looks especially good on square or squoval nails with a bit of length to show the pattern. It's medium difficulty since the flecks need to look random, not placed. Tip: wipe your brush almost dry before each dot so they stay small and sharp.
Micro French Flip
Instead of a white tip, flip the colors: paint the nail bed white and leave a thin unpainted or clear line at the tip, or use a pale pink tip on a white base. It suits short to medium square nails, where the straight tip line is easiest to keep clean. This is beginner-friendly if you use striping tape to guide the line. Tip: press the tape down firmly at the edges so polish can't bleed underneath.
Sunset Ombre Fade
Blend orange, pink, and a touch of purple from the cuticle to the tip using a makeup sponge dabbed with polish. Almond and coffin shapes at medium to long length show the gradient best. It takes practice to get a smooth blend, so count it as medium-hard. Tip: dab in light layers and let each layer dry a few seconds before adding the next color.
Chrome Mirror Finish
Apply a silver or holographic chrome powder over a dark base, usually black or deep red, for a true mirror look. It works on almost any shape but shows off best on longer almond or coffin nails with a flat surface. This one is trickier at home since the powder needs a tacky top coat and a specific buffing motion. Tip: work in a well-lit room so you can see any patchy spots before they set.
Polka Dot Pop
Paint a bright base, like yellow or sky blue, then add white or black dots of different sizes with a dotting tool. Short to medium round or oval nails keep the dots looking neat and not crowded. It's one of the easier looks here, good for a first try at nail art. Tip: use a tool with a rounded tip, not a toothpick, so every dot comes out round.
Negative Space Lines
Leave thin strips of bare nail between painted sections, using tape to block out the design before you paint. This suits square or coffin nails at medium length where straight lines read clearly. It's medium difficulty because clean negative space depends on precise taping. Tip: seal the tape edges with a thin layer of clear polish before adding color, so the color doesn't seep under.
Galaxy Swirl
Layer deep blue, purple, and black with a sponge, then flick on tiny white and silver dots for stars. Longer almond or stiletto shapes give the swirl more room to move. This is a harder look because blending colors without turning muddy takes some practice. Tip: start with the darkest color and build lighter shades on top, not the other way around.
Jelly Sandwich
Paint a solid color, then layer a translucent jelly polish over it, and finish with a glossy top coat for a layered, glassy effect. Oval and almond nails at medium length let the layers show through nicely. It's easy to do, since it's really just three coats in a row. Tip: use a jelly polish that's genuinely translucent, not just lightly pigmented, or you won't see the sandwich effect.
Reverse French with Line
Paint the base a soft nude, then add a thin colored line just above the smile line instead of a solid tip. Works on almost any shape, but squoval and almond nails make the line easiest to keep straight. This is medium difficulty since the line needs a steady hand or a striping brush. Tip: rest your pinky against the table while painting to steady your hand.
Checkerboard Nails
Divide the nail into a grid with tape and alternate two colors, usually black and white or two contrasting brights. Square and coffin nails at medium to long length hold the grid shape best. This is one of the harder looks because the squares need to line up evenly. Tip: sketch the grid lightly on paper first so you know how many squares will actually fit on your nail size.
Cat Eye Magnetic
Use a magnetic polish and drag the included magnet over wet polish to create a light streak that shifts as your hand moves. Almond and coffin shapes at medium length show the streak clearly. It's easy once you know the timing, but the polish dries fast, so there's a small learning curve. Tip: hold the magnet close but not touching, and move it slowly in one direction.
Minimalist Line Art
Paint a bare or sheer base, then add one or two thin black lines, a small shape, or a single dot using a fine detail brush. This suits every shape and length, including short nails, since there's very little to go wrong. It's one of the easiest looks on this list. Tip: practice the line on paper a few times before touching your nail so your hand knows the motion.
Join the newsletter
Get fresh nail tutorials, trends, and business tips straight to your inbox.
How to Choose the Right Look for the Day
Your skin tone, nail length, and what you're wearing all affect which look will feel right.
If you're not sure where to start, the AI Nail Design Studio lets you enter your shape, length, and favorite colors and get a design idea with the techniques and tips already laid out for you.
Mistakes That Ruin an Otherwise Good Look
Adapting Any Look for Polish, Gel, or Press-Ons
Most of these looks can move between regular polish, gel, and press-ons with a few small changes.
How to Get the Look
If you'd rather have someone else do it, bring a photo and say something like: "Can you do a [look name] in [your colors], on an [almond/square/coffin] shape at [short/medium/long] length?" Naming the exact colors and shape helps a nail tech match what you're picturing instead of guessing.
Trying a Daily Nail Challenge on NailRush Live
Once you've picked a look, you can try the actual daily nail challenge on NailRush Live instead of just doing it on your own. Each day brings a new theme, and you post a photo of your real set or one of your AI-generated designs to match it. Other members heart the ones they like, and every day you post keeps your personal streak going.
Head to the main page to see today's theme and post your own take on it. If you want design help before you paint, the AI Nail Design Studio can turn your idea into a finished design with a color list before you commit to it. You can also check This or That to see two looks side by side and get a feel for what other people are choosing to wear that week.
Frequently Asked Questions
What is a daily nail challenge?
It's a format where you follow a new nail theme each day instead of picking a design at random. The theme gives you a small, specific goal, like "stripes" or "one accent nail," which makes it easier to actually sit down and do your nails regularly.
How long does each nail in a daily challenge take?
Most of the looks on this list take somewhere between 15 and 40 minutes per hand, depending on how detailed the design is and how many coats you need to dry in between steps.
Do I need gel or acrylic to join a daily nail challenge?
No. Regular polish works fine for almost every look, and it's actually easier to redo the next day since you're switching themes often. Gel or press-ons are optional if you want a look to last longer than a day.
What if I mess up a design mid-challenge?
Wipe off the section with a small brush dipped in polish remover and redo just that part once it's dry. You don't need to start the whole nail over for a small smudge.
Can short nails join a daily nail challenge?
Yes. Looks like polka dots, minimalist lines, and the micro french flip were made with shorter nails in mind, since they don't rely on extra length to show detail.
How do I keep my streak going on NailRush Live?
Post your nails or an AI design that matches the day's theme before the day ends. Doing this consistently is what builds your streak, and hearting other members' posts is a separate action that doesn't affect your own streak.
Where can I learn the techniques behind these looks?
The nail art style guide and the beginner nail art guide both break down common techniques like sponge blending and dotting in more detail, which can help before you try a trickier daily theme.
Is it okay to repeat a look I already tried?
Yes. Repeating a look you enjoyed is a normal part of practicing, and doing it again often means cleaner lines and a faster result the second time around.
Join the newsletter
Get fresh nail tutorials, trends, and business tips straight to your inbox.