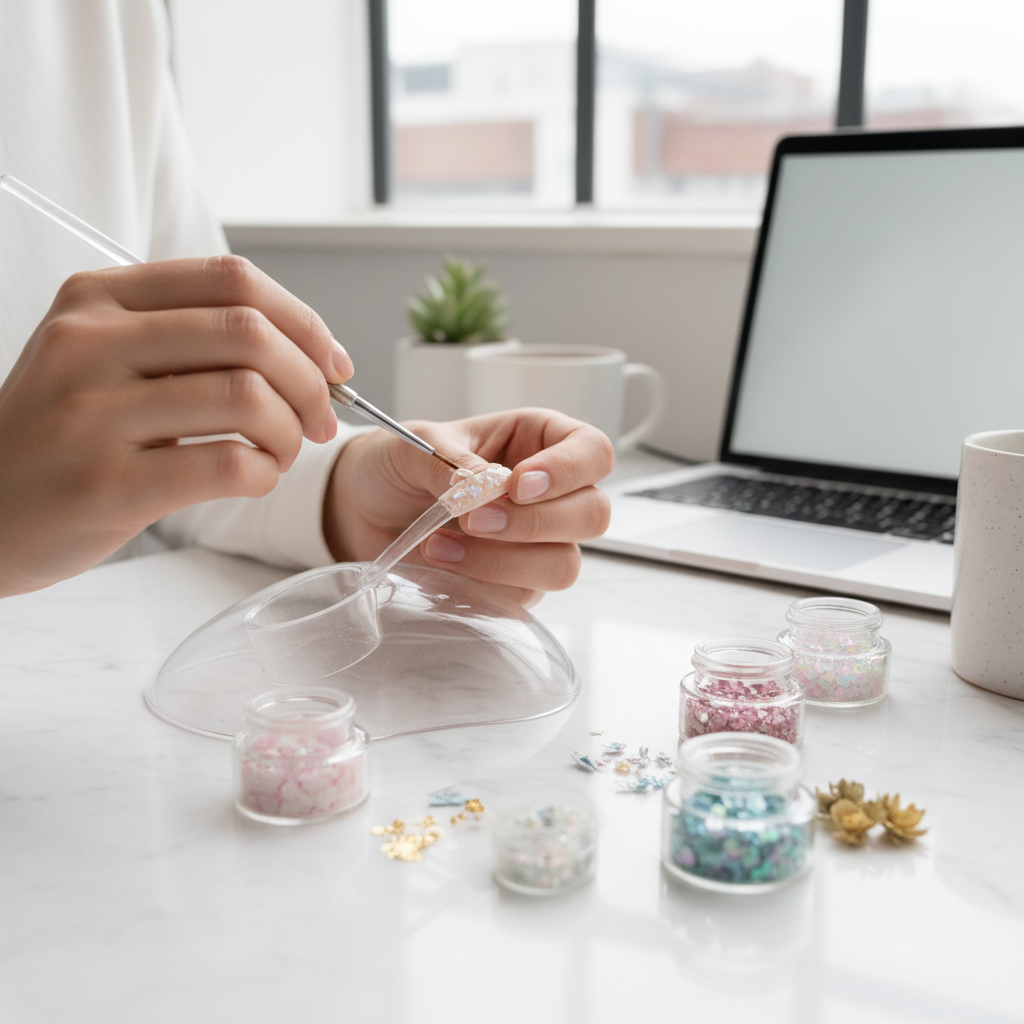
Creating Stunning Nail Inlays: A Step-by-Step Guide for Nail Artists
Learn how to elevate your nail artistry with an inlay technique that allows for intricate designs using materials like foils, glitters, and dried flowers. This tutorial will equip you with the skills to create unique nail art that your clients will love.
Introduction
In the world of nail art, techniques continuously evolve, and inlays have emerged as one of the most eye-catching methods. This technique not only adds depth and texture to nail designs but also allows you to incorporate various materials, making your work stand out. In this tutorial, we will walk through the steps to create stunning nail inlays using materials like foils, glitters, and even dried flowers.
What You Will Need
Before starting, gather the following materials and tools:
Nail Files and Buffers
Base Coat and Top Coat
Gel or Acrylic Nail Products
Nail Art Brush
Inlay Materials
- Foils
- Dried flowers
- Chunky glitters
Small scissors/tweezers
Isopropyl Alcohol or Nail Cleanser
UV/LED Lamp
Step-by-Step Process
Step 1: Prepare Your Nails
Shape the Nails: Start by filing and shaping the nails to your desired length and shape. Always ensure they are clean and free of oils.
Buff the Surface: Gently buff the surface of the nails to create a smooth canvas for the inlay. This will also help the products adhere better.
Join the newsletter
Get fresh nail tutorials, trends, and business tips straight to your inbox.
Apply Base Coat: Apply a thin layer of base coat and cure it under a UV/LED lamp according to the manufacturer's instructions.
Step 2: Create the Base Color
Choose Your Base Color: Select a color that contrasts well with your inlay materials. Apply two thin layers of your chosen gel color, curing each layer.
Remove the Sticky Layer: After curing the final layer, gently wipe away the sticky layer with isopropyl alcohol or a nail cleanser to prepare for the inlay.
Step 3: Add the Inlay
Design Placement: Use a nail art brush to apply a layer of gel where you want your inlay elements to sit.
Apply Inlay Materials: Carefully place your selected materials (foils, glitter, or dried flowers) directly onto the wet gel. Use tweezers for precision.
Seal the Inlay: Once you’re satisfied with the placement, apply a clear gel overlay to encapsulate the materials, ensuring they are securely placed. Cure under the lamp.
Step 4: Finish the Look
Final Coat: Apply another layer of top coat to give the nails a glossy finish. Make sure every edge is sealed to prevent lifting. Cure one last time.
Clean Up: Use a nail cleanser to remove any sticky residue.
Moisturize: Finish up with cuticle oil to moisturize and nourish the cuticles.
Tips & Tricks
Experiment with Different Materials: Foils, glitters, and dried flowers can all bring different aesthetics. Don’t hesitate to try out combinations to find your unique style.
Use Thin Layers: When applying your gel or acrylic products, be sure to use thin layers for easier curing and a more professional look.
Practice Makes Perfect: Inlays may take some time to master. Practice on nail tips or a practice hand before offering them to clients.
Conclusion
Nail inlays can transform a simple nail design into a striking work of art. By following this step-by-step guide, you’ll be able to create beautiful, personalized designs that your clients will adore. With some practice and creativity, you can incorporate this technique into your nail artistry repertoire and elevate your salon offerings. Happy designing!
SEO Tags
Nail Art Inlay Techniques
Nail Art Tutorial
Creative Nail Designs
Nail Artist Tips
Nail Salon Skills
Estimated Read Time: 7 min read
Learn More on NailRush
Watch tutorials, shop products, and connect with nail artists worldwide.
Join the newsletter
Get fresh nail tutorials, trends, and business tips straight to your inbox.