
Architecting Durability: The Precision Method for Hybrid Gel Extensions on Bitten Nails
Learn the professional techniques to build structural, long-lasting extensions on severely bitten nails by managing the nail bed's anatomy and choosing the right bond-enhancing chemistry.
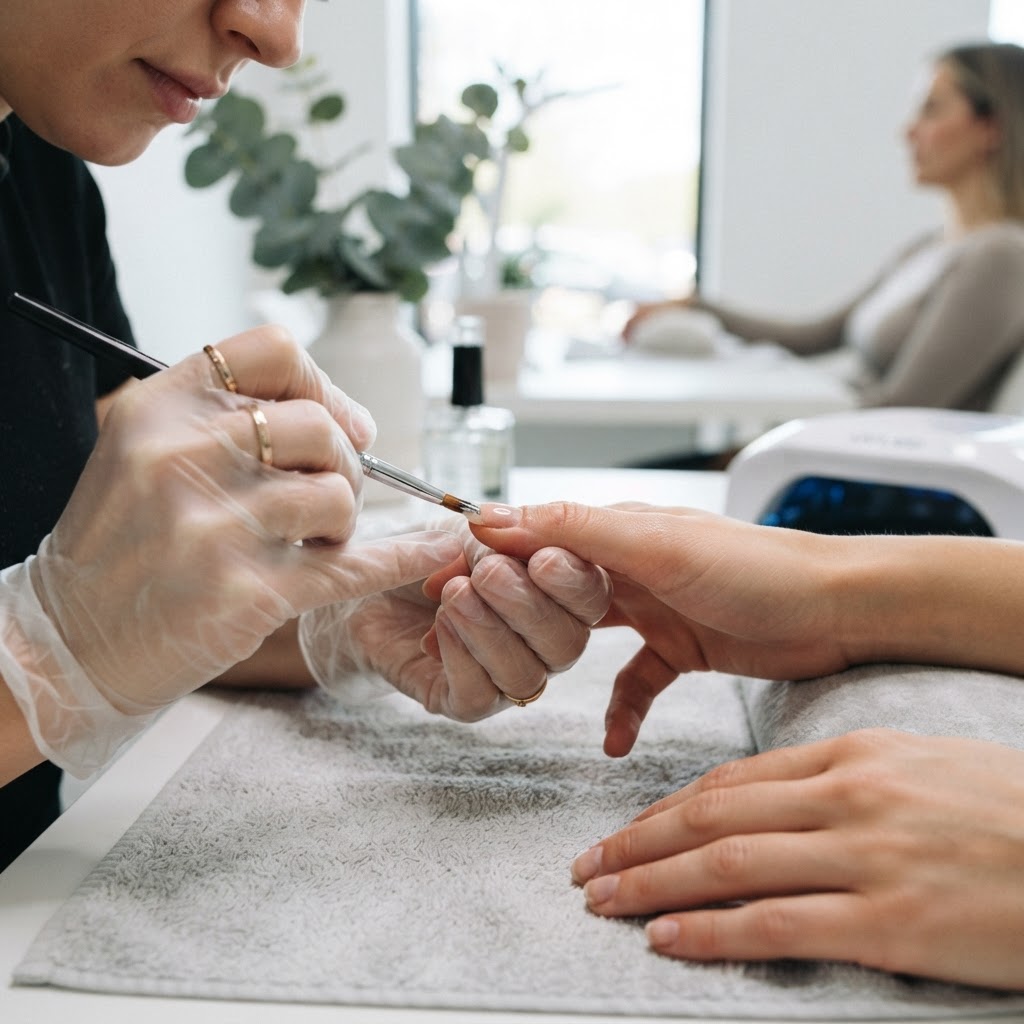
Understanding the Challenge of Onychophagia
Nail biters (onychophagia) present the ultimate test for any nail artist. You are working with a shortened nail plate, potential micro-trauma to the hyponychium, and often a client who lacks the natural structural support of a free edge. Standard tip application often fails here because the stress point is compromised. To achieve professional, lasting results, you must transition from 'applying' to 'architecting' the nail.
Step 1: Pre-Service Prep for Compromised Plates
Never aggressively buff a bitten nail plate. The nail is already thin, and over-filing will lead to immediate heat spikes or lifting. Instead, use a high-grit sponge board (240-grit) to gently remove the shine.
* Hydration check: If the surrounding skin is inflamed, apply a light barrier cream before you begin to prevent product contact with raw tissue.
* The cuticle push: Use a delicate touch. Bitten nails often have overgrown cuticles due to the skin's defensive response to trauma. Use a metal pusher at a 45-degree angle to avoid damaging the matrix.
Step 2: The Sculpting Technique
Join the newsletter
Get fresh nail tutorials, trends, and business tips straight to your inbox.
Tips are often ill-fitting for extremely short nail beds. Sculpting forms are your best friend.
Step 3: Chemistry and Curing
When working with bitten nails, acidity matters. If the client has raw, exposed tissue, avoid acid-heavy primers. Opt for a non-acid bonder that acts as a double-sided tape.
* Flash-cure strategy: Since these nails are often sensitive, flash-cure for 5 seconds to set the shape, then have the client place their hand in the full-power cure for the remainder to minimize the exothermic reaction.
The Aftercare Conversation
Success doesn't end when the client leaves. Educate your client on 'pressure points.' Explain that because their natural nails are short, they are using the new extensions as tools—which they aren't used to doing. Advise them to use the pads of their fingers, not their nails, to open cans or type. Regular, consistent fills (every 2 weeks) are non-negotiable for the first two months to allow the natural nail plate to grow out beneath the structure.
By framing the service as 'rehabilitative' rather than purely cosmetic, you shift the client’s mindset from 'breaking the nails' to 'caring for the investment.' This builds immense trust and ensures long-term client retention.
Join the newsletter
Get fresh nail tutorials, trends, and business tips straight to your inbox.
